1
Click the email
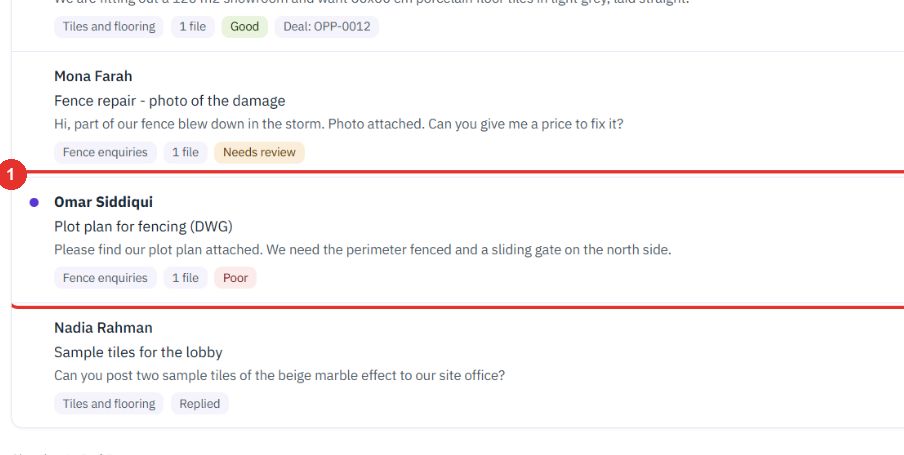
Open the Inbox and click the email from the client. Here it is Plot plan for fencing (DWG).
Take a tender from the client email to a won contract project. You price the bill of quantities, send the bid by email, keep every bid version, and hand the project to the ERP.
Want the full chapter? Solution Guide, chapter 2: Sales and tenders (PDF) · All documentation
Do this when a tender arrives by email, or when you log one by hand.
Open the Inbox and click the email from the client. Here it is Plot plan for fencing (DWG).
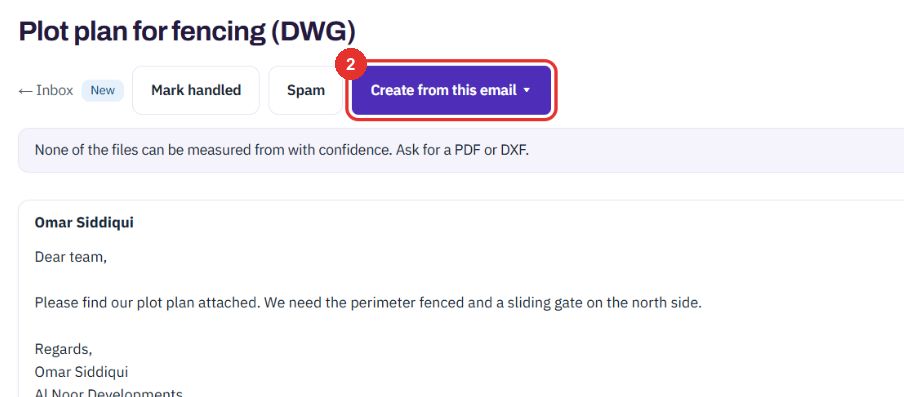
The button offers what to create from the email.
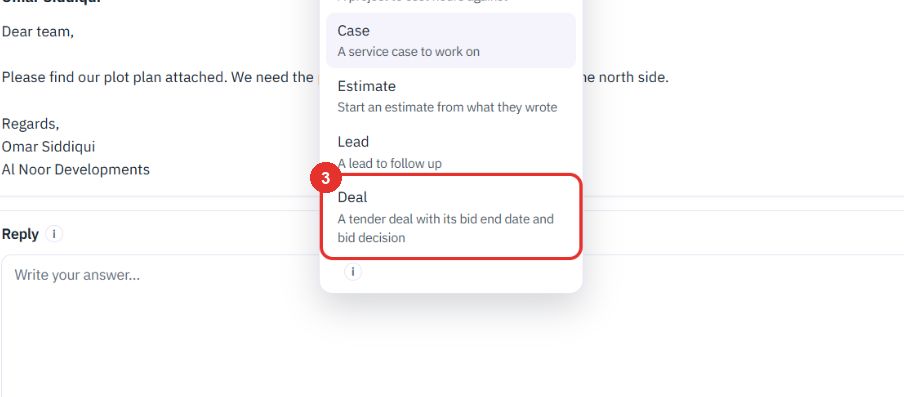
The menu lists Quote, Project, Case, Estimate, Lead and Deal. Deal is a tender deal with its bid end date and bid decision.
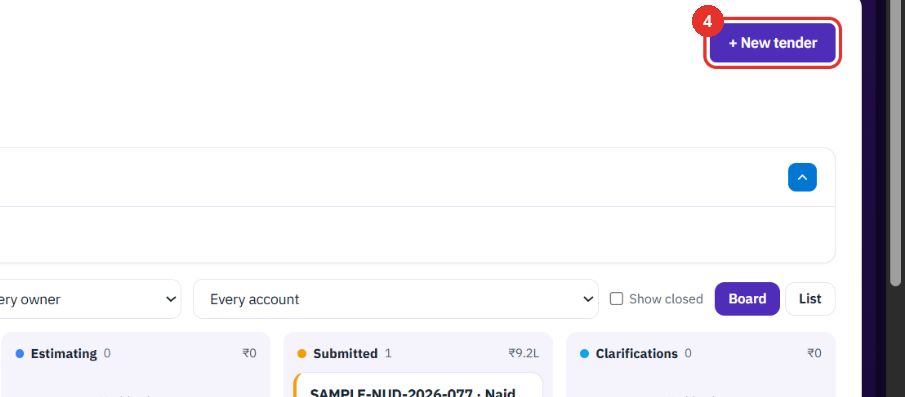
To start without an email, open Pipeline, go to the Tenders view and click + New tender.
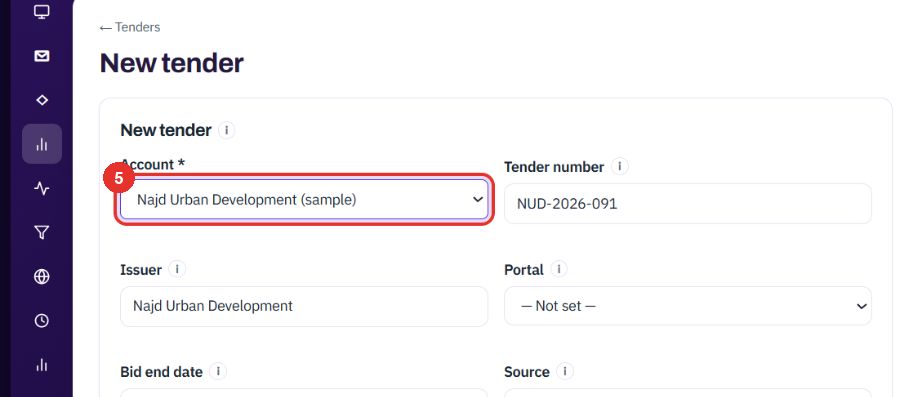
Choose the issuer's account. It is required, marked with a star.
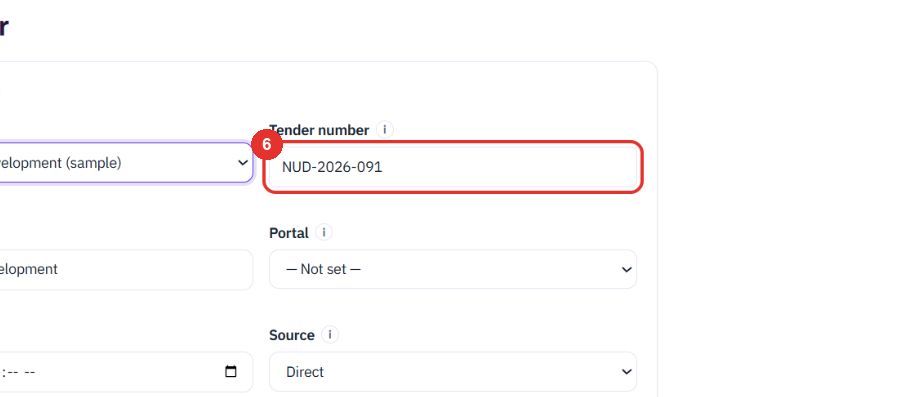
Type the number the client gave the tender. Issuer, Portal, Bid end date and Source are on the same form.
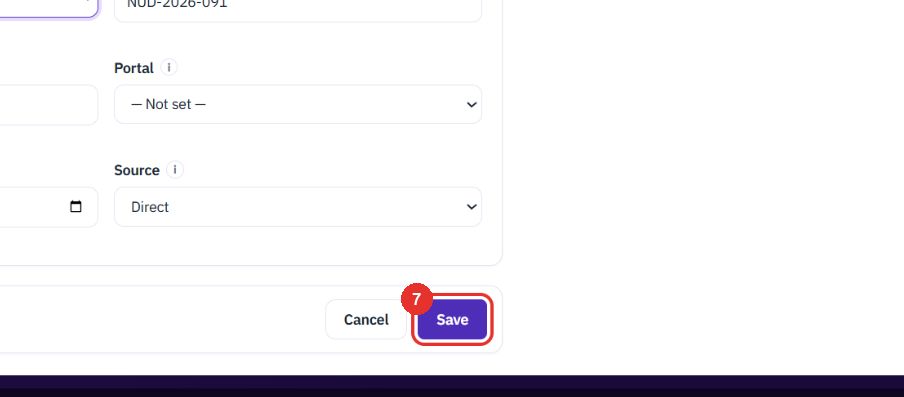
The tender is created at the first step, Received. This guide did not save a new tender.
Seven steps: Received, Decision, BOQ, Costing, Bid, Submitted, Won or lost. A tick marks a finished step. The numbered dot is where you are.

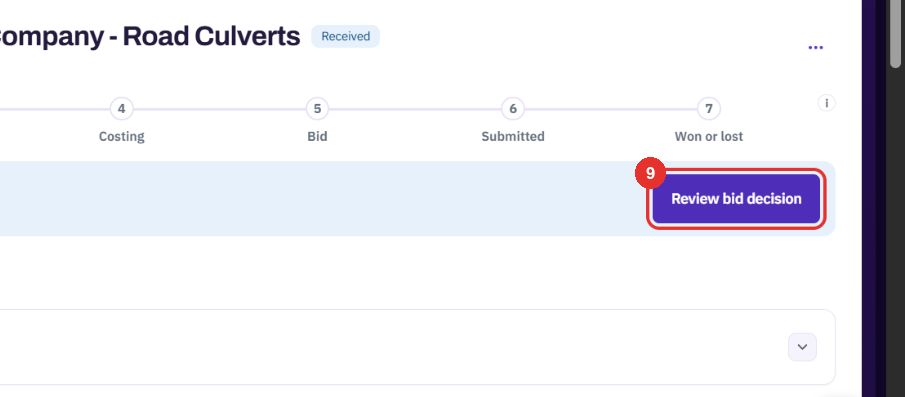
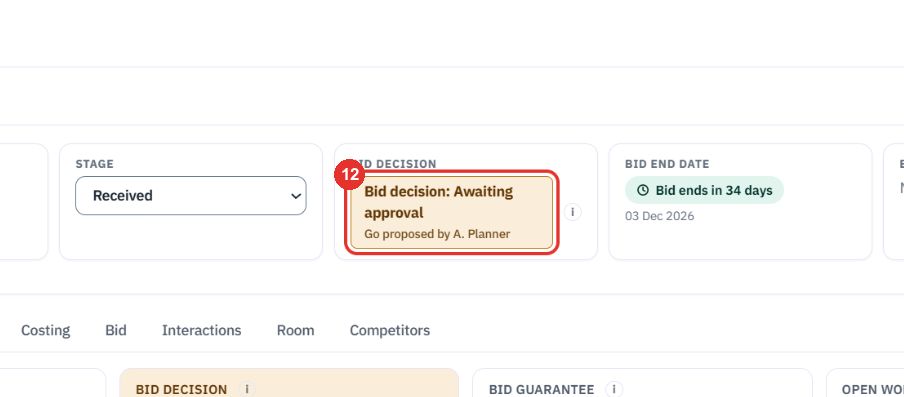
The blue Next row says what to do now and gives one main button. Here a go decision is waiting for an approver. When nobody has proposed one yet, the button reads Propose bid decision.
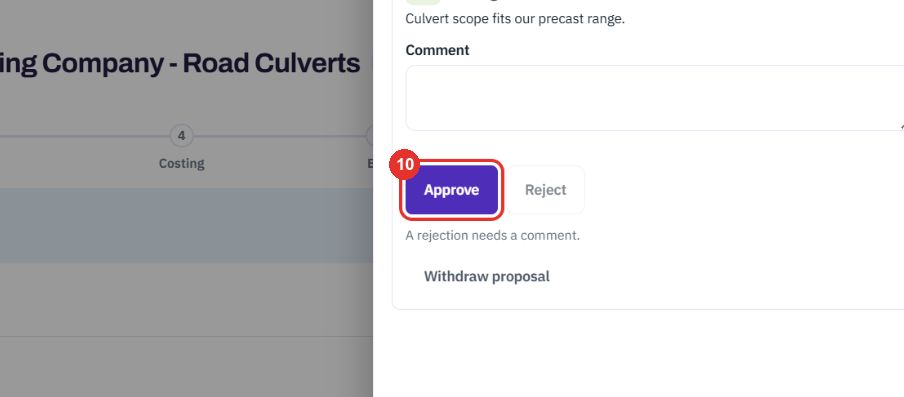
The panel shows the proposal, a Comment box and the buttons Approve and Reject. A rejection needs a comment. The panel was closed without deciding.
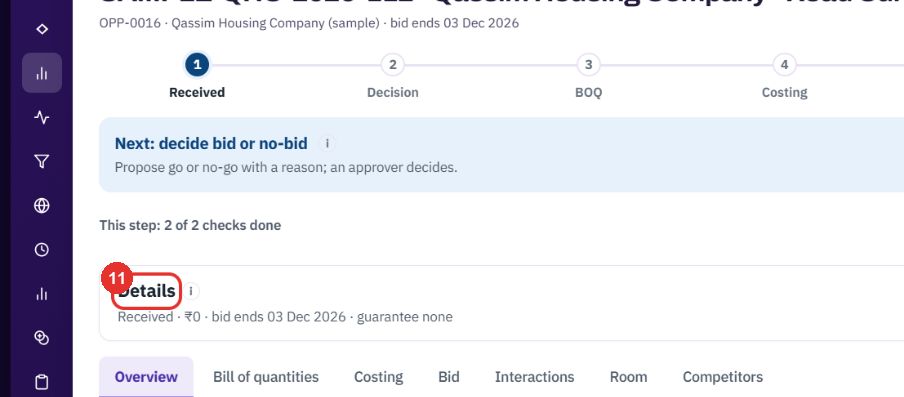
Details is a closed row with the main facts. It opens on a click. Its "i" explains it.
Open, the row shows Stage, Bid decision, Bid end date, Bid guarantee and Open work.
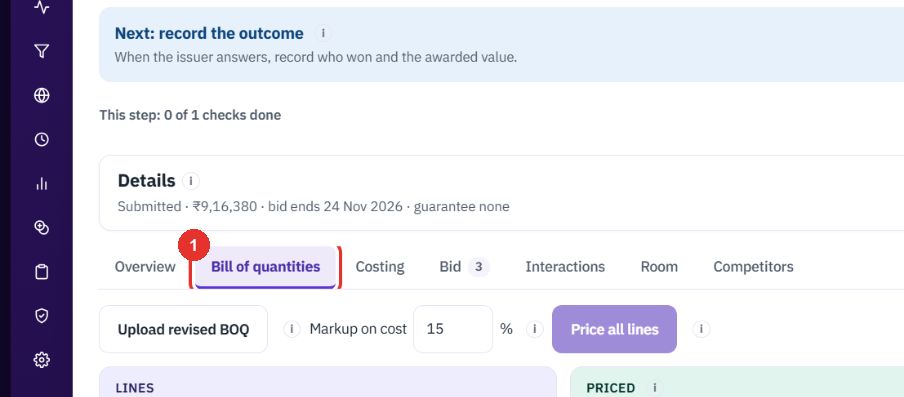
Load the client's bill of quantities, set a markup and price the lines. The tender shown from here is SAMPLE-NUD-2026-077.
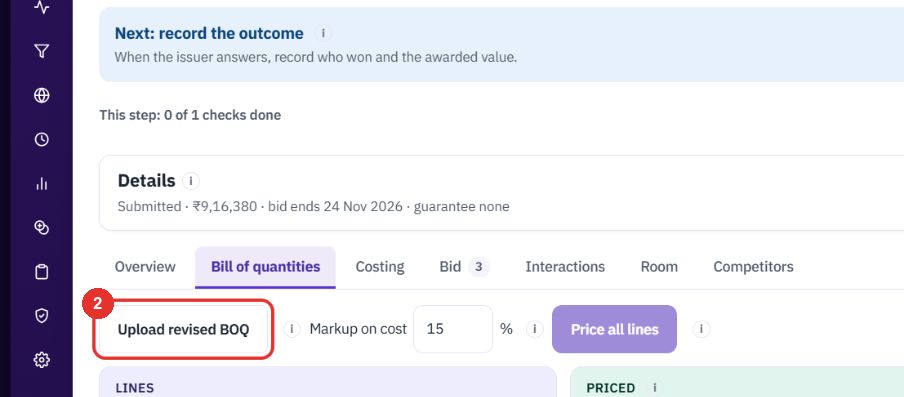
The tab holds the client's lines.
Use it to load the client's Excel file (.xlsx). The columns are read for you. You check them, then create the lines. The upload screen was not opened in this guide.
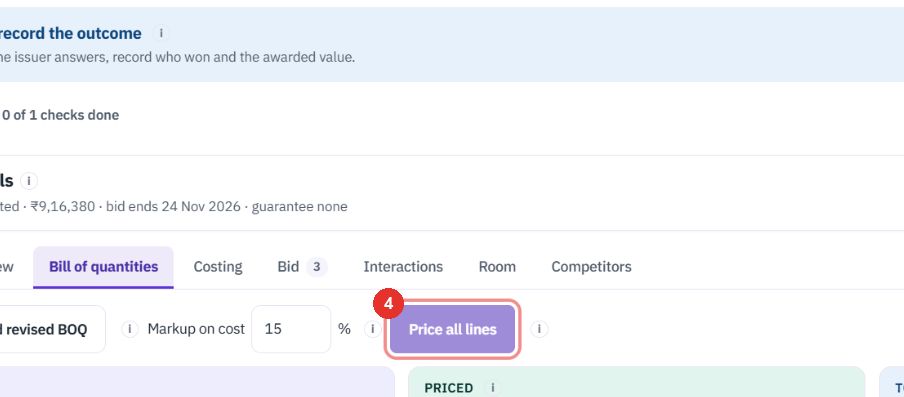
Type a percent. It is added to the cost to make the rate. Here it is 15.

It prices each line from supplier quotes first, then the bill of materials, then past projects. Only fresh prices are used. The button is grey here because every line is already priced.
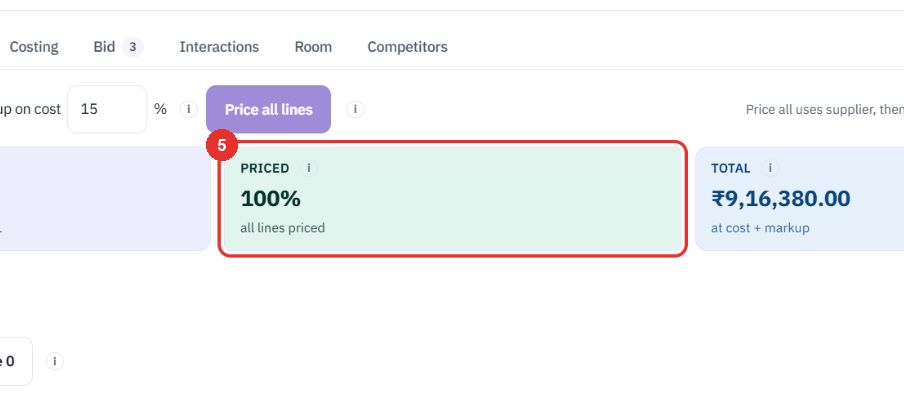
It shows how much of the BOQ is priced. Here it reads 100%, "all lines priced". The filters Unpriced and Stale list lines that still need work. Total is at cost plus markup.
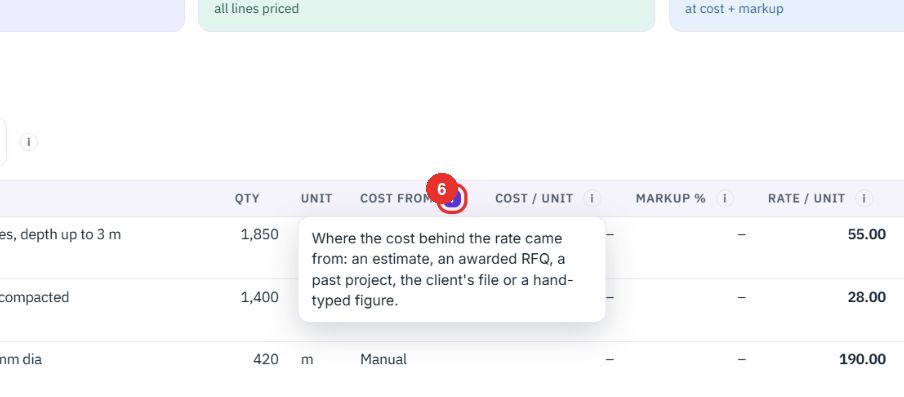
It explains where the cost behind a rate came from: an estimate, an awarded RFQ, a past project, the client's file or a hand-typed figure. Every column head has an "i".
The row opens in a panel on the right. It shows Quantity, Rate and Where the cost came from.
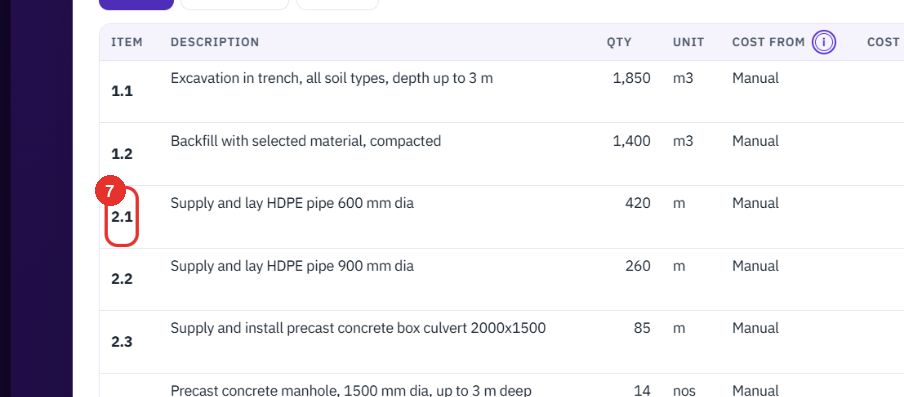
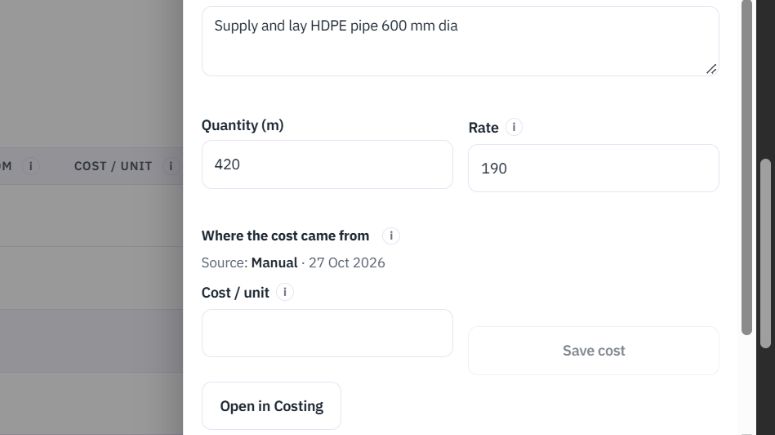
Type your own cost per unit. Save cost next to it stays grey until the cost changes.
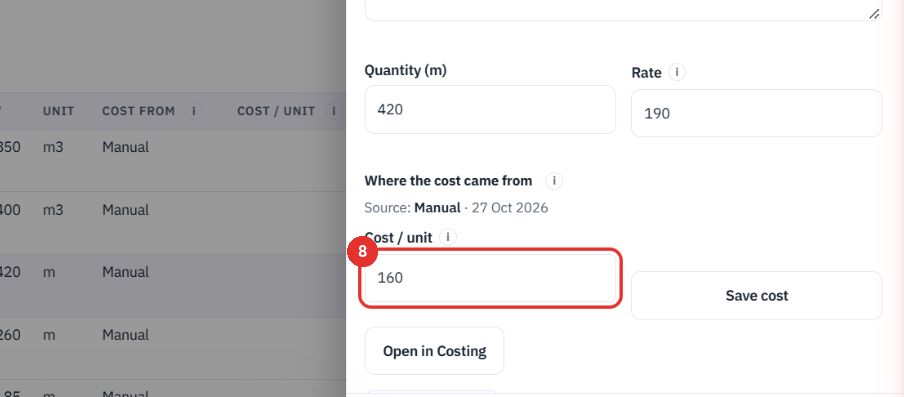
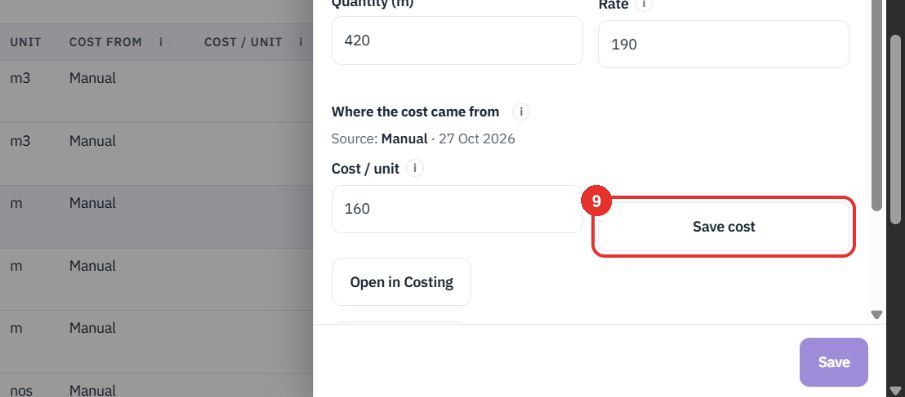
It saves your figure as Manual and keeps the source it replaced. This guide did not save a cost.
Group BOQ lines into WBS items so you can plan the work in your own order. A line sits in one item, or you share it across items. The tender shown is SAMPLE-NUD-2026-077.
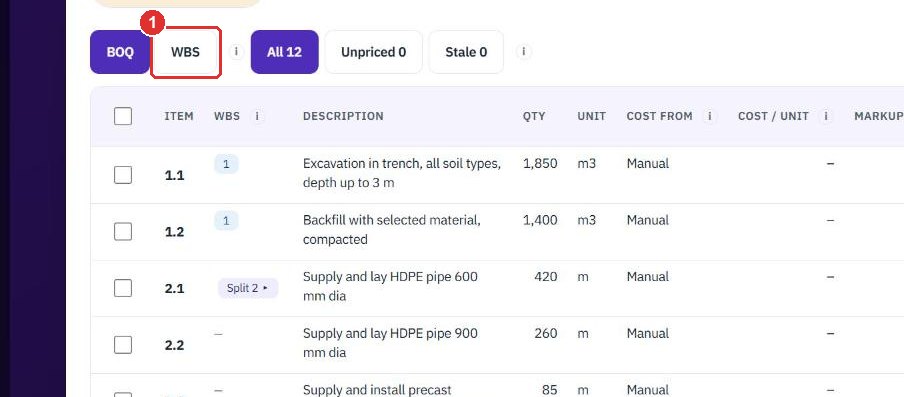
Two buttons sit above the table: BOQ and WBS. BOQ shows the client's order. WBS shows the same lines grouped the way you will run the work. Its "i" says so.
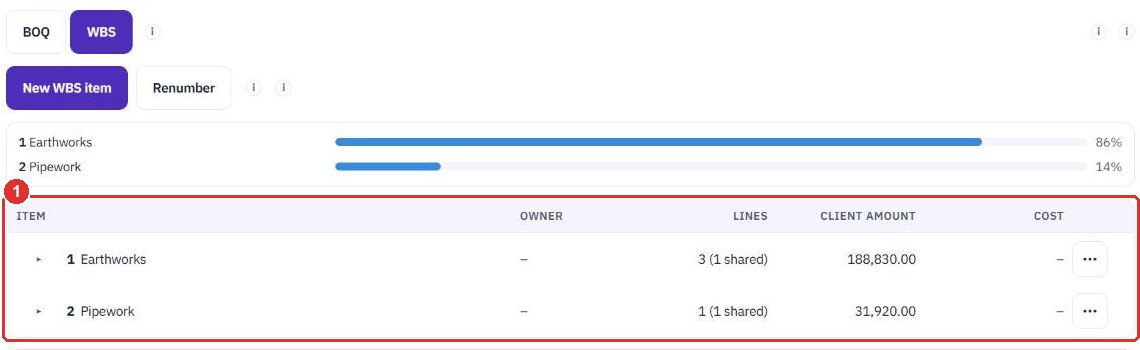
One bar for each top-level item shows its share of the client amount. Under the bars the tree lists Item, Owner, Lines, Client amount and Cost. A parent adds up its own lines and its sub-items, so nothing is counted twice. The Lines tile above reads, for example, "2 WBS items · 9 unassigned".
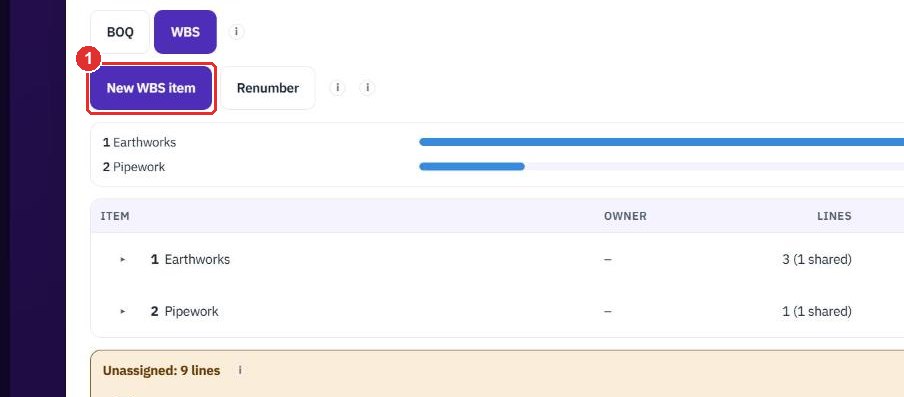
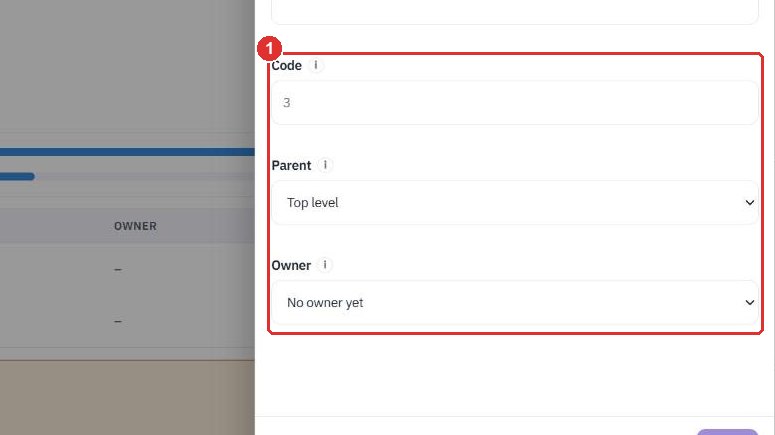
It opens a side panel. Start here when the tender has no WBS yet.
The name is the only required field. Use a work area, for example Earthworks.
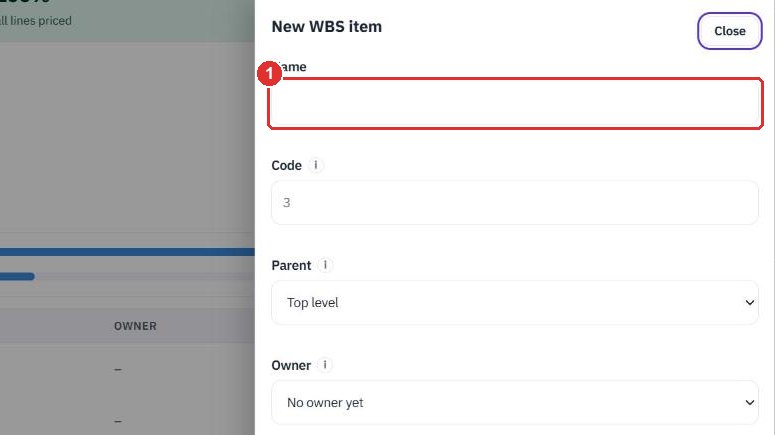
Code numbers itself: 1, 1.1, 1.1.1. Type your own, for example your ERP's code, and it is kept. Parent is optional. An item can sit up to three levels deep. If the parent already holds lines, they move into the new item and the panel says so. Owner is optional while bidding. Click Save to add the item. This guide did not save one.
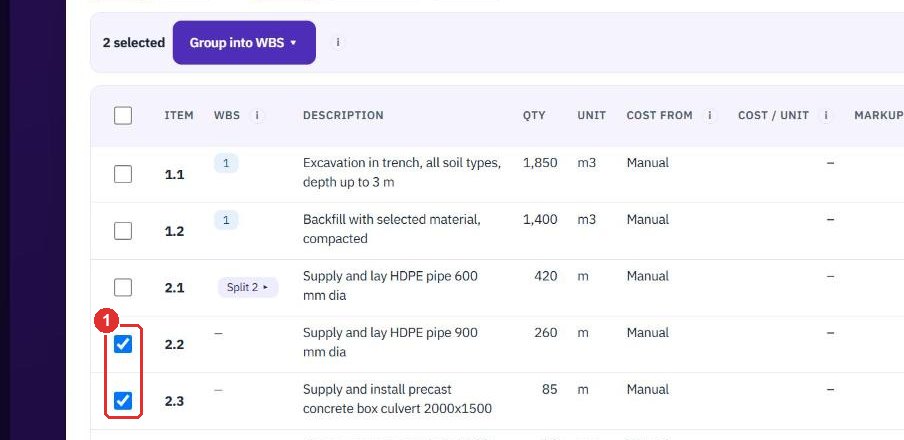
Click BOQ, then tick the box in front of each line. A bar shows how many are ticked, here 2 selected. Clear removes the ticks. The box in the table head ticks every row on the page.
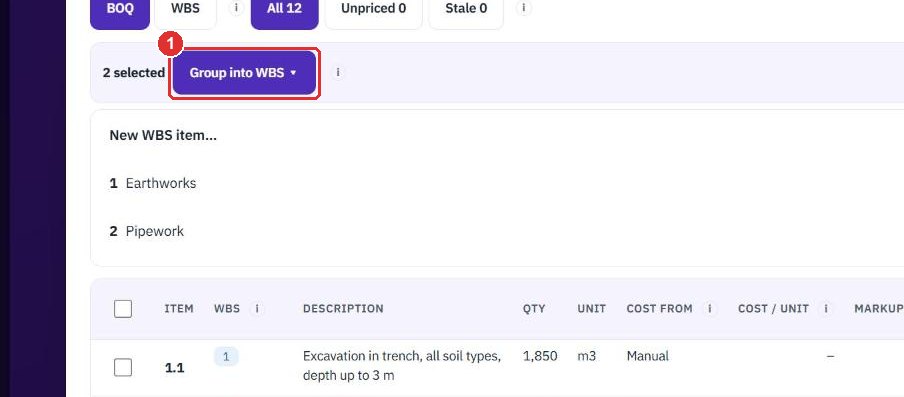
A menu lists New WBS item… and every bottom-level item with its code. Click an item to put the ticked lines in it. A line sits in one item, so a line that was split is no longer split. This guide did not move any lines.
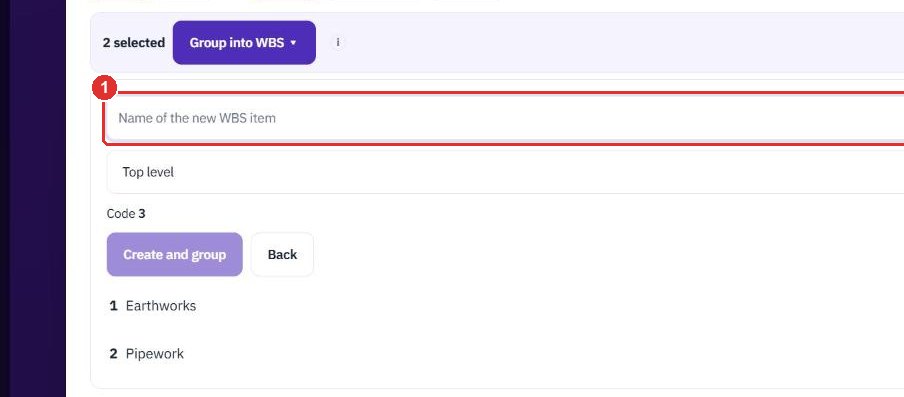
Type a name, choose a parent if you want one and read the code it will get. Create and group makes the item and puts the ticked lines in it in one go.
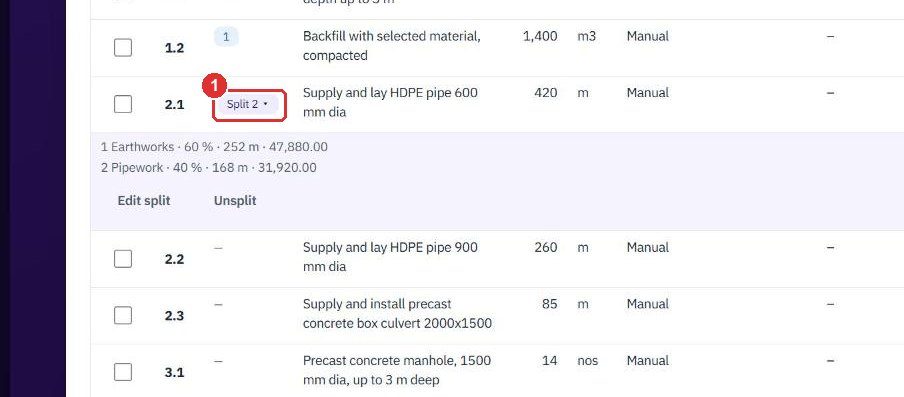
Use it when one line belongs to more than one item, for example a pipe laid in two areas. The button shows when exactly one line is ticked. Each row also has a Split button at its far right.
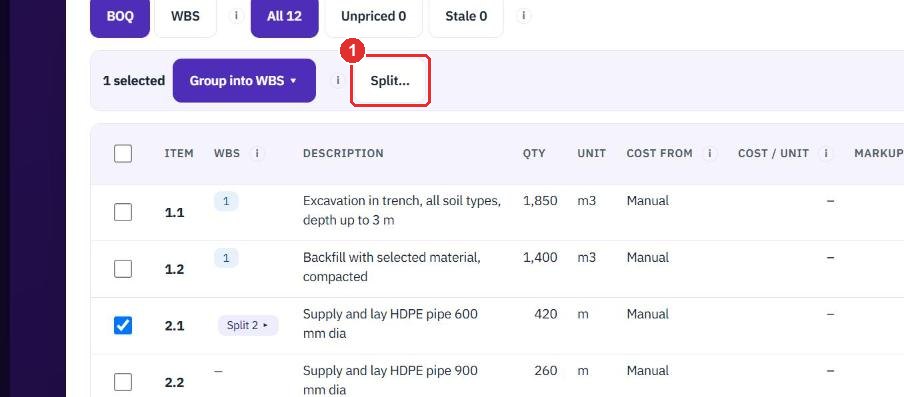
Each part has a WBS item and a share in percent. Under it you see the quantity and amount that share gives: 60 % of 420 m is 252 m, worth 47,880. + Add part adds another item. New WBS item… in the item list makes an item from the part.
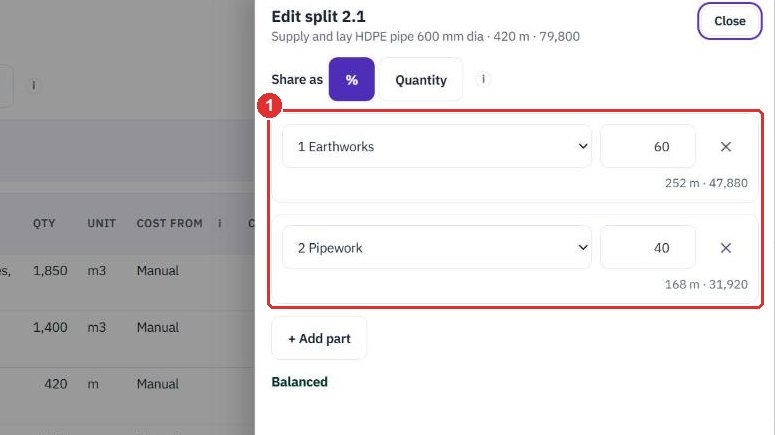
Use it to type a quantity for each part. The percent follows. The share is kept as a percent, so a revised quantity re-derives the quantities and keeps your split.
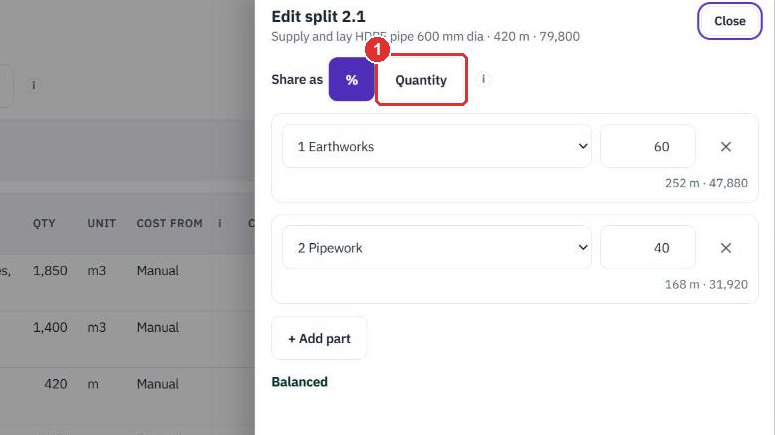
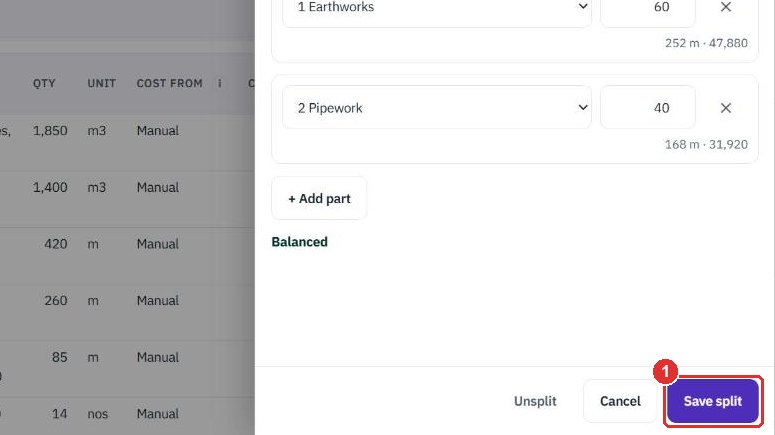
The button stays grey until the shares add up to 100 % and every part has an item. The panel says Balanced, or how many percent are left or too many, and prints what is wrong. Unsplit puts the whole line in its first item. This guide did not save a split.
A split line shows a chip in the WBS column. It opens the parts under the row, each with its item, percent, quantity and amount. Edit split and Unsplit are under them.
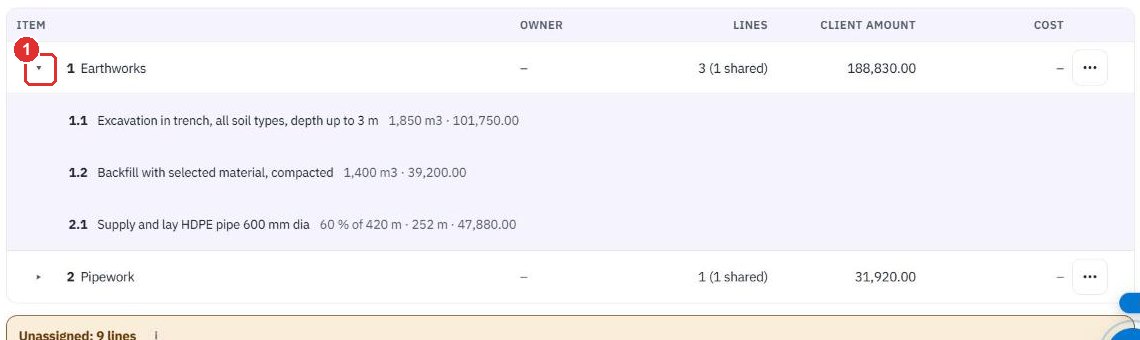
It opens the lines the item holds. A split line shows its part, for example 60 % of 420 m. The arrow on a parent folds its sub-items. Folds are remembered in this browser.
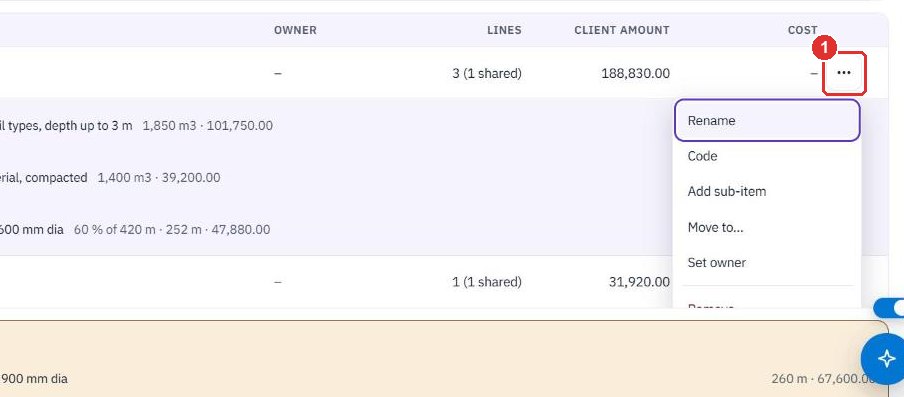
Each item has a menu: Rename, Code, Add sub-item, Move to…, Set owner and Remove. Remove asks first. Its lines go to Unassigned and its sub-items move up one level.
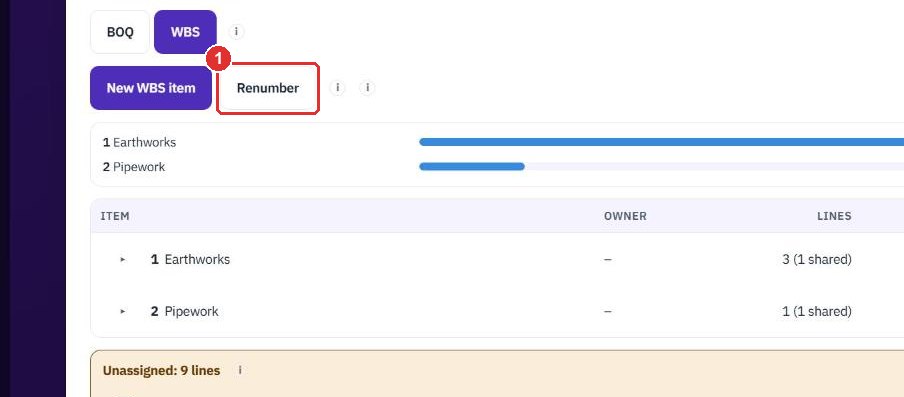
It asks first. Codes you typed are kept. The rest are numbered again in order. This guide did not renumber.
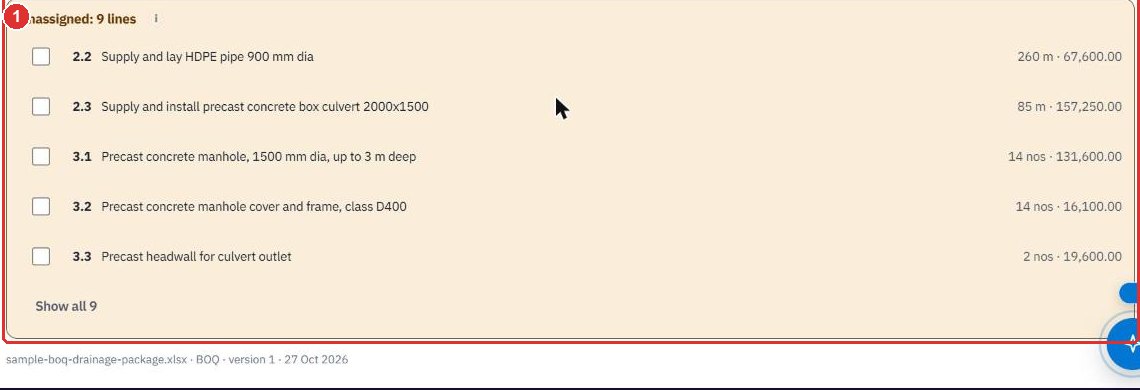
The amber list holds lines that sit in no item. A split line whose item was removed shows what is left unassigned, and you fix it with Edit split. Tick lines here and use the same Group into WBS bar. Five lines show. Show all 9 lists the rest.
When a row has no cost, price it from an estimate you build or from supplier quotes. The tender shown here is Floor tiles for a 120 m2 showroom.
The tab shows how each BOQ row gets its cost.
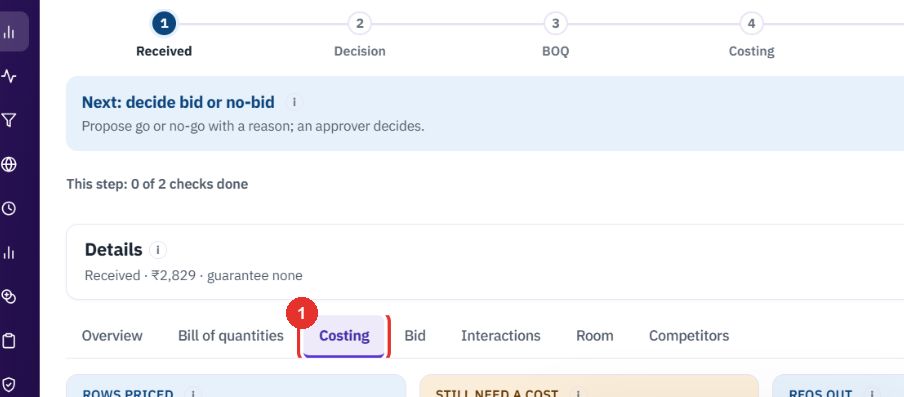
Rows priced, Still need a cost, RFQs out and Replies in. Each has an "i". Show them in the Bill of quantities jumps to the rows that still need a cost.

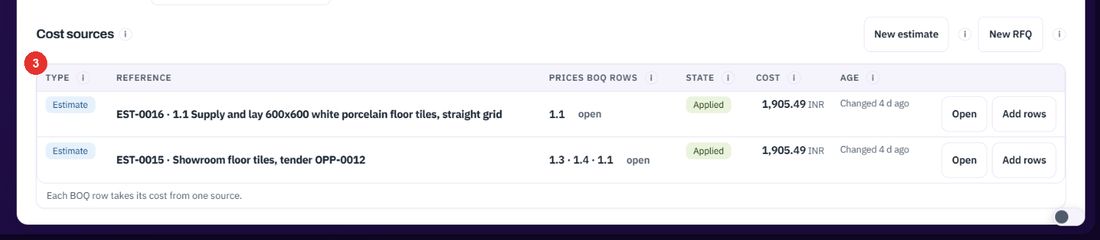
One table of estimates and RFQs. Prices BOQ rows names the rows each one prices. Each BOQ row takes its cost from one source.
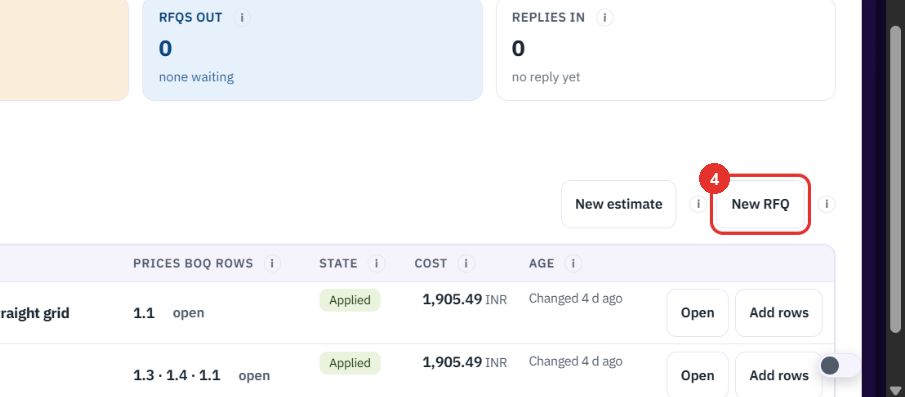
It opens a new RFQ to ask suppliers for prices. New estimate sits next to it. The guides RFQs and supplier replies and Estimates show both step by step.
It gives an estimate more BOQ rows to price. A panel lists the rows it can price, each with a tick, and a Markup %.
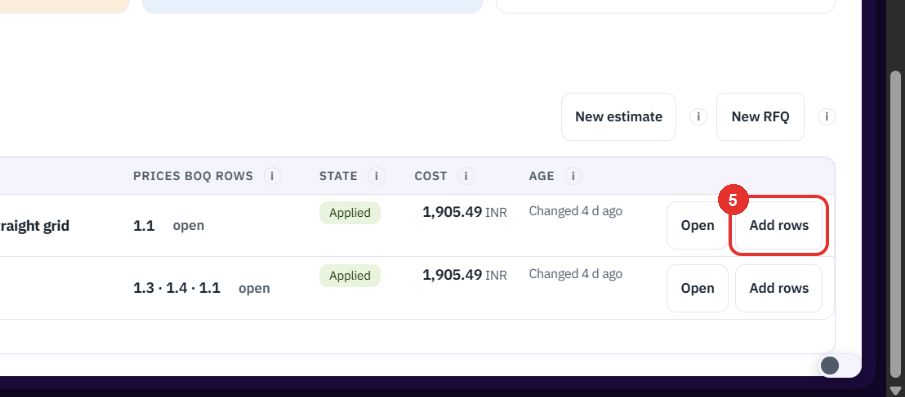
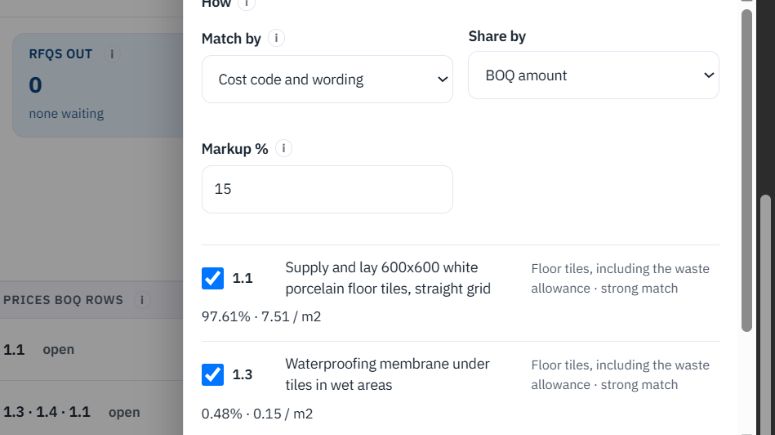
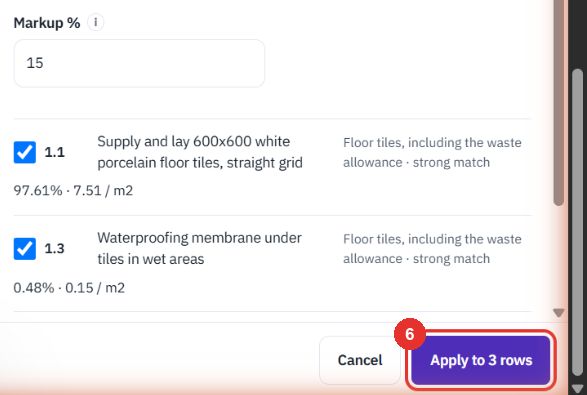
The button at the bottom applies the estimate's cost to the ticked rows. This guide did not apply it.
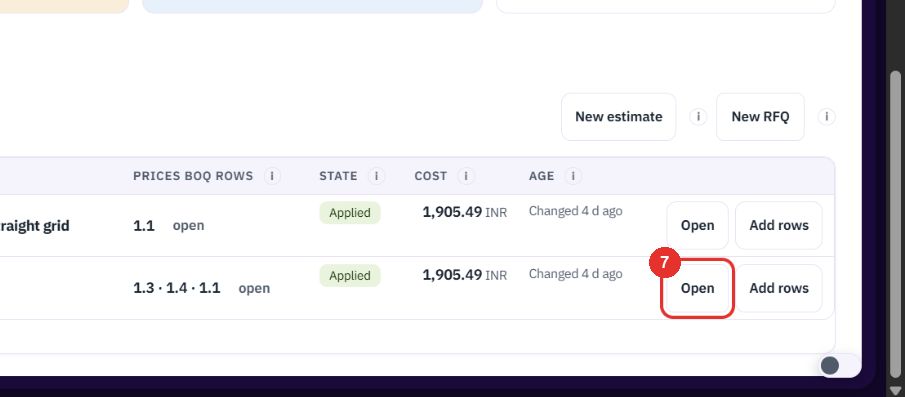
It opens the estimate that prices the rows.
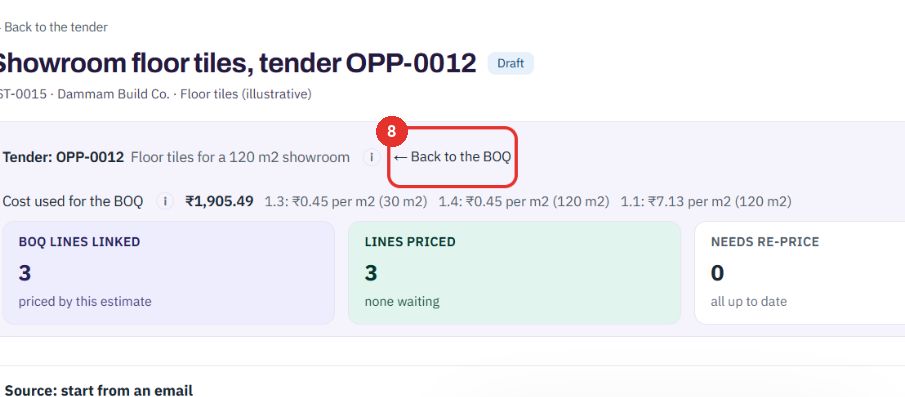
The estimate shows its tender at the top (Back to the tender). Back to the BOQ returns you to the rows it prices. A tender estimate has no Create quote.
When the tender has a WBS, a folded section sits under Cost sources. Click it to open. It loads the first time you open it. Its "i" says what it shows. Without a WBS it reads No WBS on this tender yet and offers Open the Bill of quantities.

One row for each WBS item, with the bid amount, your cost and the margin between them. A parent adds up its sub-items, and a split line counts by its shares, so nothing is counted twice. The last row, In a WBS item, is the sum. Cost and margin show a dash until the rows have a cost. The margin shows only when every priced row under the item has a cost, with its percent of the bid beside it, so a margin over part of the rows never reads too high. Twelve rows show at first. Show all lists the rest. This tab is internal. A client never sees it.

Not in a WBS item counts the rows that sit in no item, and the unassigned rest of a split line, with their amount. It shows only when there are such rows. Group them on the Bill of quantities, as shown in Group the BOQ into a WBS.

Check the bid, read its versions and send the priced BOQ to the client by email. The tender shown is SAMPLE-NUD-2026-077, already at version 3.
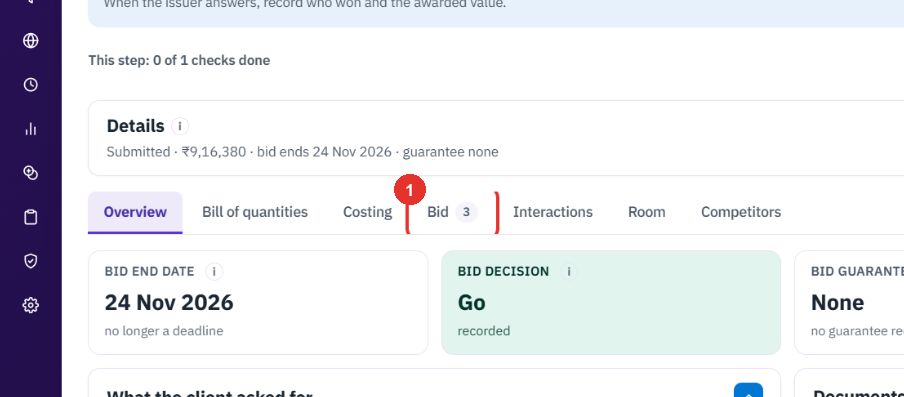
The number on the tab is how many bids were submitted.
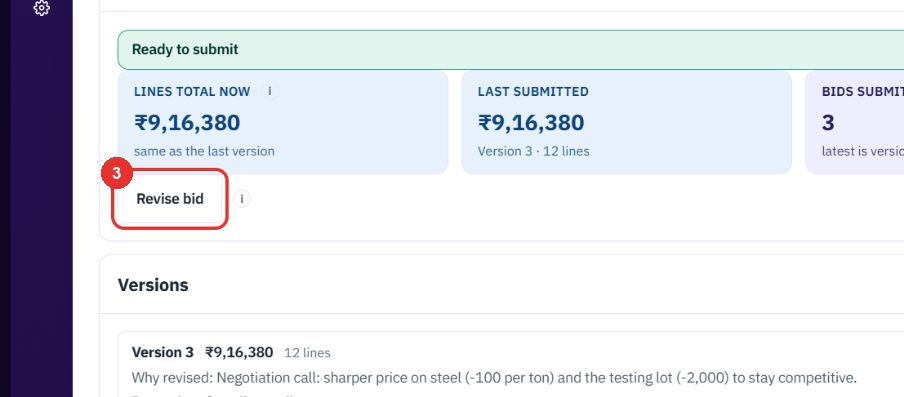
Lines total now, Last submitted, Bids submitted and Vs previous bid. The green bar above them reads Ready to submit. If something is missing, it lists what.

Before the first submit this place holds Submit bid. It saves the lines and total as a numbered version and moves the tender to Submitted. Cost and markup are never saved in a version. This tender is already submitted, so the button reads Revise bid.
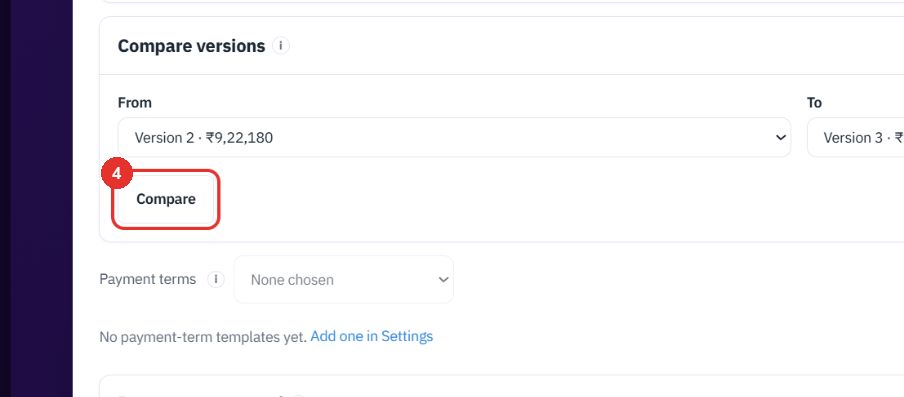
Under Compare versions choose From and To, then click Compare. Each version in the list above shows its total, who submitted it and why it was revised.
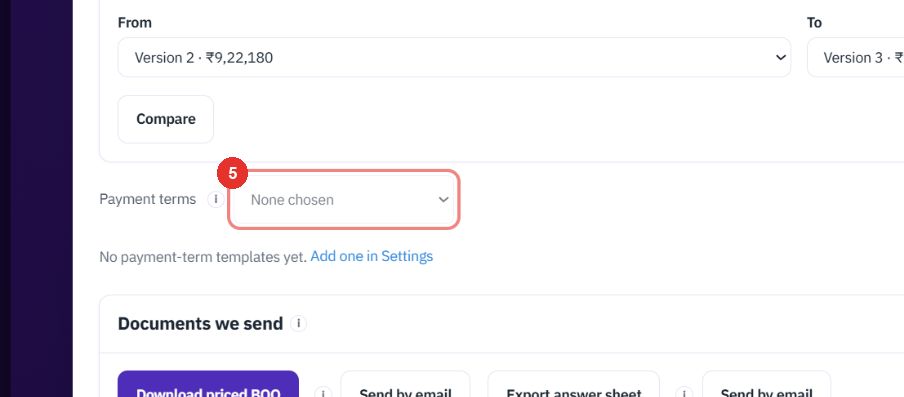
The list holds the payment-term templates set up in Settings. This workspace has none yet, so it reads None chosen.
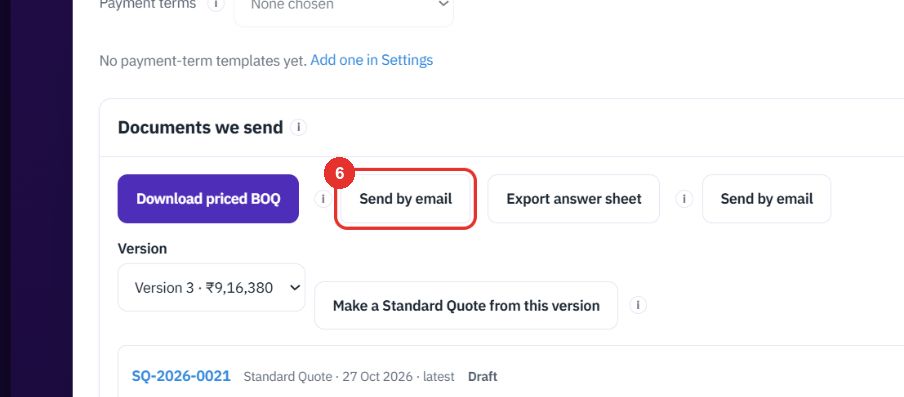
It sits next to Download priced BOQ. A second one sits next to Export answer sheet. Costs and markup are never in the file.
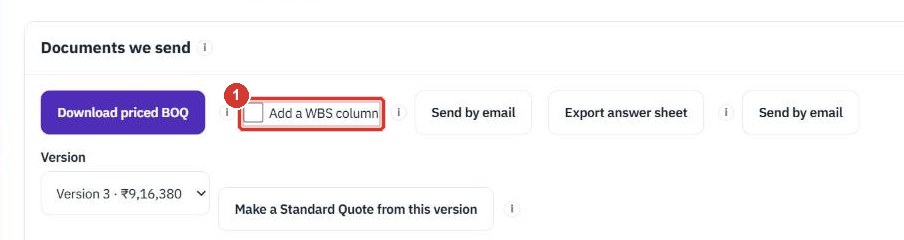
When the tender has a WBS, a tick box sits next to Download priced BOQ. It is off by default, because the file is the client's own layout. Tick it and the download gets one last column, WBS: the item code of each row, or for a split line a list such as 2.1 60 % · 2.2 40 %. Rows in no item stay empty. When no row is in an item, no column is added. The choice is not remembered. Cost and markup are still never in the file.
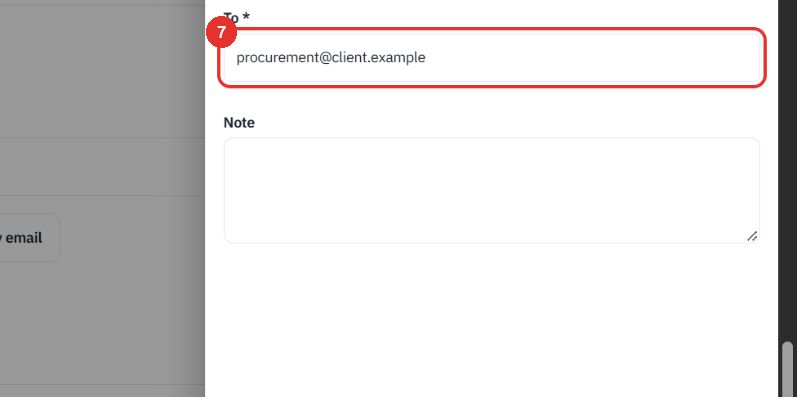
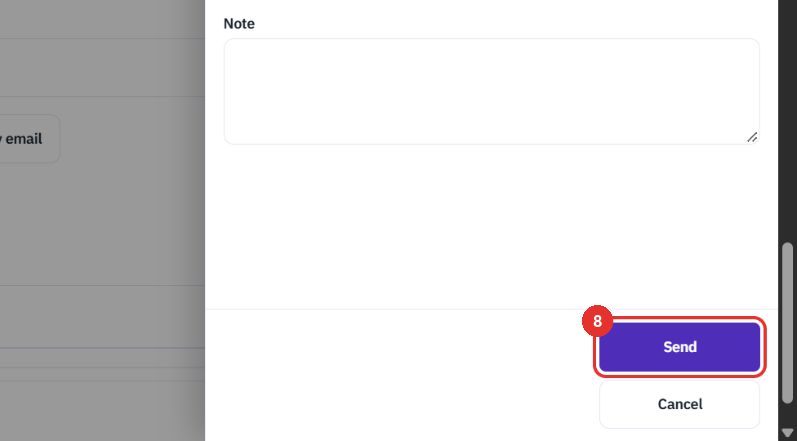
A side panel opens. Type the client's address in To. Note is optional.
The mail goes out through the tender. This guide did not send it.
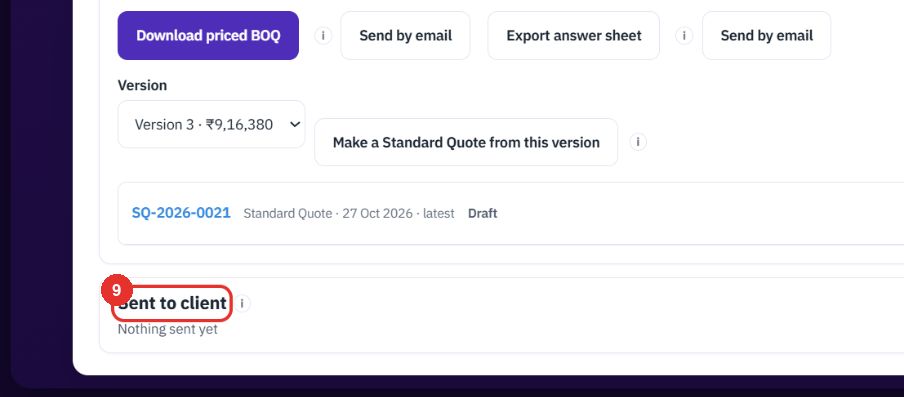
It lists every file that went to the client. Here it reads "Nothing sent yet".
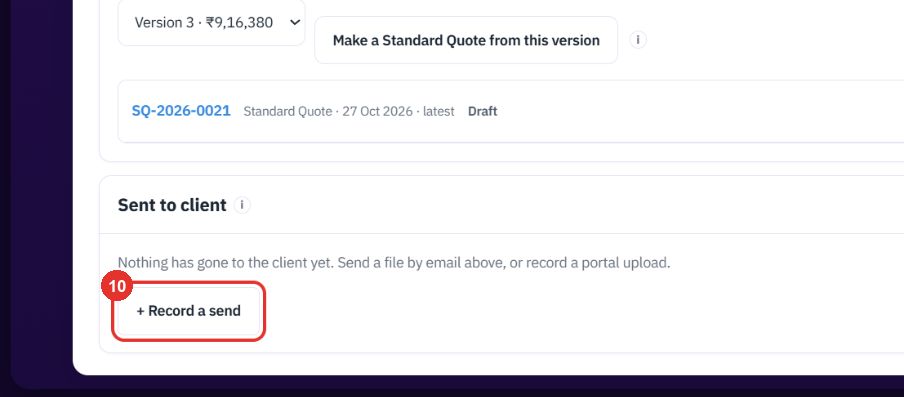
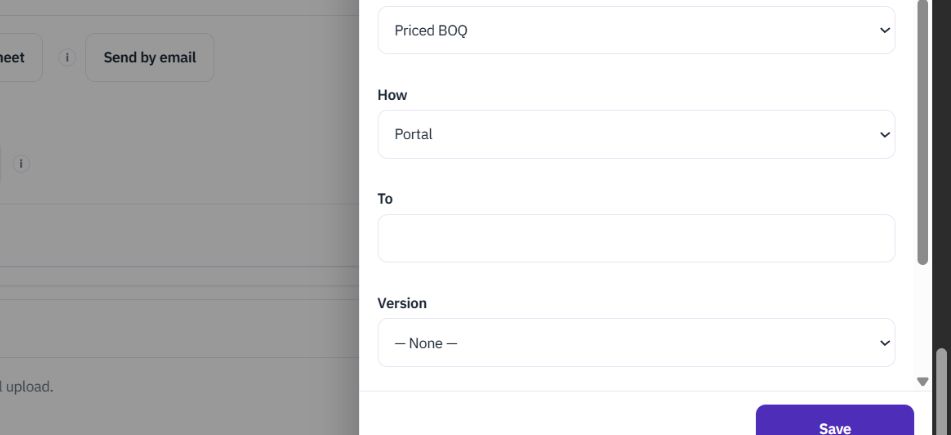
Use it for a portal upload or a mail sent outside the tender. The panel asks for Document, How, To, Version and Note.
Keep client mail on the tender and talk to your team in the room, which the client never sees.
Sent mail, replies and the source email form one timeline here.
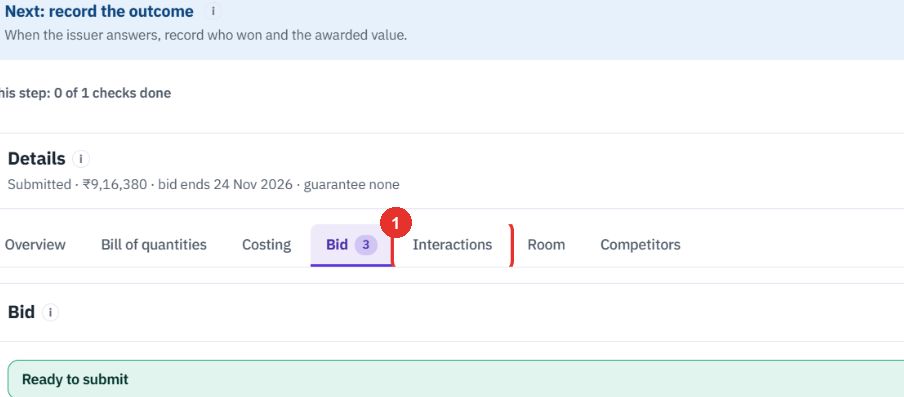
It writes to the client from the tender. This tender has no mail yet.
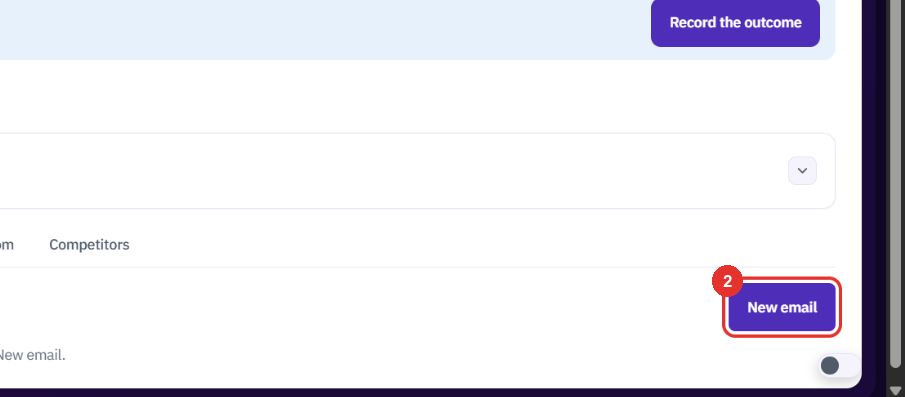
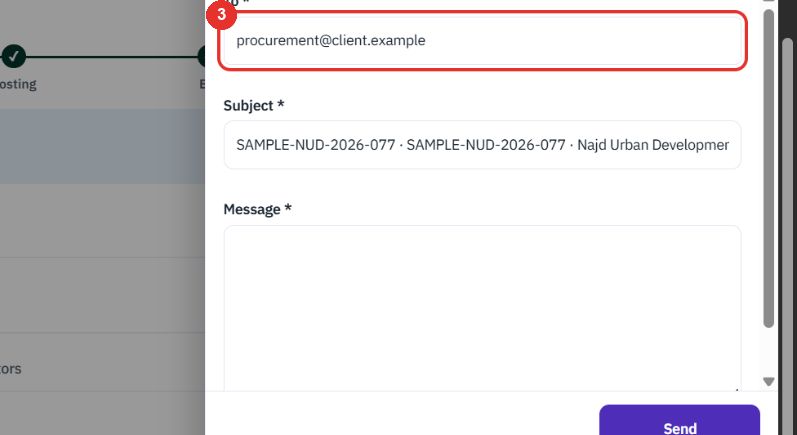
In the panel type the address, then write the Subject and Message. This guide did not send it.
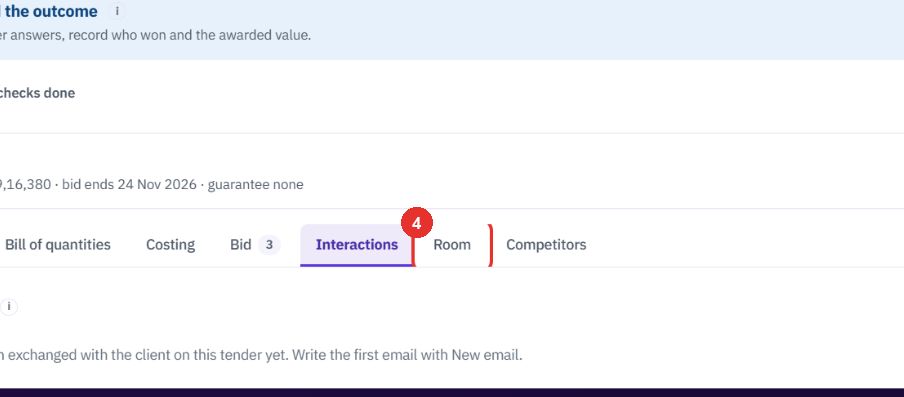
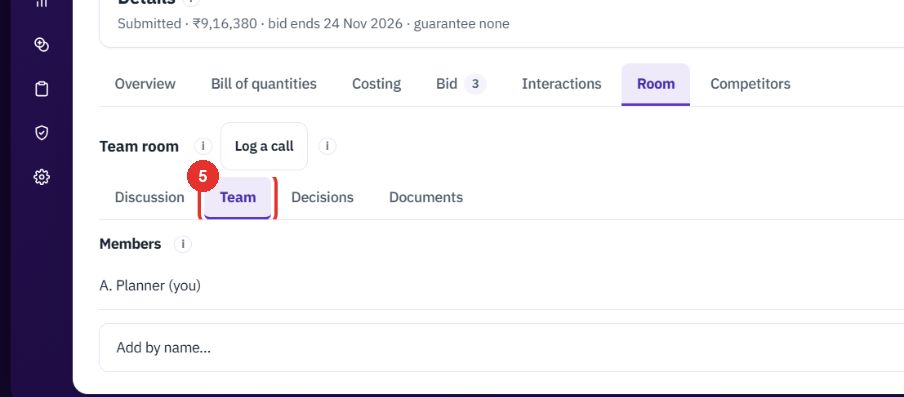
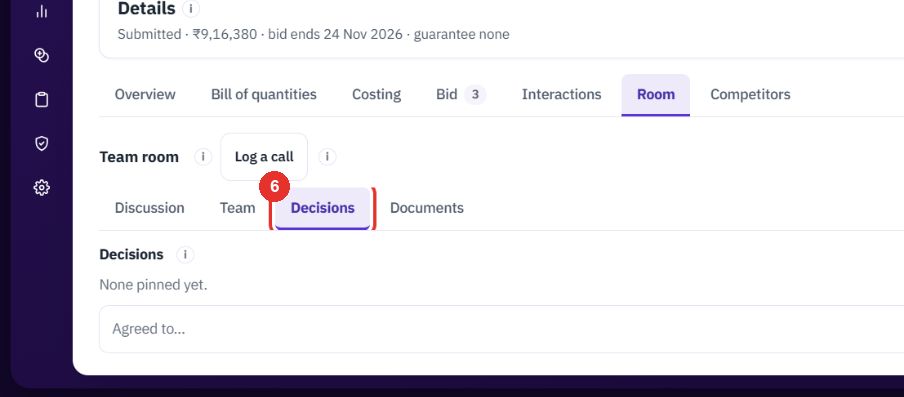
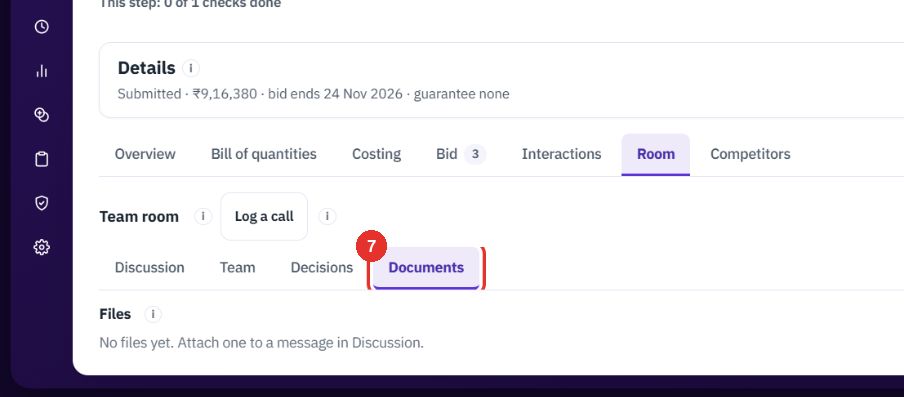
The team room is internal. It has four sub-tabs: Discussion, Team, Decisions and Documents. Log a call sits above them.
It lists who is in the room. Add by name... adds someone.
Pin one-line decisions, for example "Agreed to...".
It lists files attached to messages in Discussion.
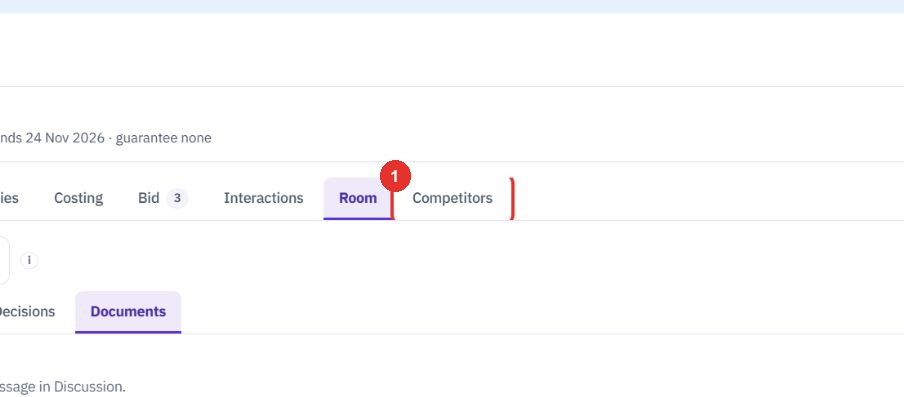
Keep a short list of who else is bidding and what they may charge. The tender shown is SAMPLE-NUD-2026-077.
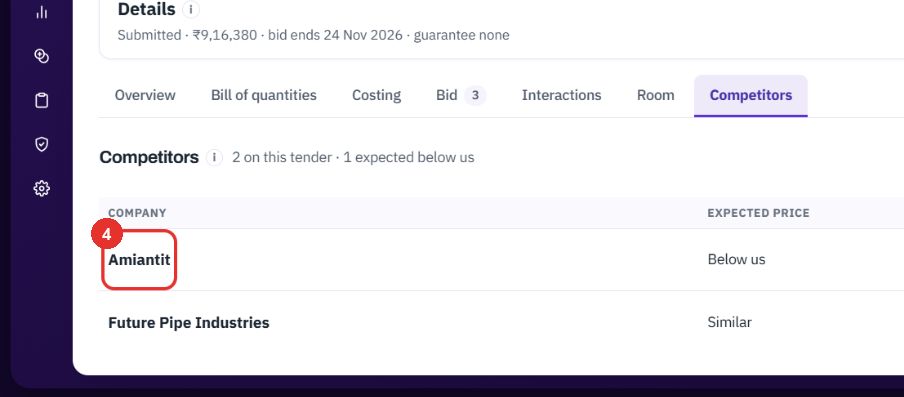
The tab shows how many are on the tender and how many are expected below you.
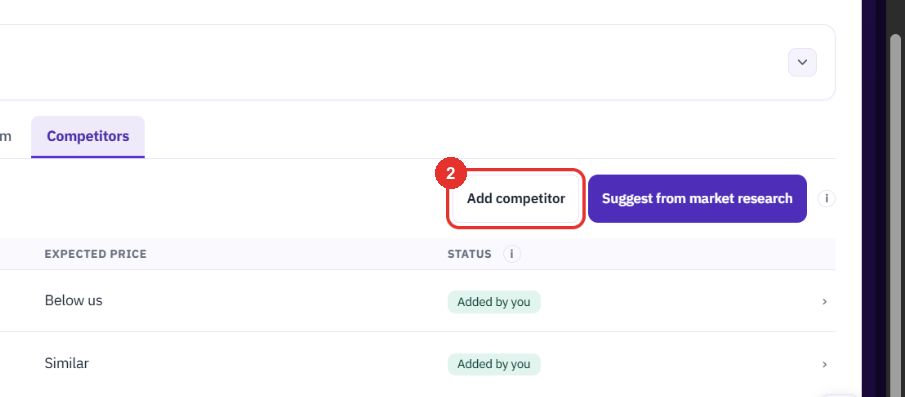
To add one yourself. The list has three columns: Company, Expected price and Status.
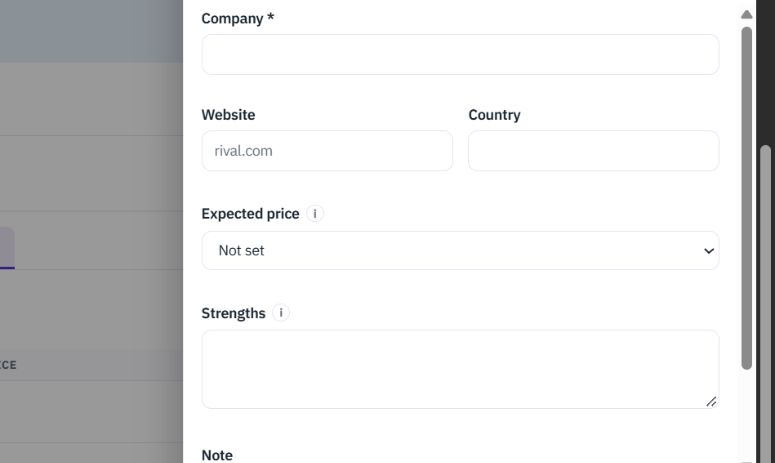
The panel asks for Company (required), Website, Country, Expected price, Strengths and a Note. Save it with Save. This guide did not save one.
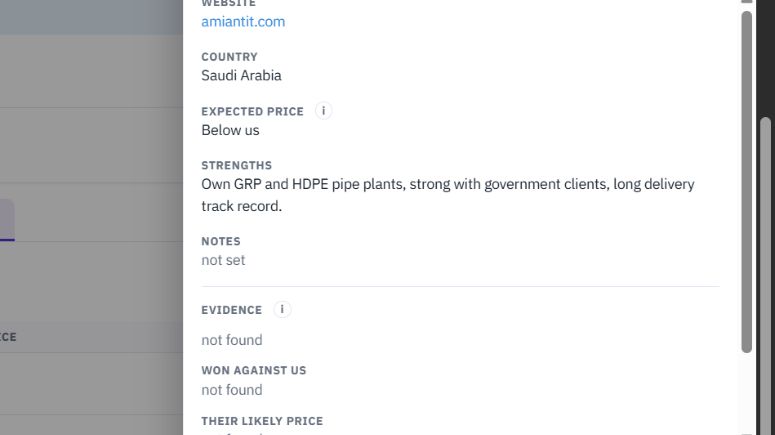
A panel opens with the evidence for that competitor. The status reads Added by you or Proposed.
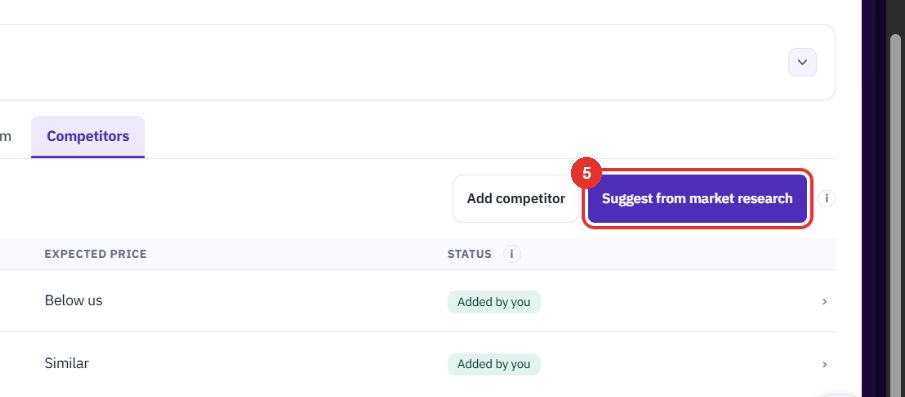
It proposes competitors with a source for each fact. It uses part of your AI allowance, so use it once per tender.
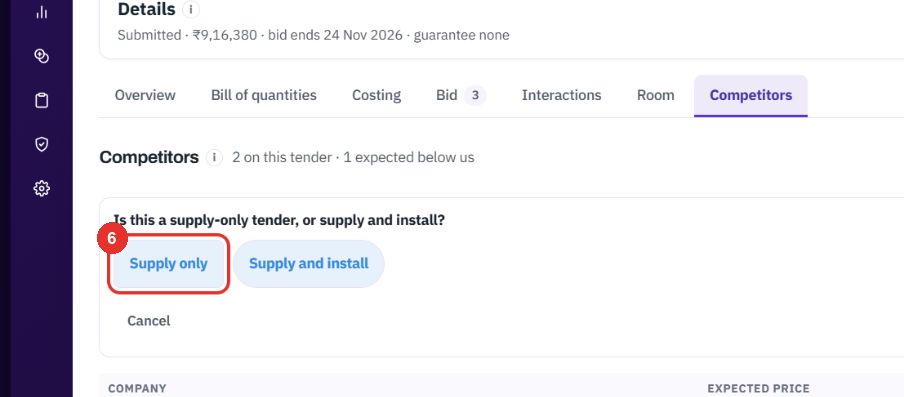
It first asks what it needs, starting with: is this a supply-only tender, or supply and install? Nothing runs until every question is answered. This guide did not run a search.
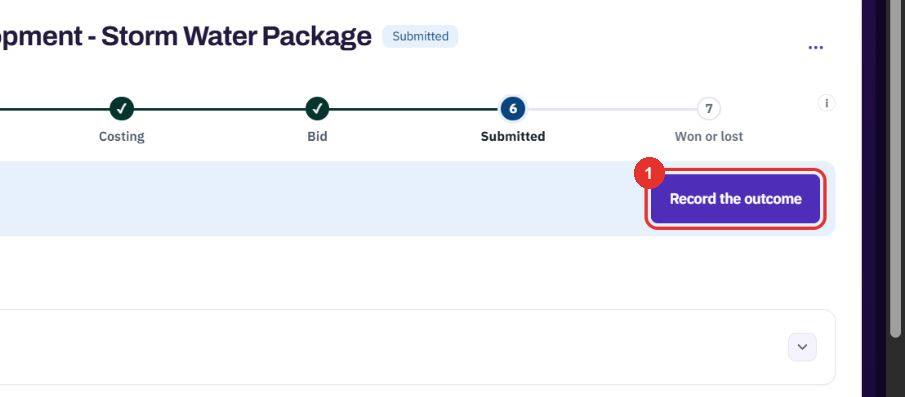
Record the outcome, open the contract project and hand its budget to the ERP.
The Next row of a submitted tender holds the button.
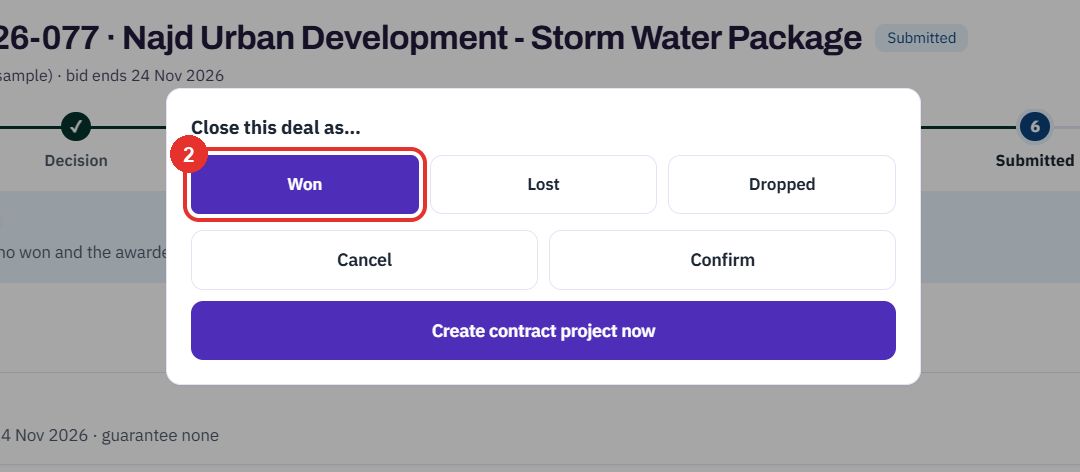
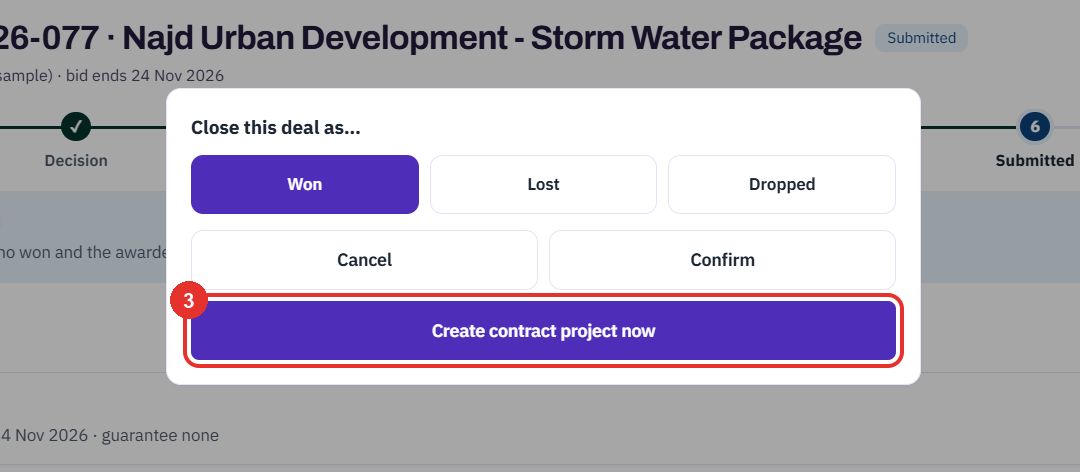
The panel reads "Close this deal as..." with Won, Lost and Dropped. Confirm saves your choice.
A won tender starts its contract project from here. This guide did not create one. Later the Next row offers Open contract project.
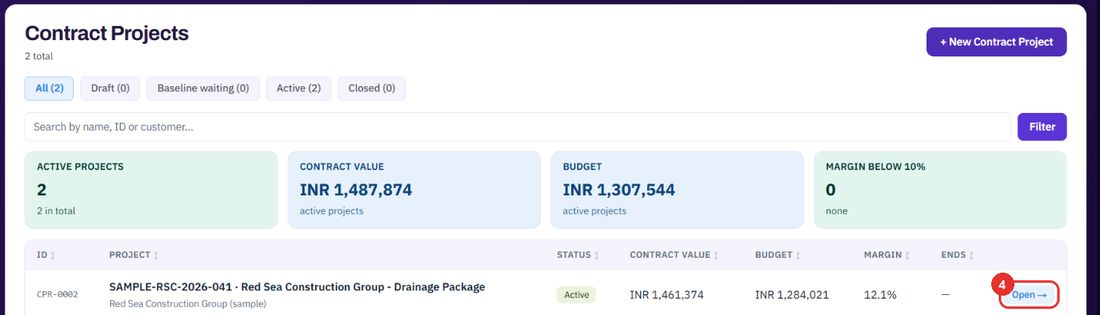
The Contract Projects list shows each project with its contract value, budget and margin.
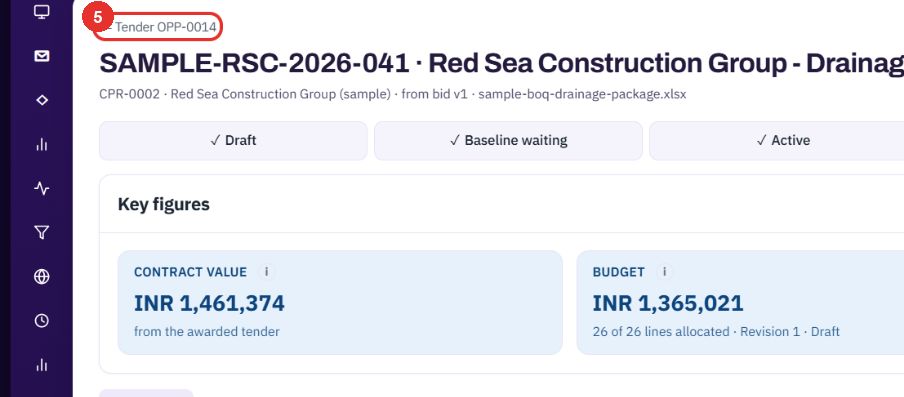
The link at the top left, here Tender OPP-0014, goes back to the tender the project came from.
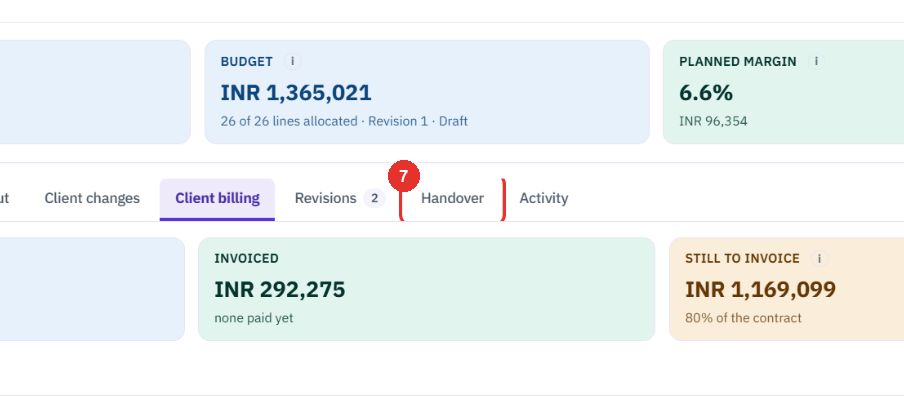
Draft, Baseline waiting, Active, Handed over, Closed. The Contract projects guide covers each tab.

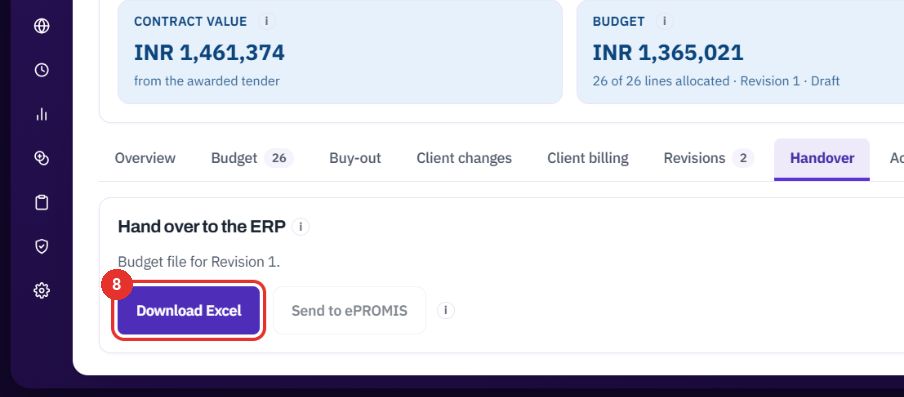
The tab holds Hand over to the ERP.
It downloads the budget file for the current revision. Send to ePROMIS sits next to it, grey here.
Twenty minutes on a live workspace, with your files and your team.