1
Click Open on a project
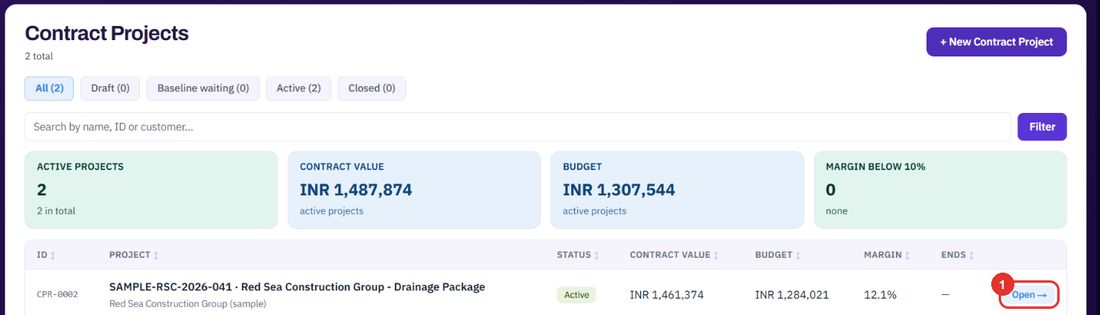
The Contract Projects list shows contract value, budget and margin. The filters are All, Draft, Baseline waiting, Active and Closed.
A won tender becomes a contract project. You allocate the budget, buy out packages from suppliers, record client changes and billing, and hand the budget to the ERP.
Want the full chapter? Solution Guide, chapter 2: Sales and tenders (PDF) · All documentation
The project shown is SAMPLE-RSC-2026-041.
The Contract Projects list shows contract value, budget and margin. The filters are All, Draft, Baseline waiting, Active and Closed.
The link at the top left goes back to the tender the project came from.
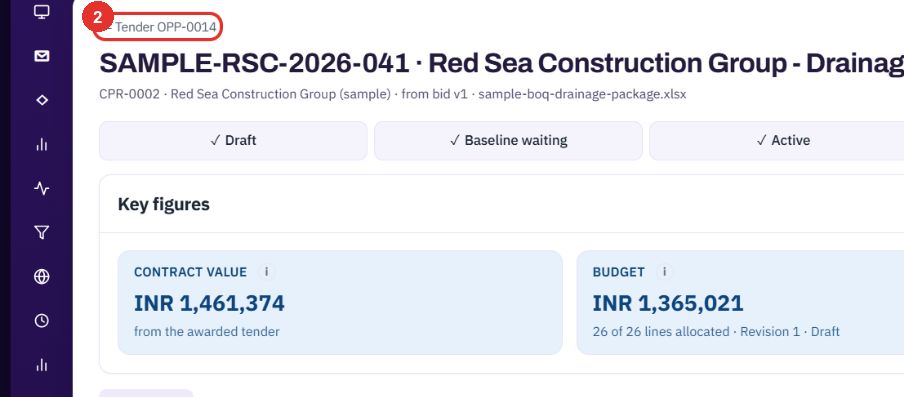
Draft, Baseline waiting, Active, Handed over, Closed. A tick marks a step reached.

Contract value, Budget and Planned margin. The section collapses.

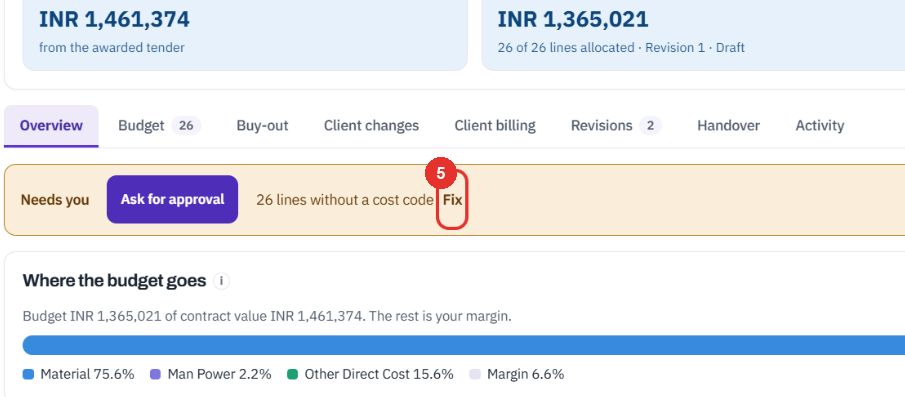
Needs you lists what a person must fix, each with a link. Here: 26 lines without a cost code.
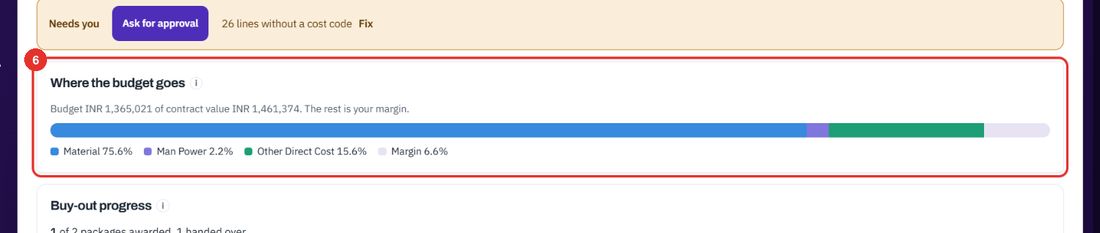
One bar of the contract value: the budget by cost type and the rest, your margin.
You decide the budget. The system does not make it for you.
Choose BOQ line to type a cost on each line, or WBS to type one cost on each bottom-level WBS item. Open the Budget tab first. Once a baseline is approved or waiting for approval, the choice is locked.
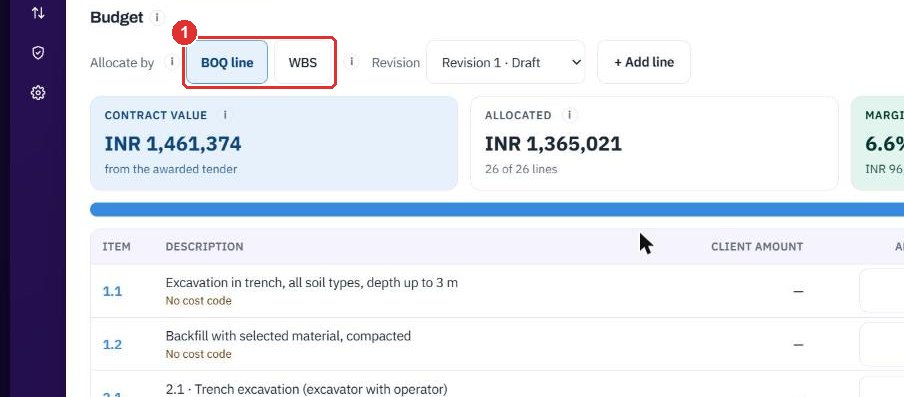
Contract value, Allocated and Margin so far. Margin is the contract value less what you allocated, live.

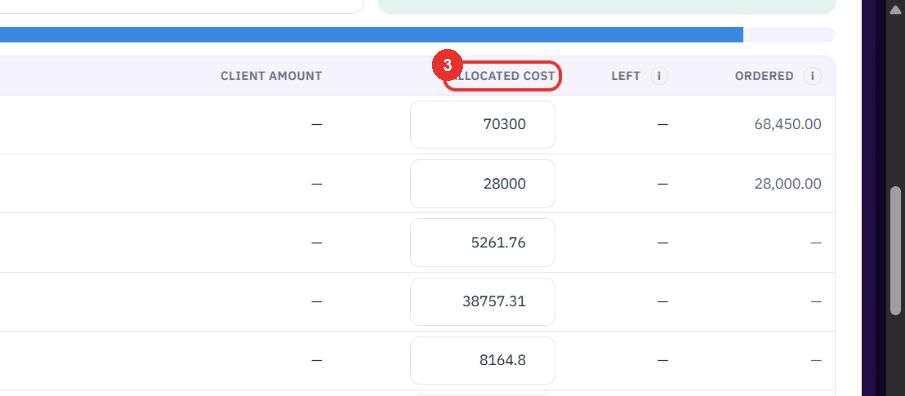
Type a cost for each line. Left is the client's amount less your cost. Ordered shows what buy-out has ordered. Save allocation is at the bottom.
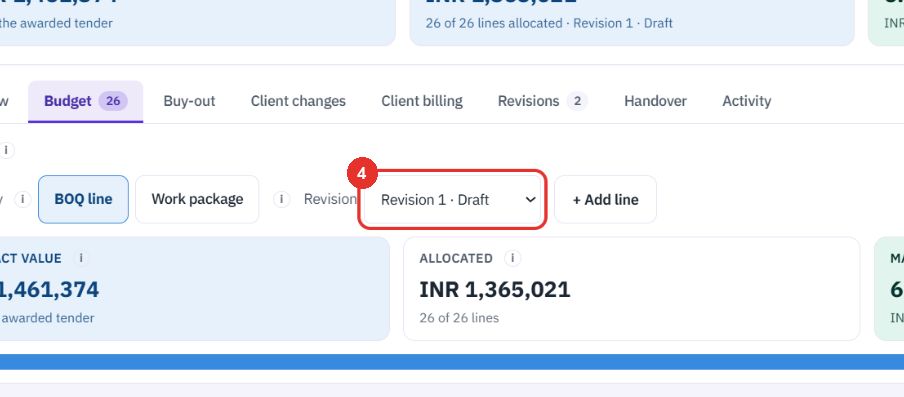
The list holds Baseline · Approved and later revisions such as Revision 1 · Draft.
With WBS chosen, the Budget table lists the WBS items. Type a cost on each bottom-level item. Its lines follow. A parent shows the total of its sub-items and cannot be typed. Left and Margin so far work as before. Switching clears the typed costs and keeps your WBS. Set the WBS up first, as shown in the next section. The demo project has no WBS items yet, so this step has no screenshot.
A WBS groups budget lines into the parts of work you will run, each with an owner. It is the same tree you build on the tender. Lines are never counted twice.
The tab sits next to Budget. The number on it is how many WBS items the project has.
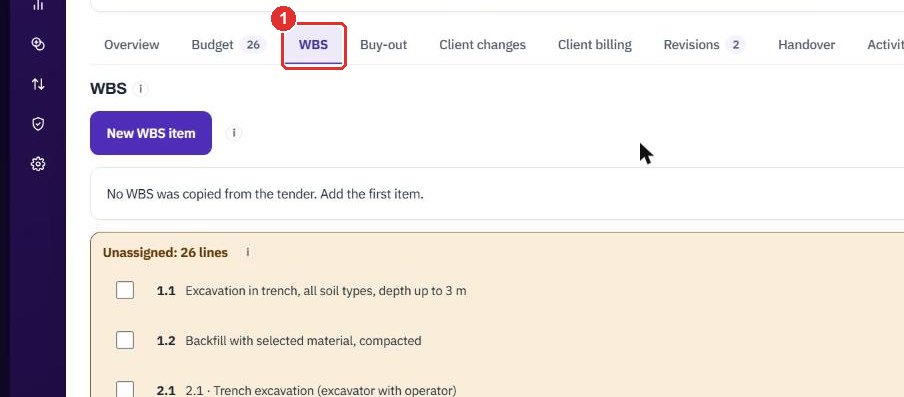
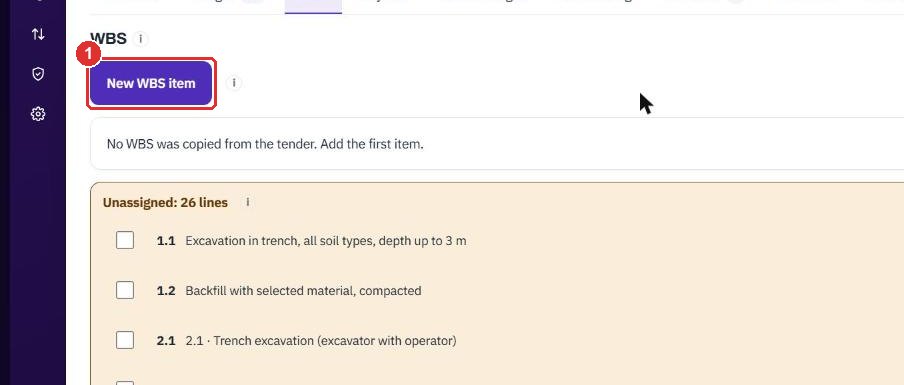
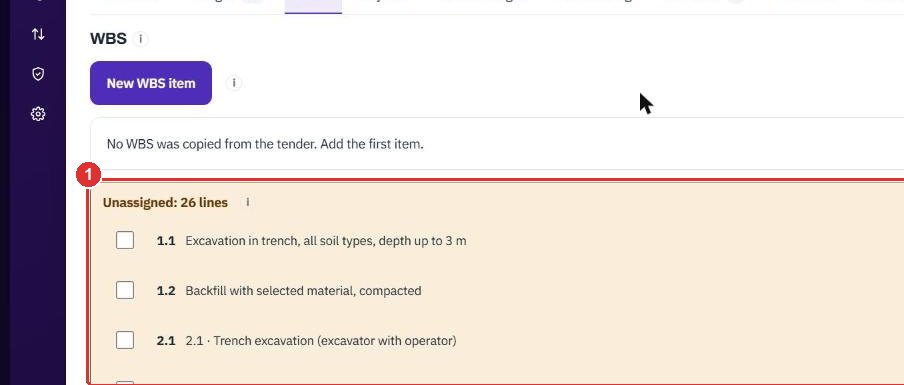
A project made from a tender that has a WBS starts with a copy of it: the items, their owners, the lines in them and any splits. The project keeps its own copy, so a change here never touches the tender. When the tender had no WBS, the tab reads No WBS was copied from the tender. Add the first item.
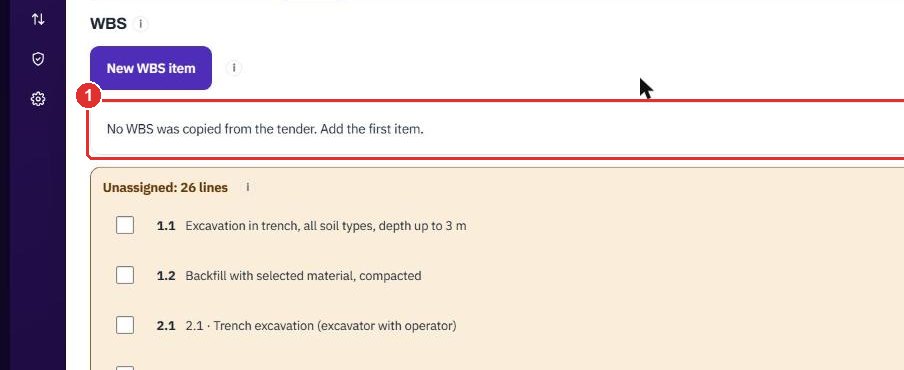
A side panel opens. Renumber sits next to the button once the project has items.
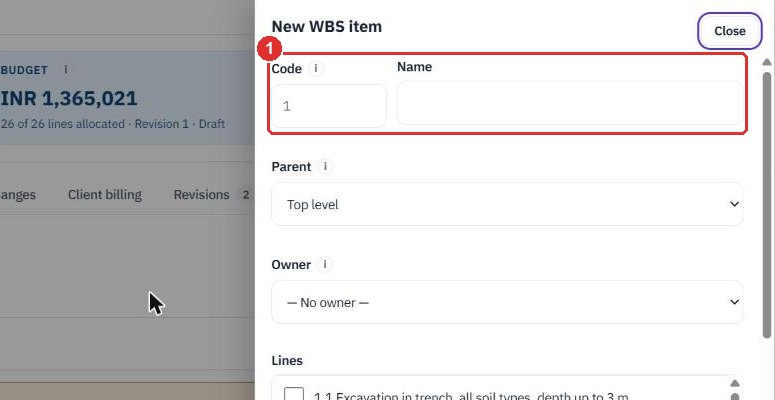
The name is required. Leave Code empty and it numbers itself: 1, 1.1, 1.1.1. Type your ERP's code and it is kept. Parent nests the item, up to three levels.
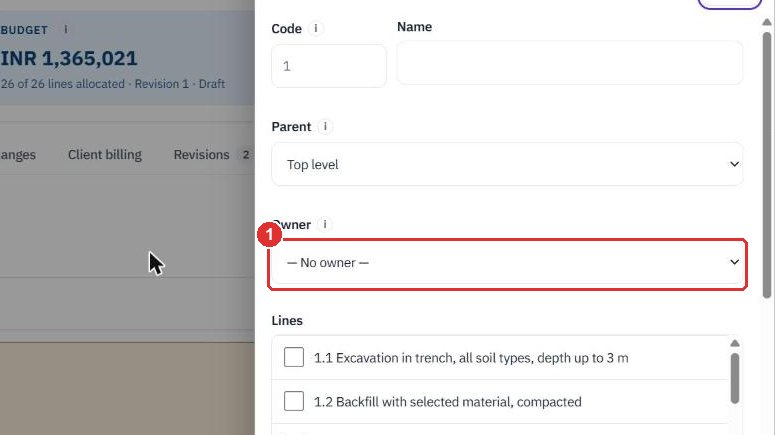
The owner runs this part of the work. Only an employee with a login can own an item. Employees without one are under No login yet. Pick one and the panel offers Create login. The item cannot be saved until the login exists.
The list holds the budget lines. A line already in another item is greyed and shows which one. A line sits in one item. An item with sub-items holds no lines itself. Add a Note if you want, then click Save WBS item. This guide did not save one.
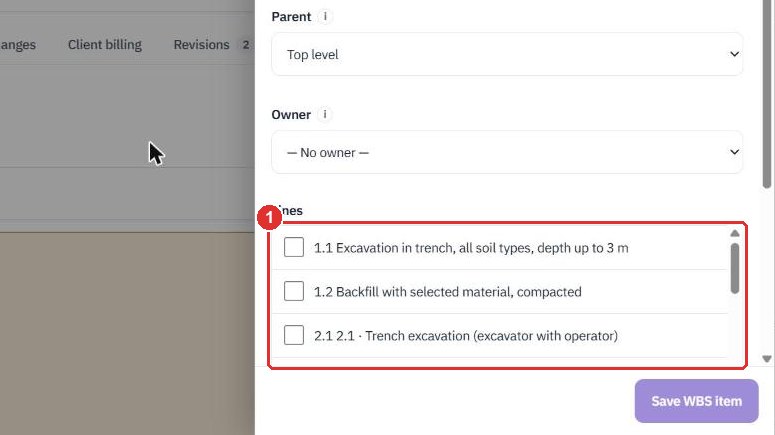
Lines in no item are listed in amber. Tick lines, choose an item in the bar that appears and click Group into WBS. A line inside an item has Split, which shares it across items in the same panel as on the tender.
Each item shows Owner, Lines, Client amount and Allocated. A parent adds up its sub-items. When several people own items, owner buttons above the tree show one person's items. An amber line counts the items that still have no owner. The demo project has no items, so this step has no screenshot.
Once the baseline is approved, the budget is locked and no cost can be typed. When you allocate by WBS, the lines also stay where they are, and the WBS tab says Allocation locked: baseline approved. Names, codes, parents and owners can still change.
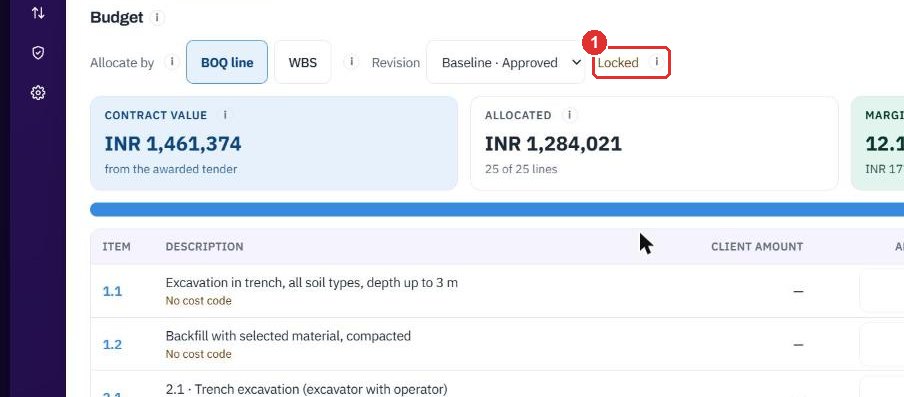
Open the Revisions tab and click Start revision. The new revision is a draft, so costs and line moves open up again. It needs its own approval. The demo project already has a draft revision, so this guide did not start one.
Group budget lines into packages, ask suppliers for quotes and award them.
The tab lists the packages and the supplier group they are bought from.
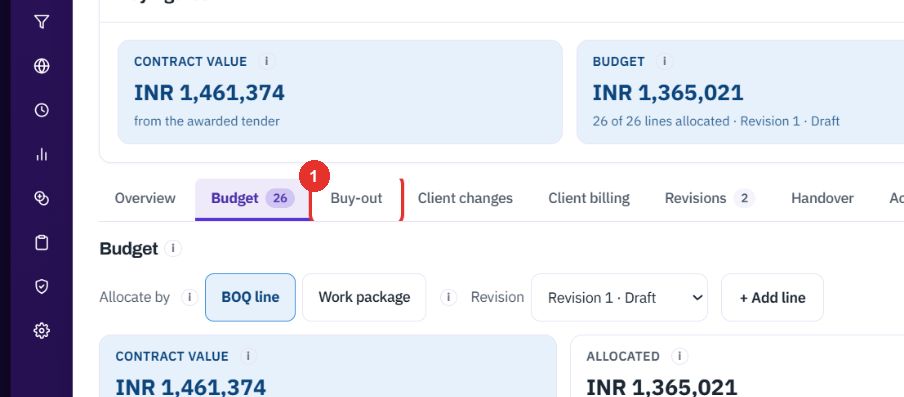
Packages, Ordered vs budget and Needs decision.

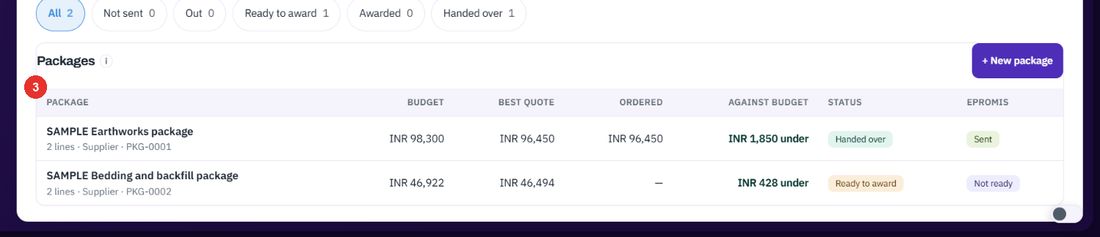
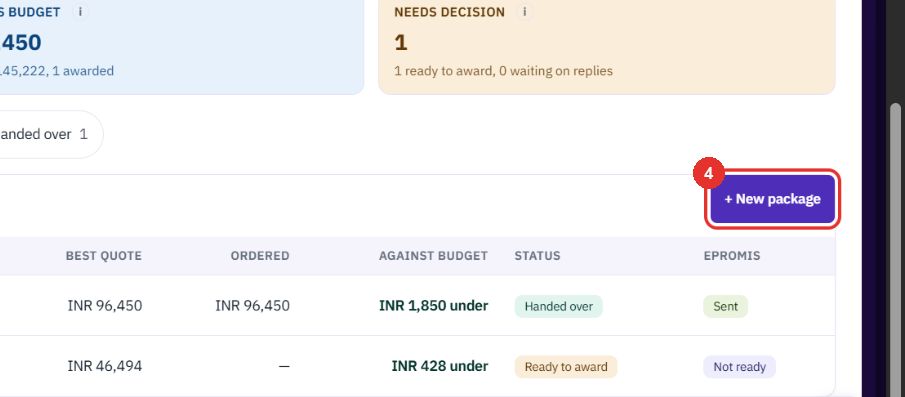
One row per package: Budget, Best quote, Ordered, Against budget, Status and ePROMIS. Chips above filter by status.
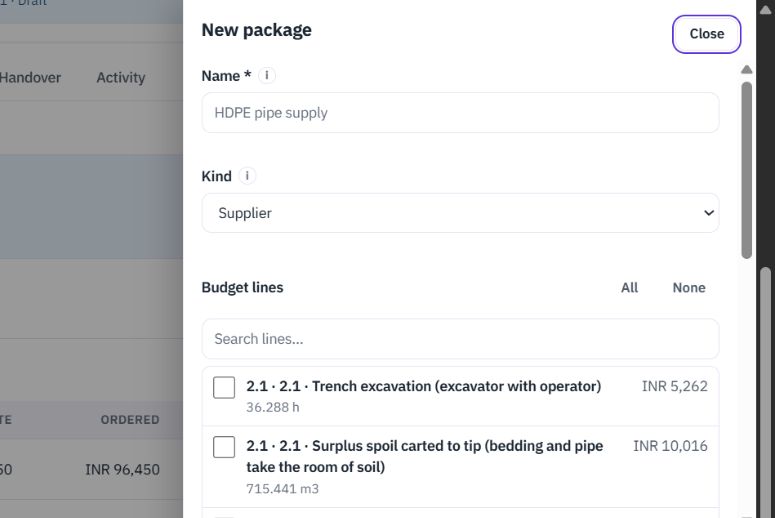
Enter a Name, choose the Kind (Supplier or Subcontract) and tick the budget lines. Create package saves it. This guide did not create one.
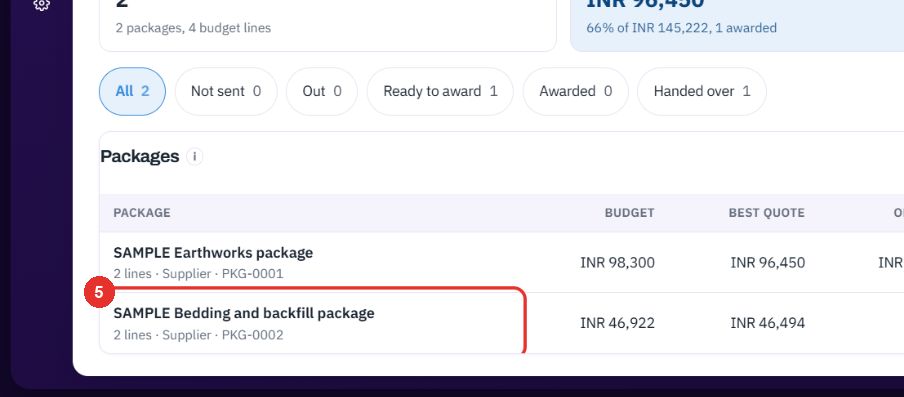
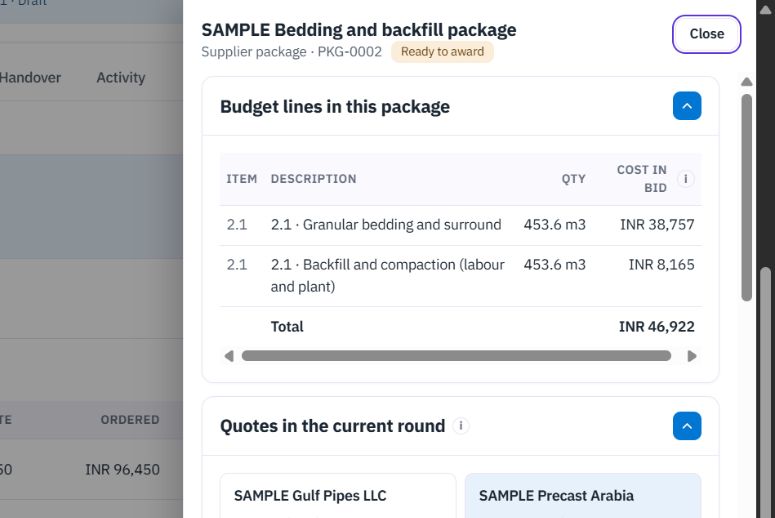
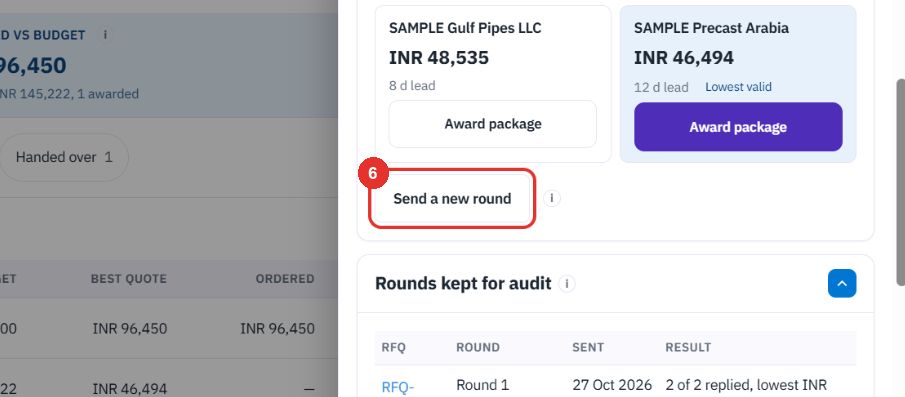
The panel shows its budget lines, the quotes in the current round with Award package, the rounds kept for audit and the figures against budget.
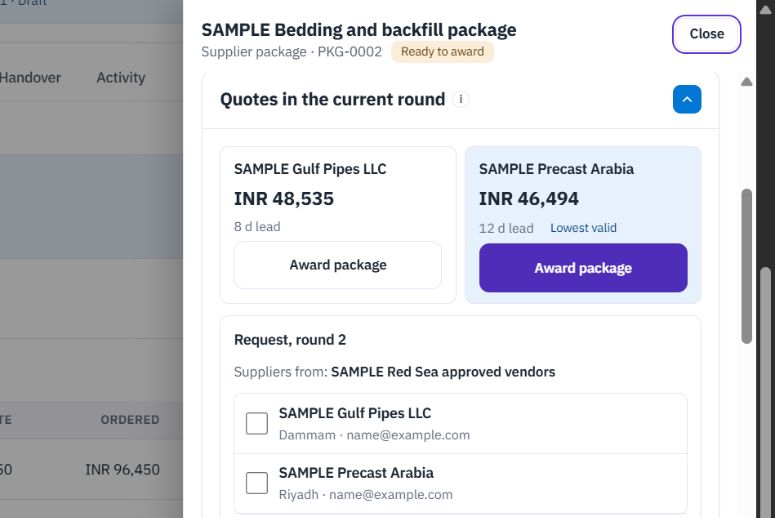
Tick the suppliers, set Reply by and send the request. The form was opened but not sent.
Start a package from the lines an item holds, so you do not tick them one by one. It needs an approved baseline and the Buy-out tab.
On the WBS tab open the three dots of an item and click Edit. The item opens in a side panel. The demo project has no WBS items, so this step has no screenshot.
The button sits under the Lines list, with an "i". It shows for an item that already exists, on a project you can change and that has Buy-out. The item panel closes and the new package panel opens. If the baseline is not approved yet, the tab says Packages are made from the approved baseline. Approve the baseline first. The demo project has no WBS items, so this step has no screenshot.
The Name starts as the item's name. The ticked lines are the item's lines in the approved budget, sub-items included. A line split across items goes in whole, because a supplier prices the whole line, and grey text beside it shows the share this item holds, for example 60 % in this WBS item. A line already in another package is listed unticked and names that package. Reserve lines are left out. The demo project has no WBS items, so this step has no screenshot.
Change the name, choose the Kind or tick and untick lines first if you want. Create package saves it and opens the Buy-out tab. Go on as in Buy out packages. The demo project has no WBS items, so this step has no screenshot.
Record what the client changes after the award, bill in milestones and hand the budget to the ERP.
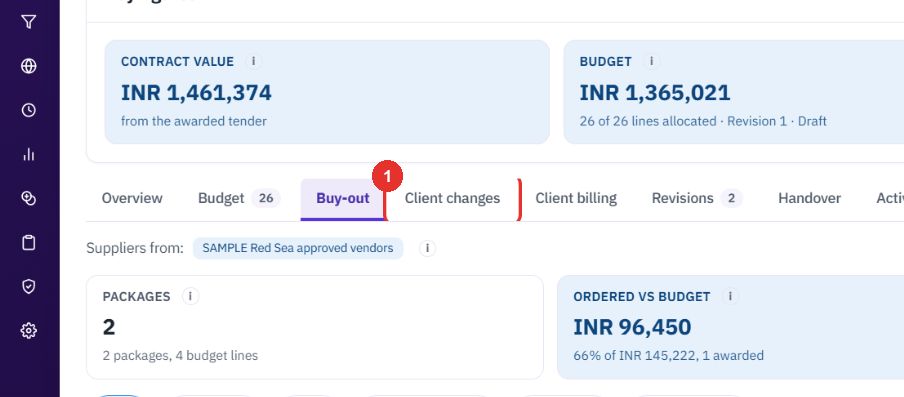
The tab holds change orders from the client.
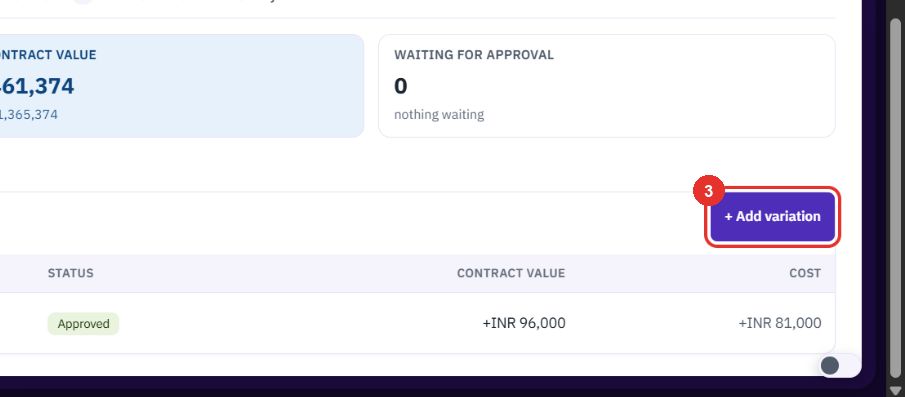
Approved variations, Revised contract value and Waiting for approval. An approved change moves the contract value.

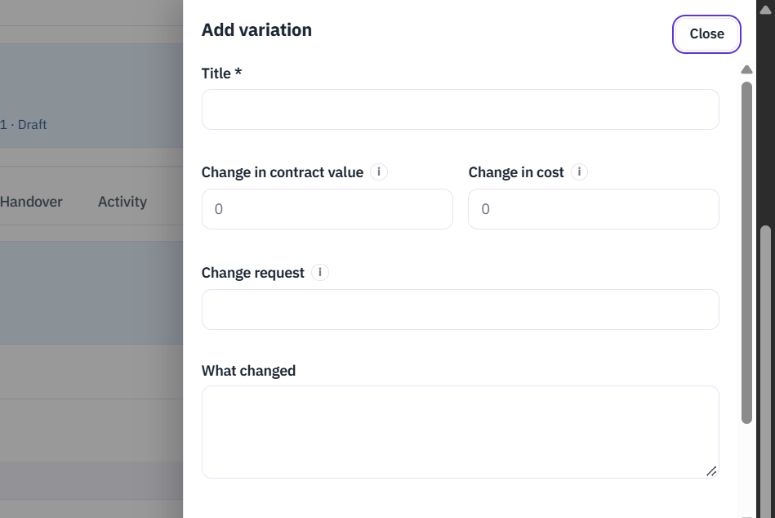
The panel asks for a Title, the Change in contract value, the Change in cost, a Change request and What changed. This guide did not save one.
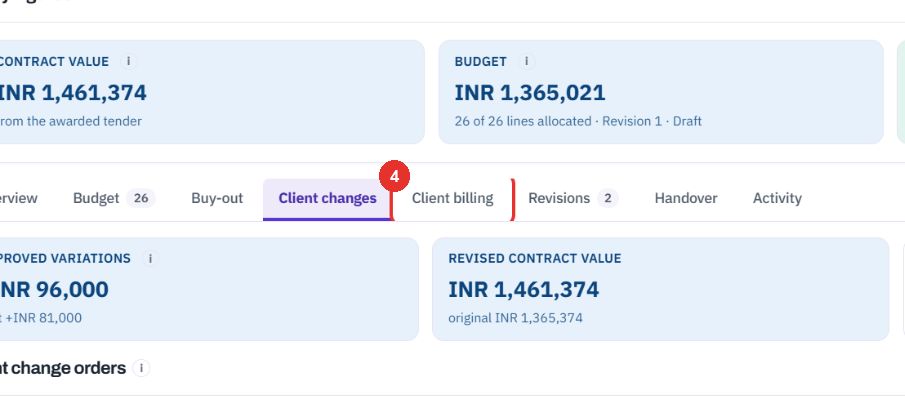
The tab shows Contracted, Invoiced and Still to invoice.

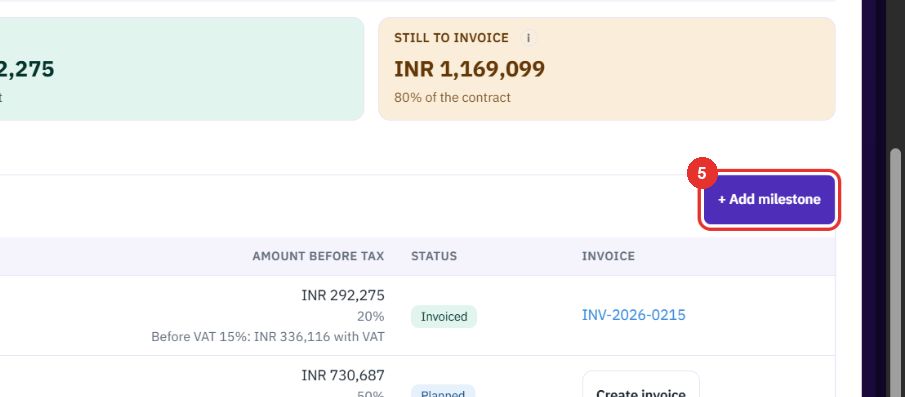
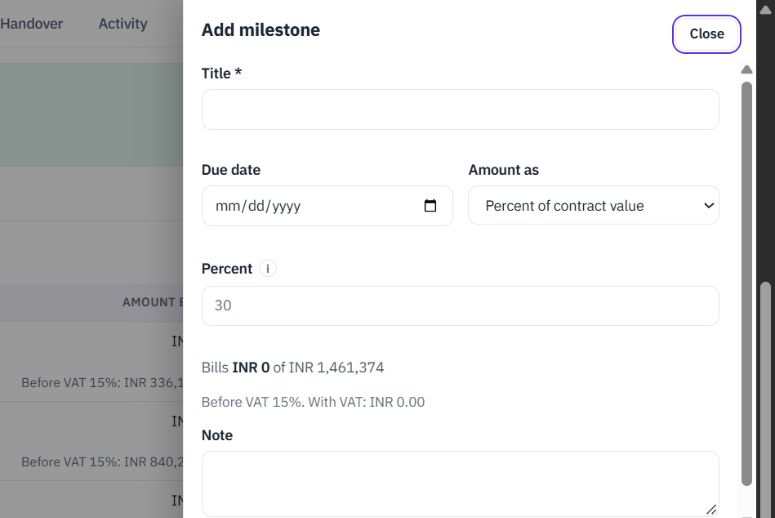
A milestone has a Title, a Due date and an amount as a percent of contract value or a fixed amount. This guide did not save one.
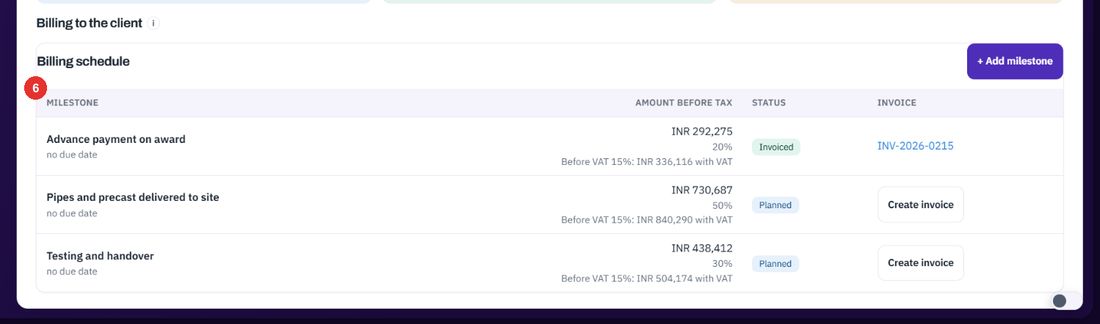
Each milestone shows its amount before tax, its status and its invoice. Create invoice raises the invoice for a planned milestone.
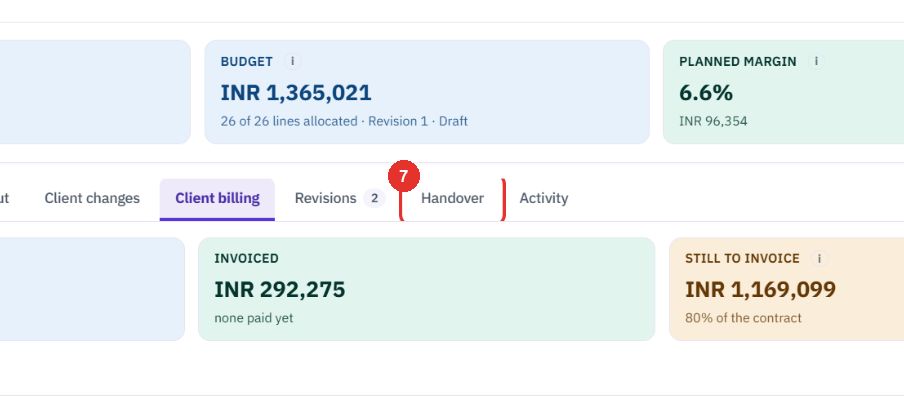
The tab holds Hand over to the ERP.
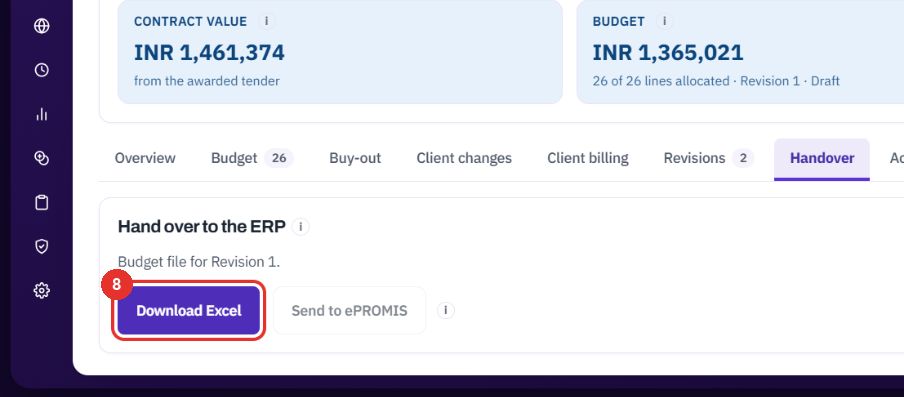
It downloads the budget file for the current revision. Send to ePROMIS sits next to it, grey here.
The workbook's Budget sheet has two columns for where a line sits. Item no. is the client's own item number from their BOQ. WBS item is the project's WBS: the item code for a whole line, a list such as 1.1 60 % · 1.2 15 % · 2 25 % for a split line, and empty for a line in no item. Excel files are not shown in this guide, so this step has no screenshot.
A new WBS sheet comes with the file when the project has WBS items. It has one row for each item in tree order: WBS, Name, Parent, Owner, Client amount, Allocated and Lines, with sub-items rolled up. Under an item, one row for each part of a split line shows its Share %, Qty, Unit and client amount. Whole lines are not repeated, because the Budget sheet already says where they sit. The file is internal and carries cost.
Twenty minutes on a live workspace, with your files and your team.