1
Click My Details → on My Workforce
My Workforce is the punch screen (app.bpmsquare.com/wfm/me).

Request leave or overtime from your own page, and review leave, overtime and punch corrections as a supervisor. Each step shows the exact button to click. Approve and Reject are described but never clicked.
Want the full chapter? Solution Guide, chapter 4: Workforce (PDF) · All documentation
Do this from your own My Details page. Your supervisor approves or rejects it.
My Workforce is the punch screen (app.bpmsquare.com/wfm/me).
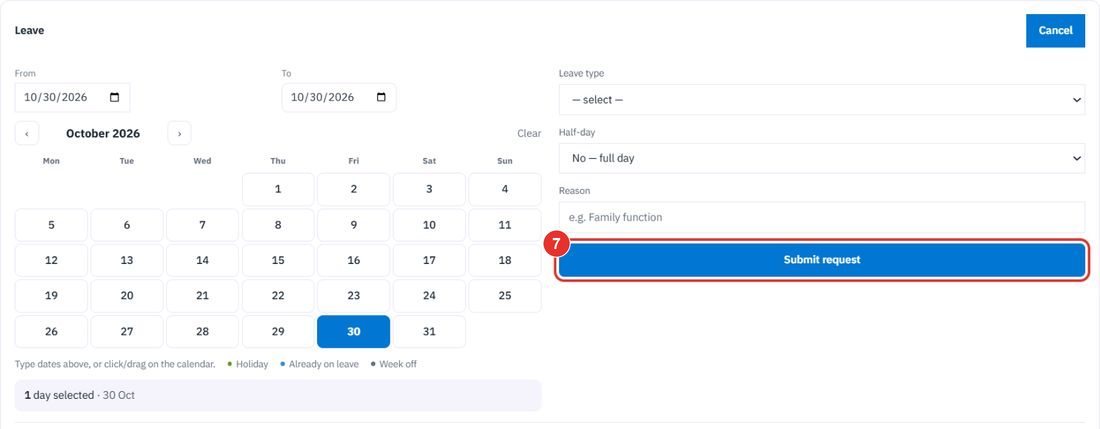
The Leave balance line shows how many paid and unpaid days are left. Requests you made earlier are listed under Leave.

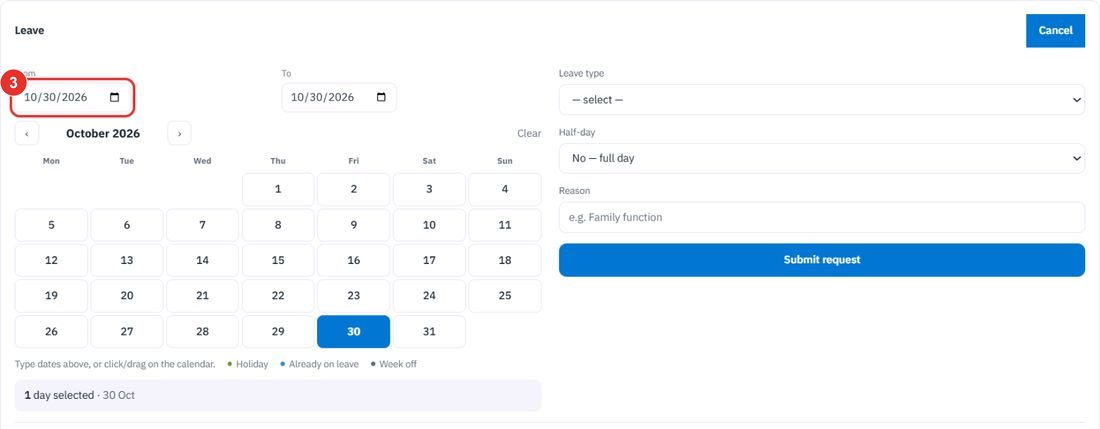
Type From and To, or click and drag on the calendar. The calendar marks Holiday, Already on leave and Week off.
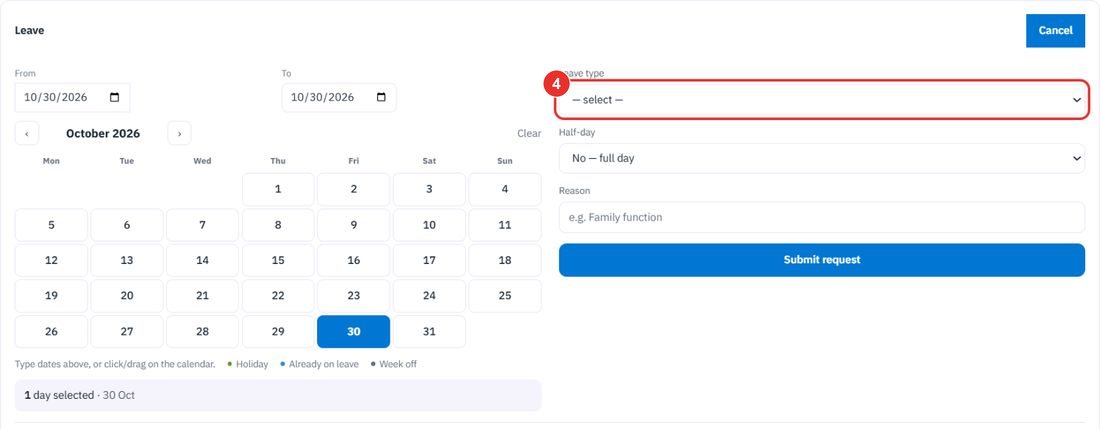
The list shows how many days are left, for example paid Leave (12 left) and Unpaid Leave (12 left).
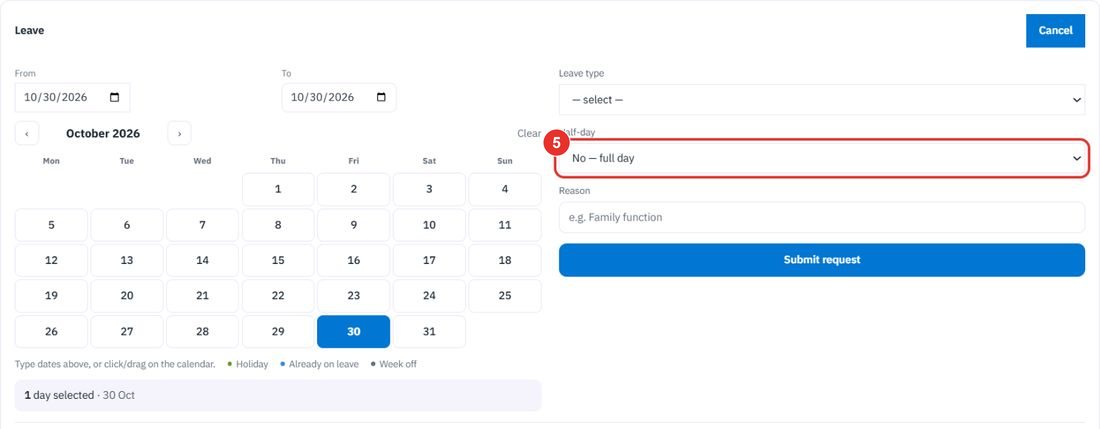
No — full day or Yes — half day.
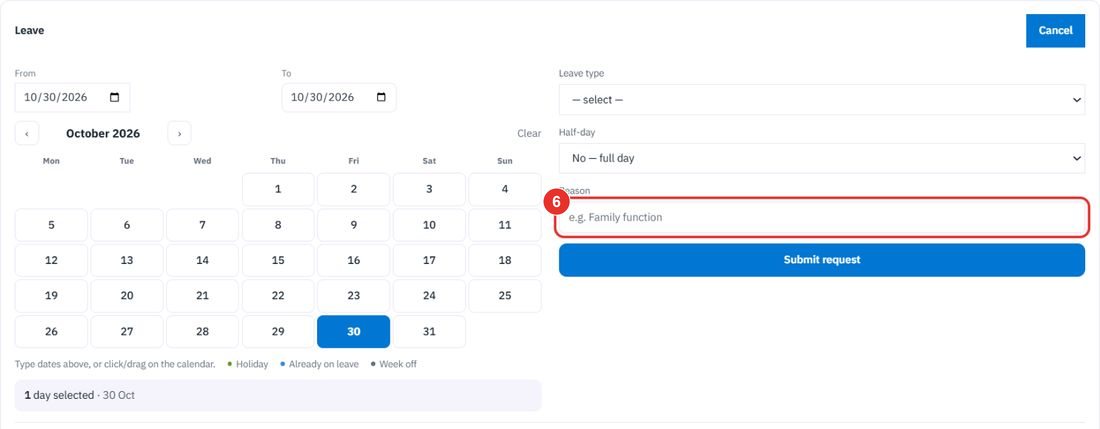
A short reason, for example Family function.
The request goes to your supervisor. Cancel at the top of the card closes the form.
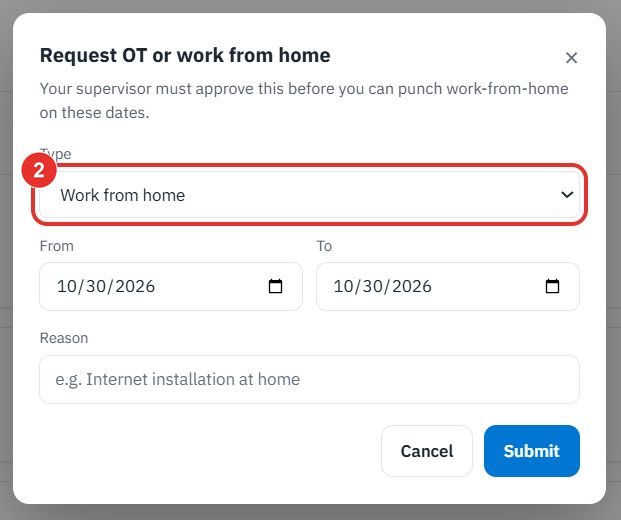
Do this before the day. Your supervisor must approve it before you can punch work-from-home on those dates.
It is under Overtime / Work from home on the Requests tab of My Details.

Work from home or Overtime (advance notice). Then set From, To and a Reason.
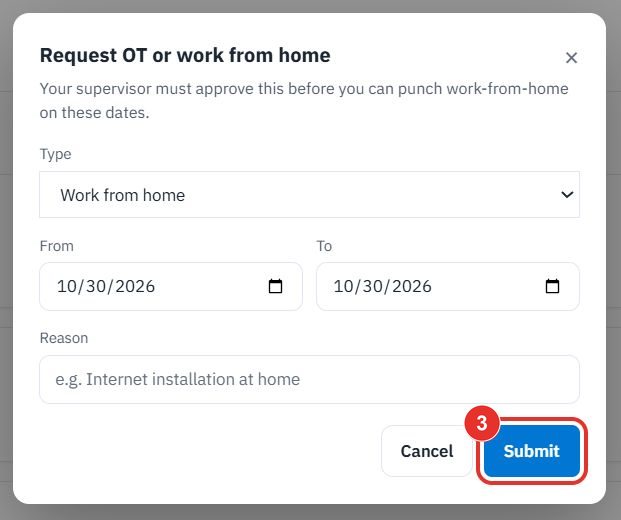
Submit sends the request. Cancel closes the window.
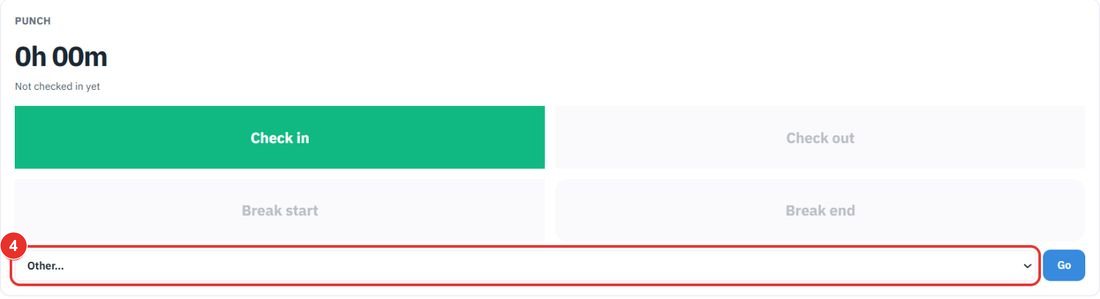
On the punch screen, the Other… list under the four buttons holds OT in.
Do this as a supervisor. Open app.bpmsquare.com/wfm/leave (Leave & Holidays). Leave types are set in Settings → Workforce.
Leave requests lists what employees asked for, with Employee, Type, From, To, Reason and Status. A waiting request has Approve and Reject buttons on its row. The demo workspace has none waiting.
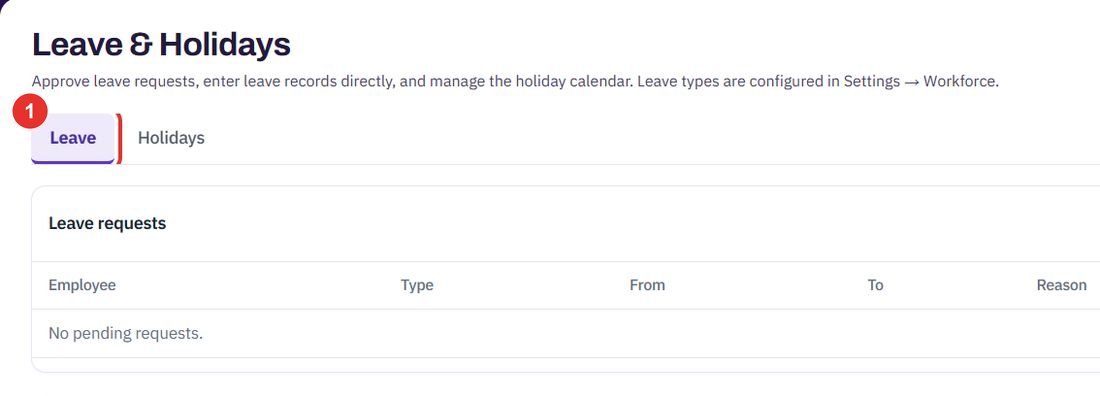
Pending shows only requests waiting for you. All also shows the ones already decided.

Type an employee, a leave type or part of a reason.

Scroll to Add a leave record directly. Choose the Employee, Leave type, From, To, Half-day and add Remarks.

Add leave writes the record. This guide does not click it.

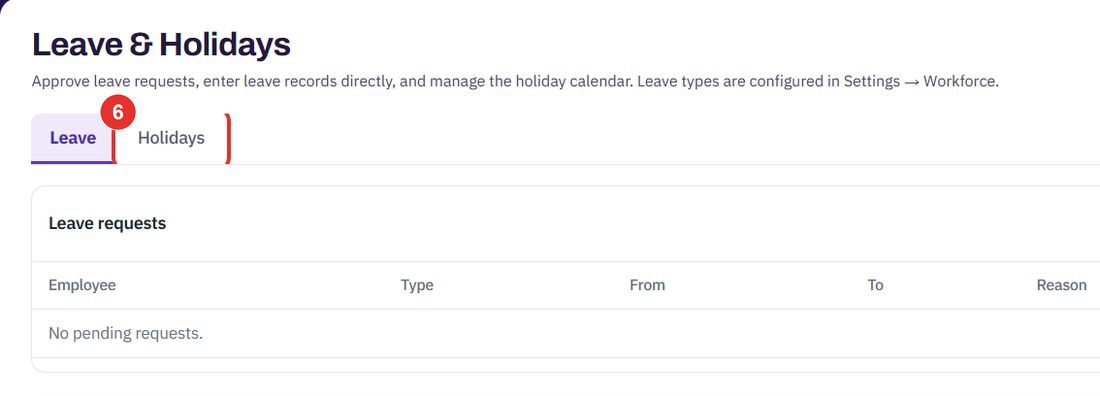
It holds the holiday calendar: days nobody is marked late or absent, shown on every employee's leave calendar. You can upload a whole year at once or add one holiday.
Do this as a supervisor. Open app.bpmsquare.com/wfm/corrections. Approving a correction writes a new event and supersedes the original; nothing is edited in place.
The table shows Employee, Date, From, To, Duration and Status. Waiting sessions have Approve and Reject buttons. The demo workspace has none, so it reads No overtime awaiting approval.
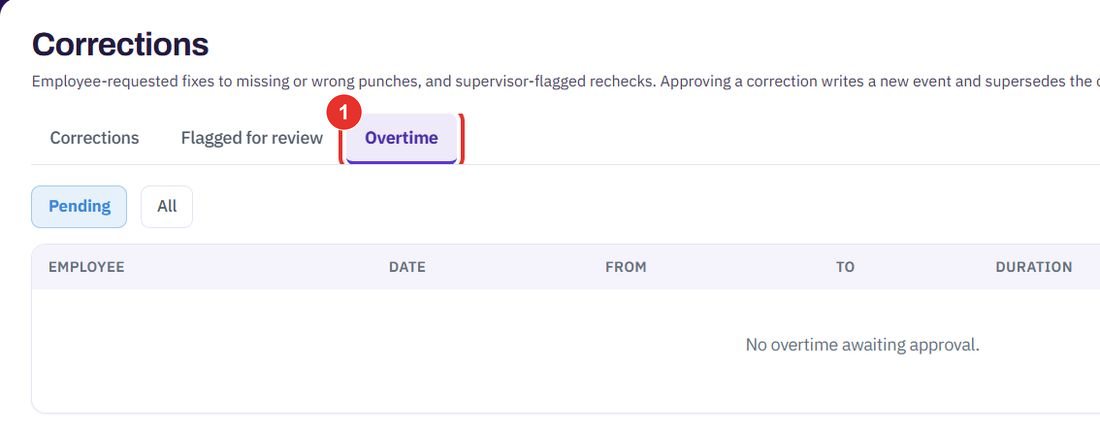
Pending is selected first. All also lists sessions already decided.
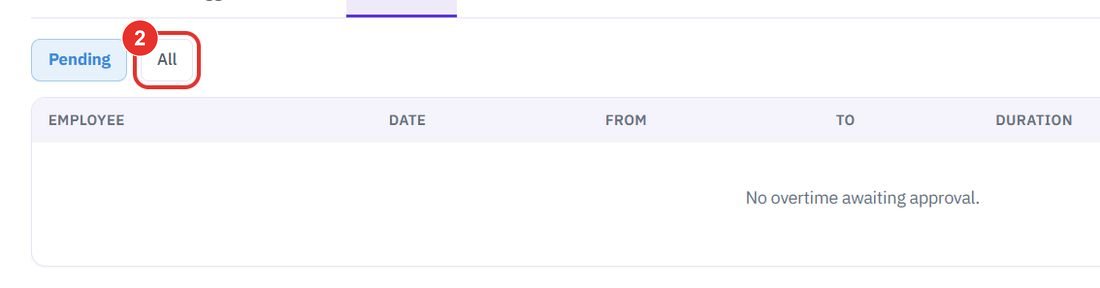
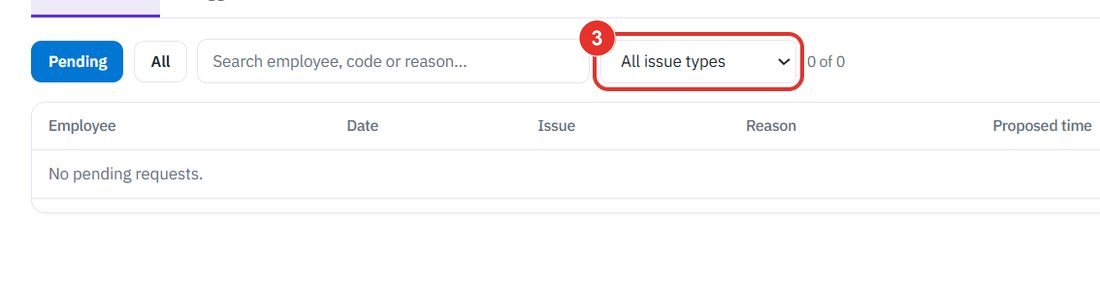
Use the search box or the All issue types list. Requests wait here with Approve and Reject buttons.
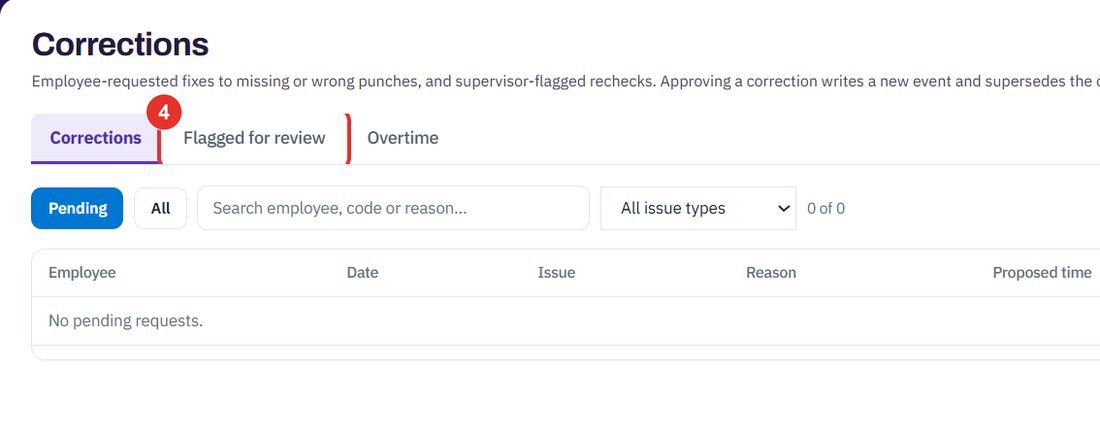
Supervisor-flagged rechecks are listed here.
Do this as an admin when one group of people works under other leave or weekly off rules, for example a trainee type with no paid leave. A new type needs no setup: it follows the workspace until you change a row.
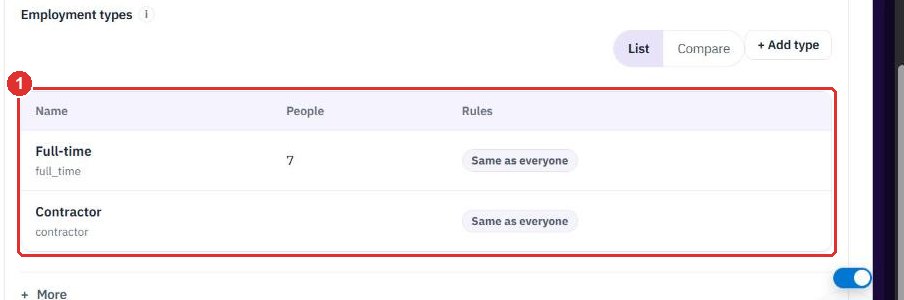
Open Settings → Workforce and stay on the Rules tab. Employment types lists each type with People, how many have it, and Rules. A type reads Same as everyone until you set a rule on it. After that it reads, for example, 2 custom.
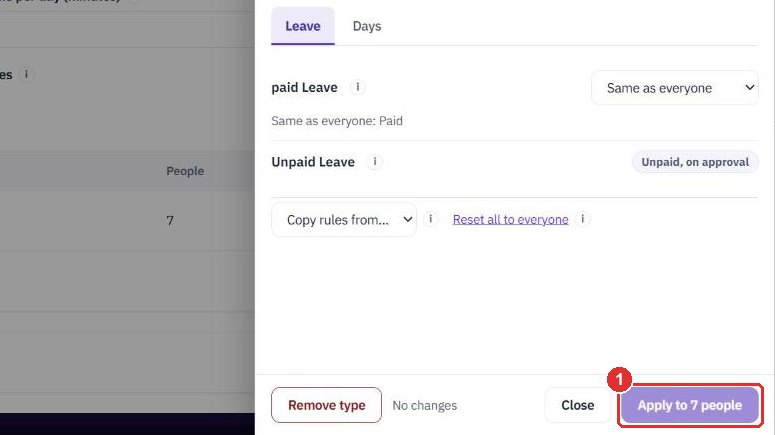
A side panel opens with the title Rules for <type>. Under it you see how many people have the type, how many leave requests are pending and how many custom rules it has. The panel has two tabs: Leave and Days.
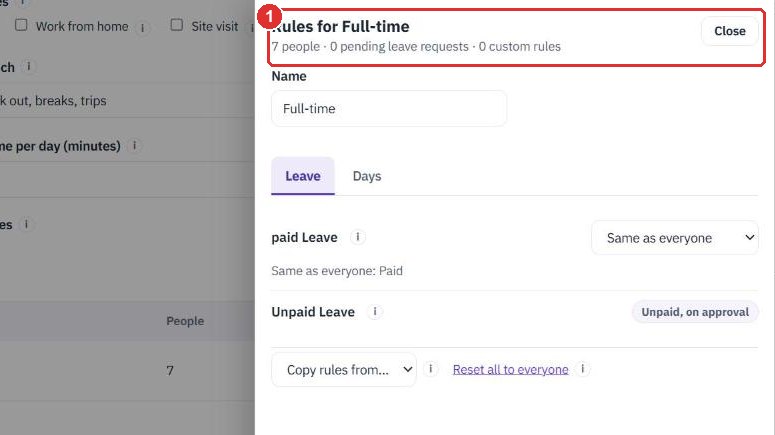
On Leave, each leave type has a list: Same as everyone, Unpaid, Paid, up to N a month and Not offered. Not offered hides the leave and refuses new requests. Unpaid records it but pays nothing. A leave type that is already unpaid shows Unpaid, on approval. This guide did not change a rule.
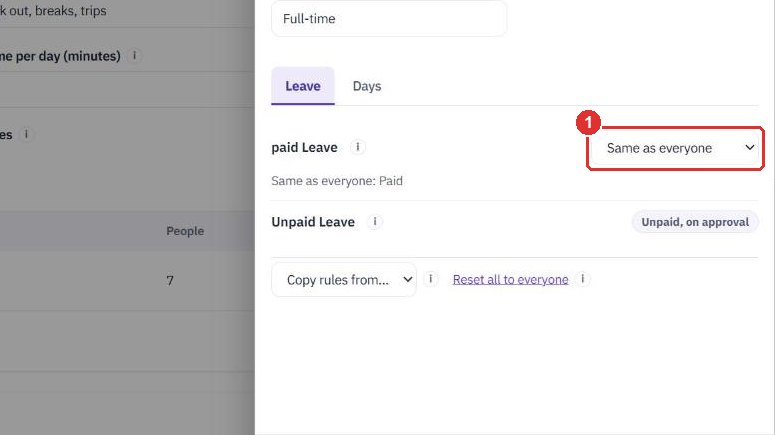
Weekly off days follows the workspace, or you choose Custom and pick the days. A custom list with no day means every weekday is a working day for this type.
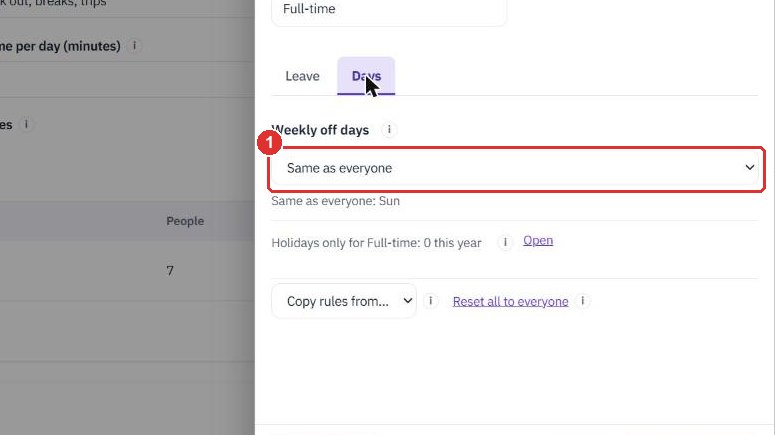
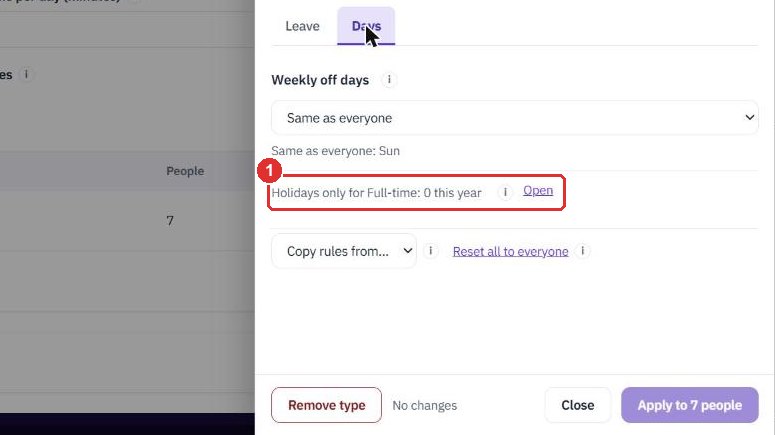
Holidays only for <type> says how many holidays this year apply to this type alone. Open goes to Leave & Holidays, where holidays are managed.
Copy rules from… copies another type's rows into this panel. Nothing is saved until you apply. Reset all to everyone clears every custom row, so the type follows the workspace again.
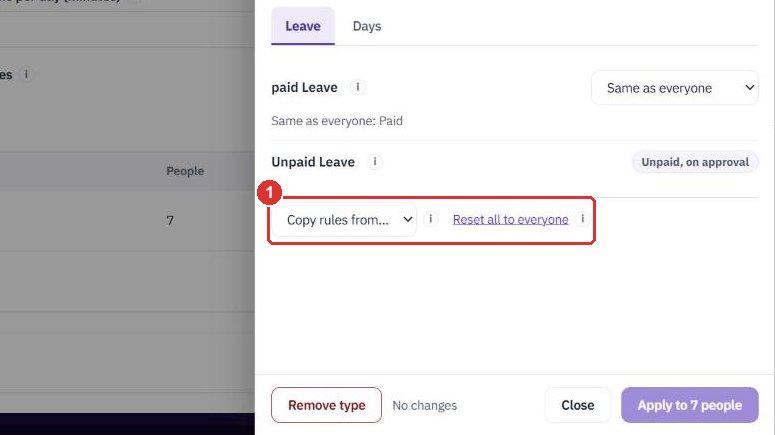
The button stays grey until you change something. It opens Review before applying, which lists each change as before and after. Click Apply there to save. The rules apply from the day you first apply them. Days before that keep the workspace rules and are never changed. Approved leave stays approved. Every change is logged in Change history. This guide did not apply anything.
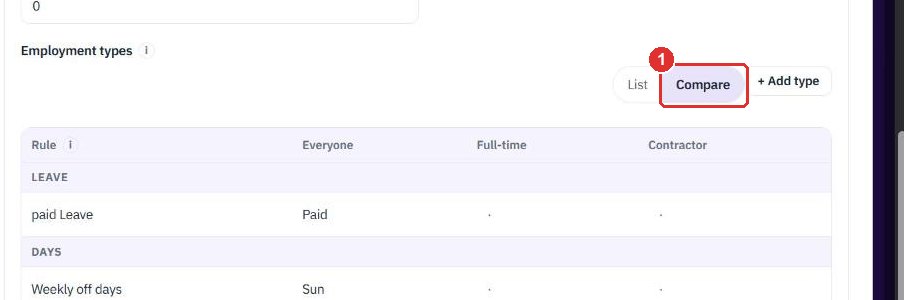
A List and Compare switch sits above the types.
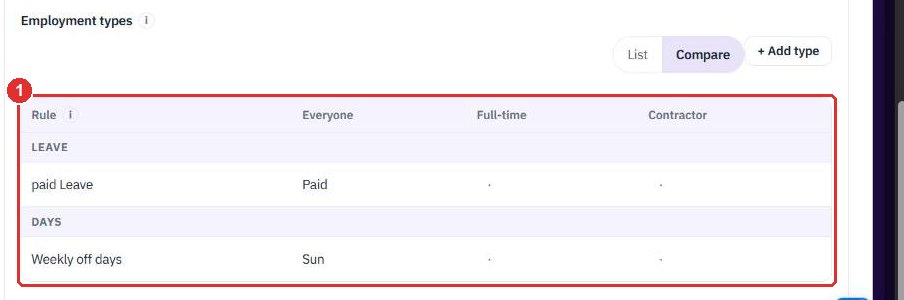
Types are columns and rules are rows. A dot means the type follows the workspace. A filled cell is a custom rule. Click a cell to open that type's panel on the matching tab.
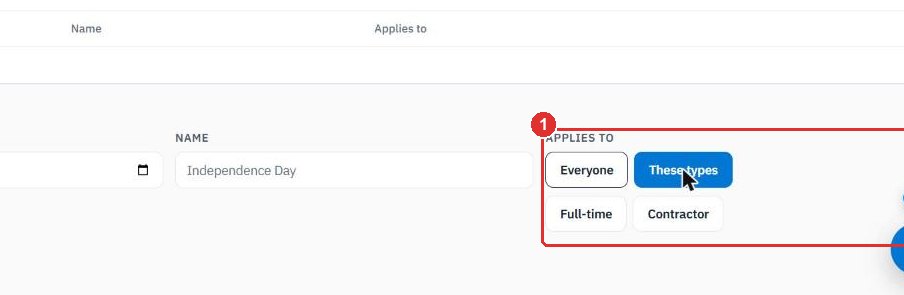
On Leave & Holidays, open the Holidays tab. Under Add a holiday, Applies to has Everyone and These types. Click These types and tick the types. The holiday calendar shows who each holiday is for. This guide did not add a holiday.
On My Workforce, a line says Not offered for <type> and names the leave types, and another shows the weekly off days. In the supervisor's leave table, a tag beside the leave type reads Unpaid for <type> or Not offered for <type>. A request filed before the rule changed stays in the list. Approve it to record it as unpaid, or reject it and point to the unpaid leave type.
Twenty minutes on a live workspace, with your files and your team.