1
Click + New Standard Quote
The button is at the top right of Standard Quotes. The page also shows how many quotes are Draft, Sent, Accepted and Rejected.
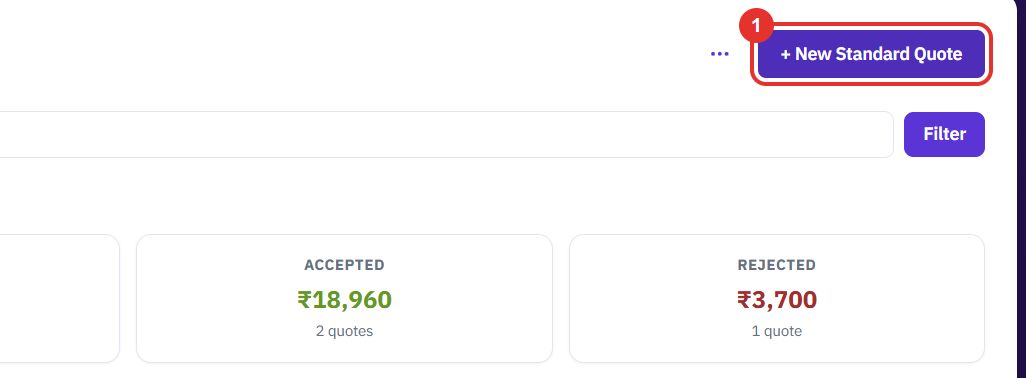
A standard quote is a plain quote for an account: line items, discount, tax and shipping, on a layout you choose. Build one, let the pricing engine price the lines, then send it.
Want the full chapter? Solution Guide, chapter 2: Sales and tenders (PDF) · All documentation
Use this for a straightforward priced quote for one account.
The button is at the top right of Standard Quotes. The page also shows how many quotes are Draft, Sent, Accepted and Rejected.
The form has three tabs: Quote details, Line items and Attachments. On the first, pick the Account. It is required.
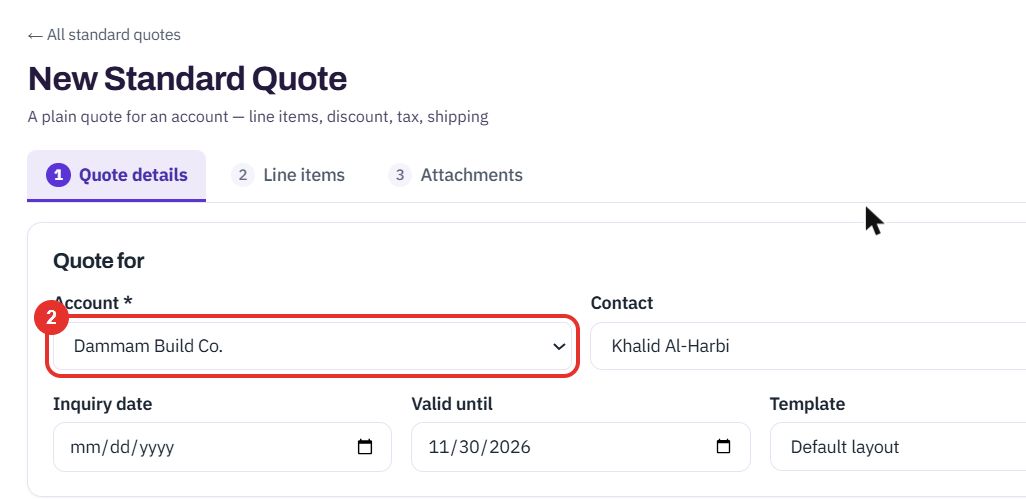
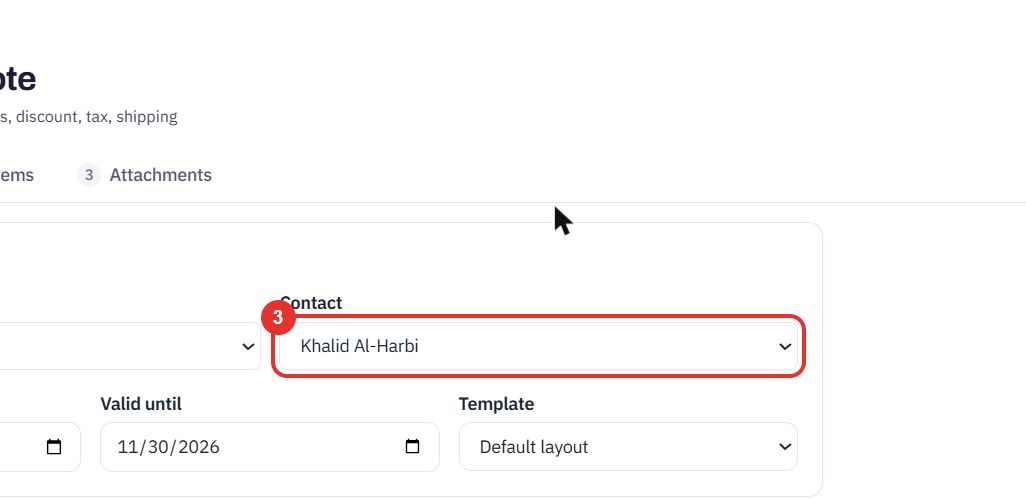
Pick the person the quote is for. The list shows contacts of the account. Leave None if you do not know yet.
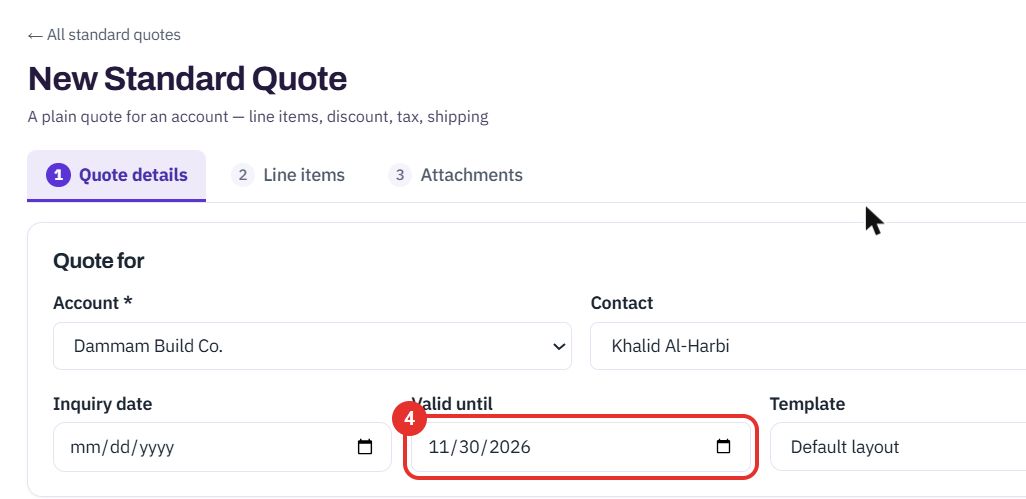
Enter the last day the offer holds. Inquiry date next to it is the day the customer asked.
Default layout is the built-in design. Templates your admin made appear in this list and set how the quote looks.
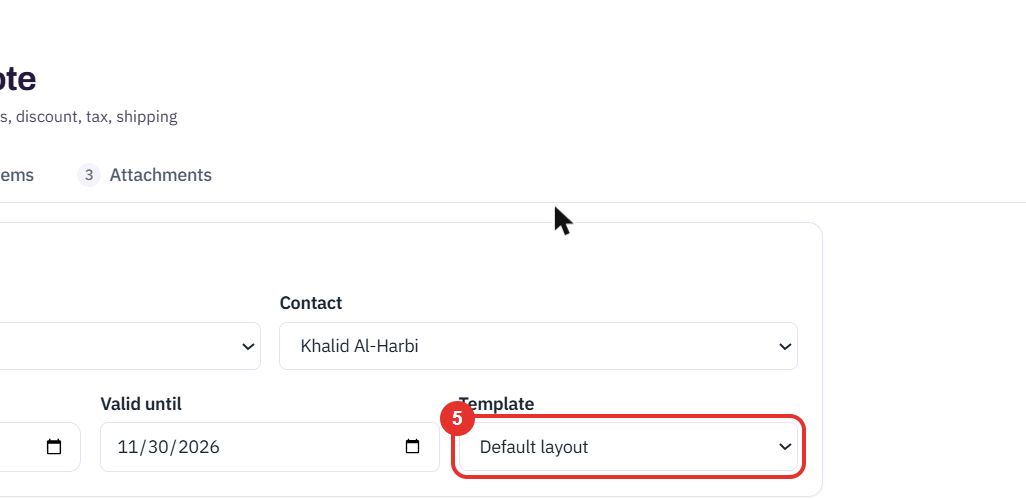
Go to Line items. The bar at the top now shows the quote name and total, and stays in view while you scroll.
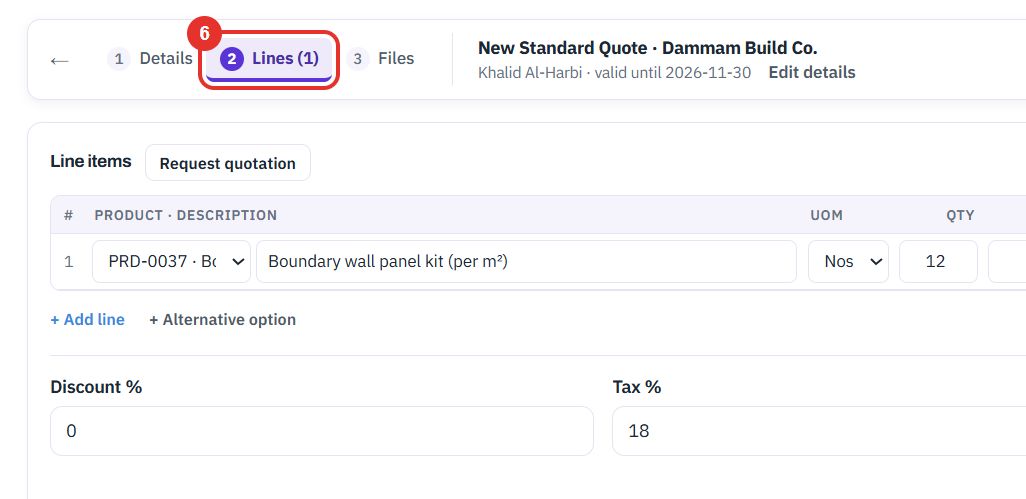
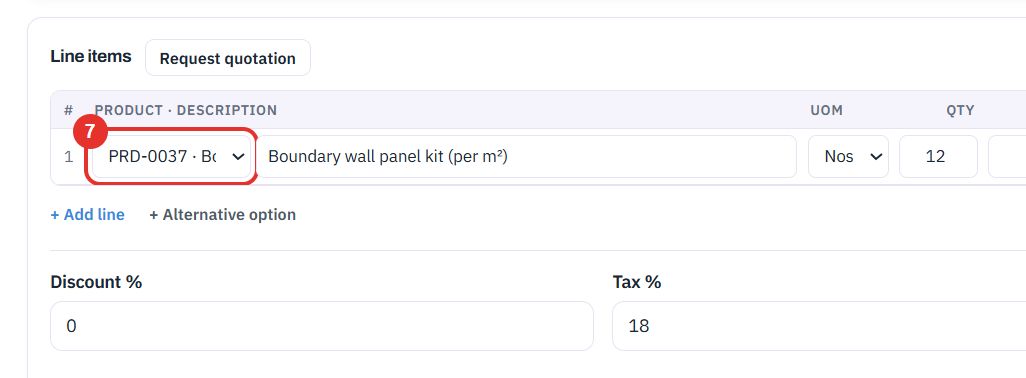
In PRODUCT · DESCRIPTION open No product and pick a catalog item. The description fills in. You can also type a free description.
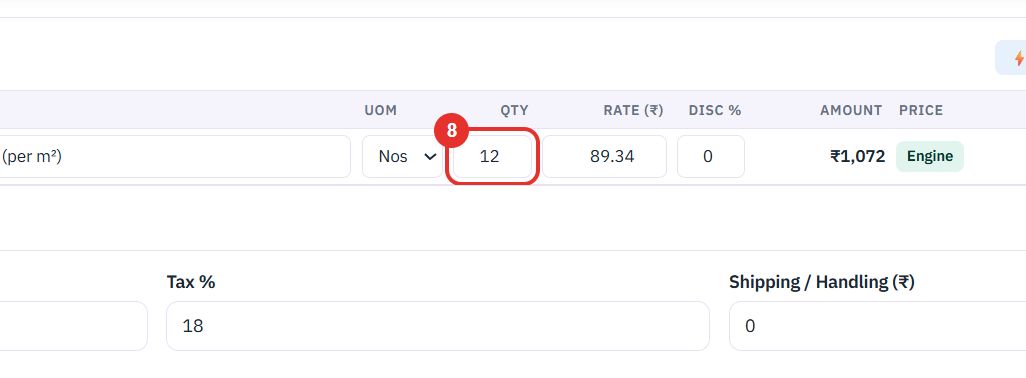
Type the quantity. UOM and RATE (₹) sit next to it. The AMOUNT is calculated.
These three fields apply to the whole quote and sit under the lines. The subtotal and total update at once.
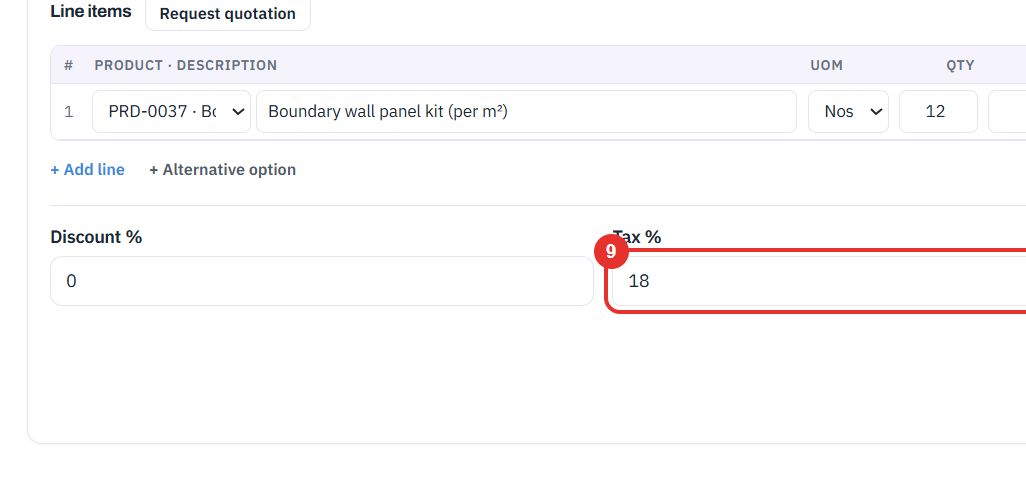
The button is in the top bar, next to the running Total. It saves the quote and gives it a number such as SQ-2026-0021.
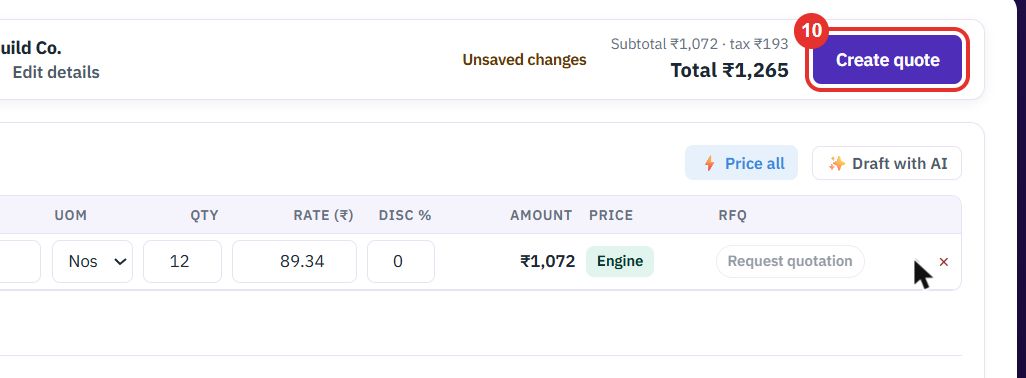
Use this to get a price from your rules and cost data instead of typing a rate.
The PRICE column holds a Price button on each line that has a product. After you click it the rate is filled in and the button reads Engine.
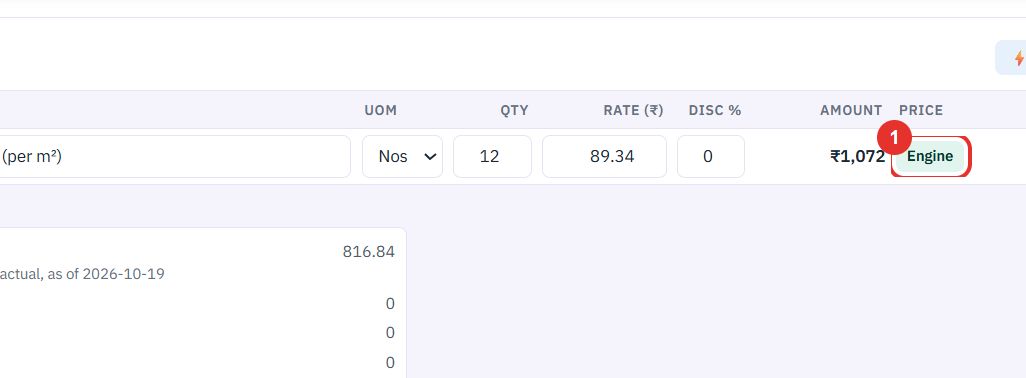
This prices every line in one go. It sits above the table next to Draft with AI.
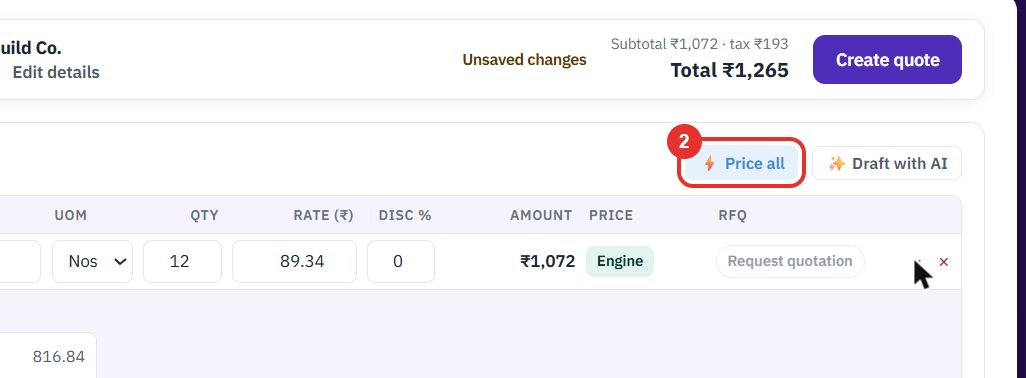
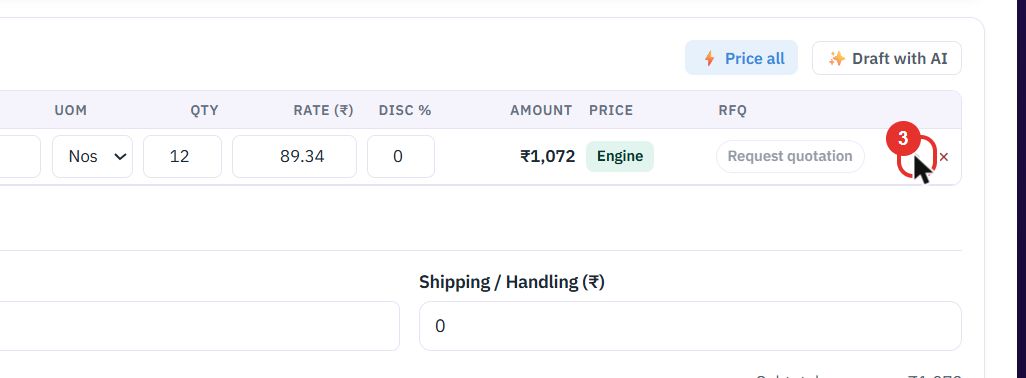
The small › at the right of the line opens the working behind the price.
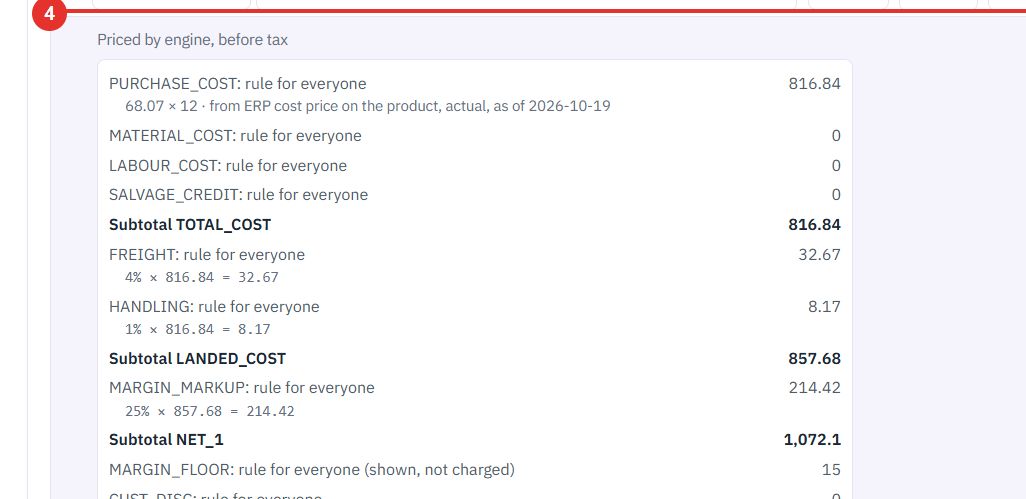
The panel says Priced by engine, before tax. Each row is one rule, for example PURCHASE_COST, FREIGHT and MARGIN_MARKUP, with the figure it added and the sum it came from.
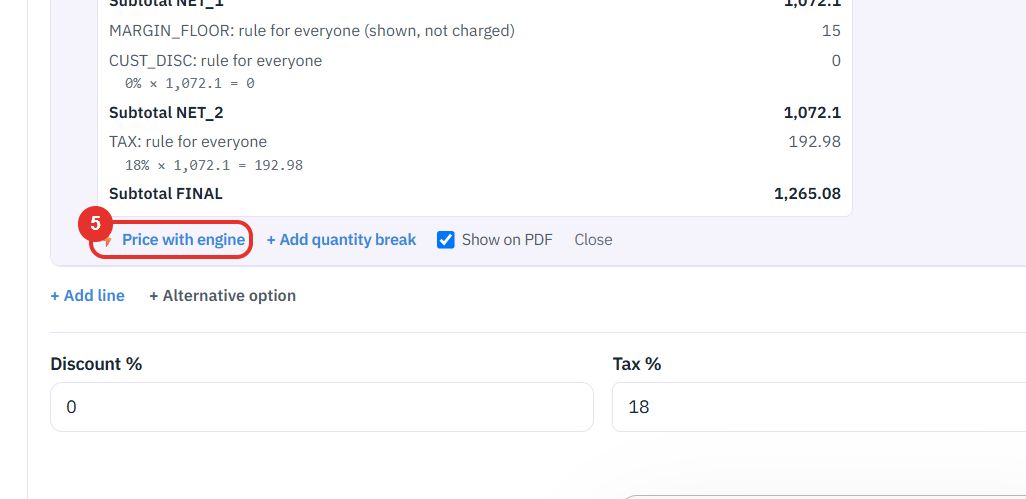
At the bottom of the panel, use this to price the line again after you change the quantity. + Add quantity break and Show on PDF are in the same row.
Use this when a quote is ready for the customer.
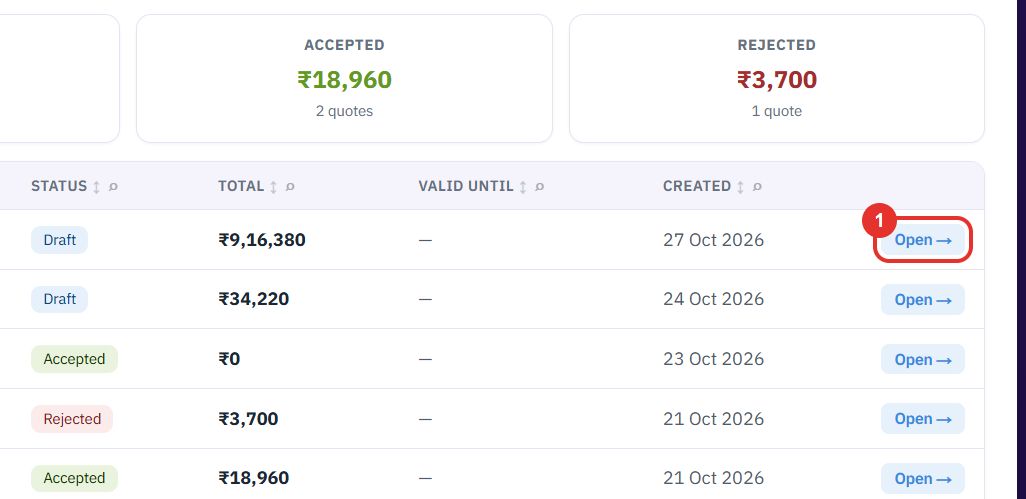
In the list, each row shows the reference, account, status, total and dates. Click Open → at the end of the row.
The tabs are Overview, Lines, Related and Activity. Lines shows the items, quantities and rates, and the number in the tab is the line count.
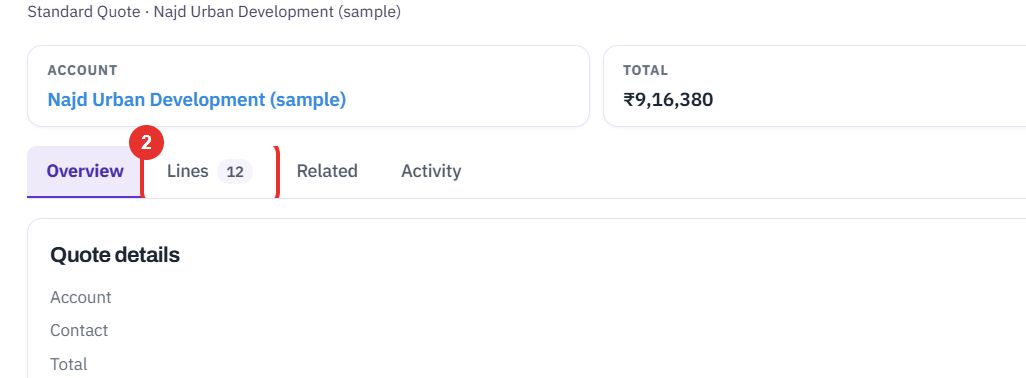
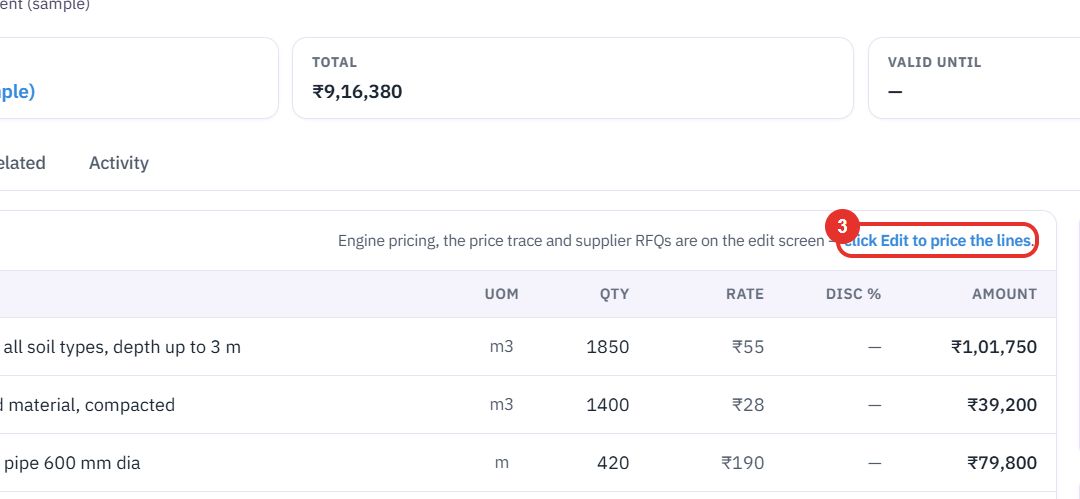
The saved quote shows the lines only. Engine pricing, the price breakdown and supplier requests are on the edit screen, which has the same layout as the form you used to create it.
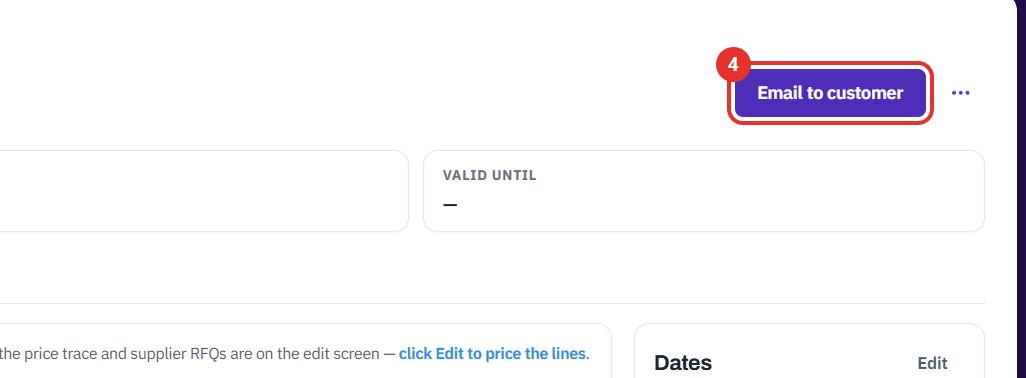
This is the send button at the top right. Add a contact to the quote first.
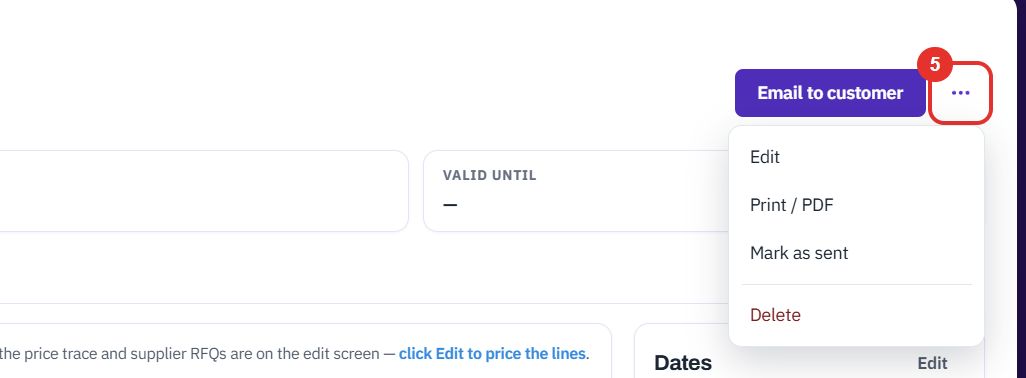
The menu has Edit, Print / PDF, Mark as sent and Delete. Use Mark as sent if you sent the quote some other way.
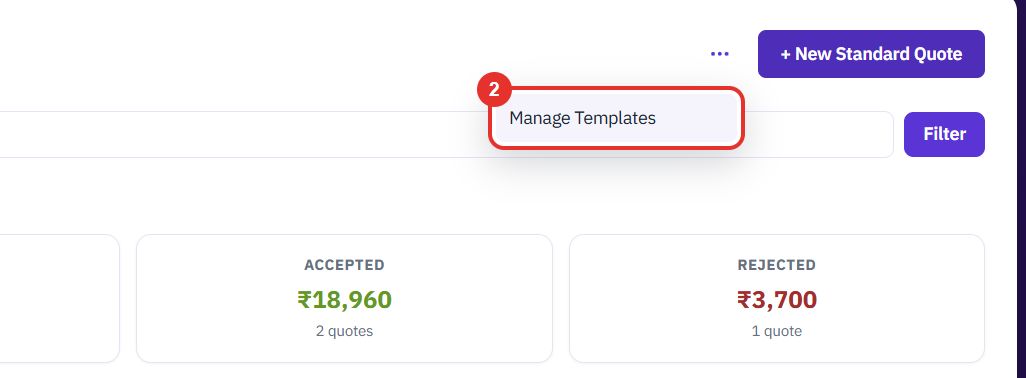
Use this when you want quotes to carry your own branded layout. It needs an admin.
The three dots sit left of + New Standard Quote.
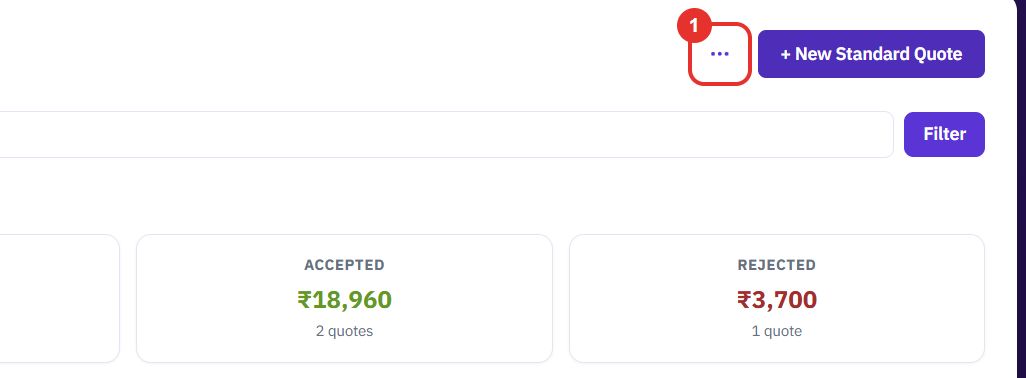
The page is called Standard Quote Templates. It lists branded, reusable layouts. Each quote picks one when it is created.
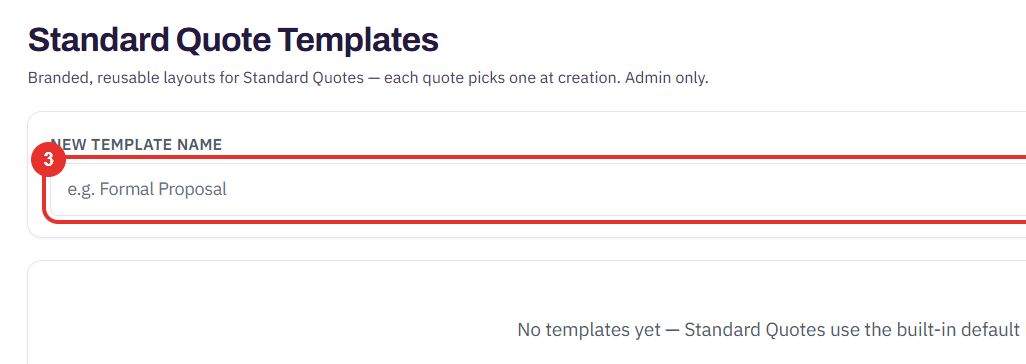
Use a name people will recognise, for example "Formal Proposal". When there are no templates yet, quotes use the built-in default layout.
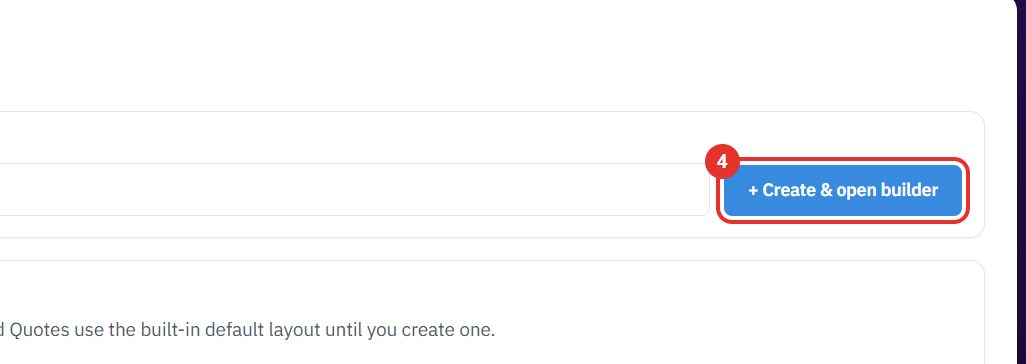
This creates the template and opens the builder, where you design the layout.
Twenty minutes on a live workspace, with your files and your team.