1
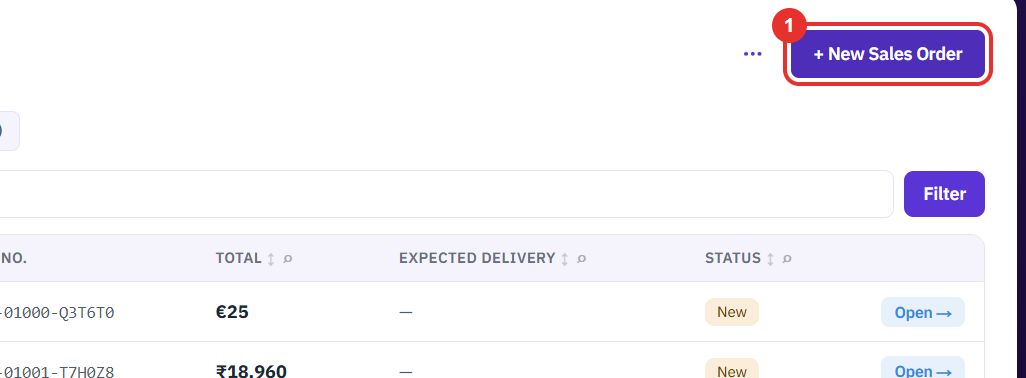
Click + New Sales Order
The button is at the top right of Sales Orders. The row of buttons above the table filters the list by status and by where the order came from.
A sales order records what a customer has bought. Create it, check stock and dates, send the PDF, and send it to your ERP. The order shows its progress from Draft to Paid and the number your ERP gave it.
Want the full chapter? Solution Guide, chapter 2: Sales and tenders (PDF) · All documentation
Use this when a customer has placed an order and you need to record it.
The button is at the top right of Sales Orders. The row of buttons above the table filters the list by status and by where the order came from.
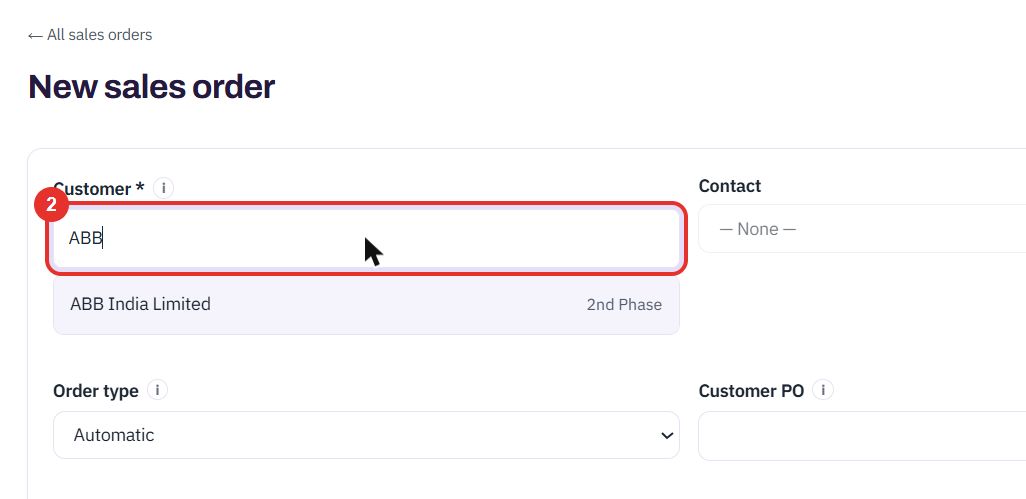
Type the first letters of the name. Matching customers appear below the field. Click one. A Change link replaces the field after you pick.
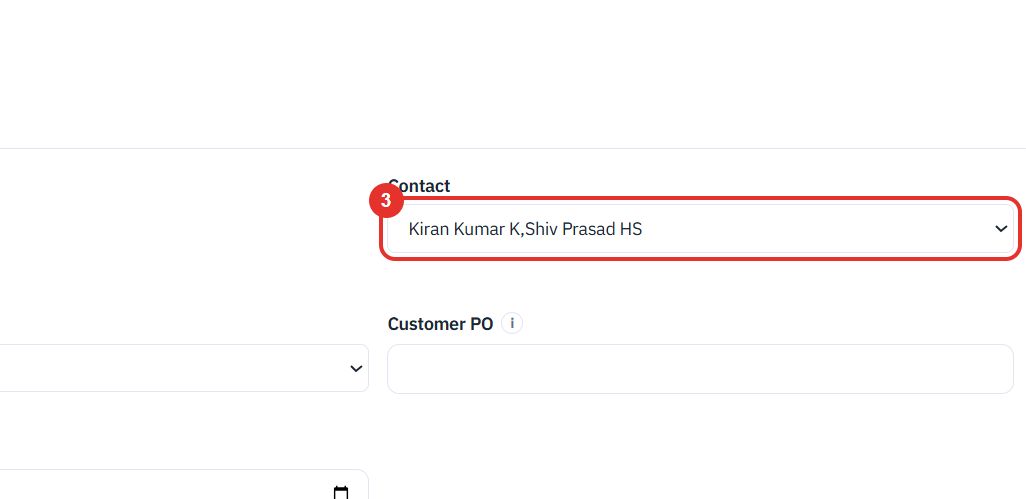
Pick the person at the customer who placed the order. The list shows the customer's contacts.
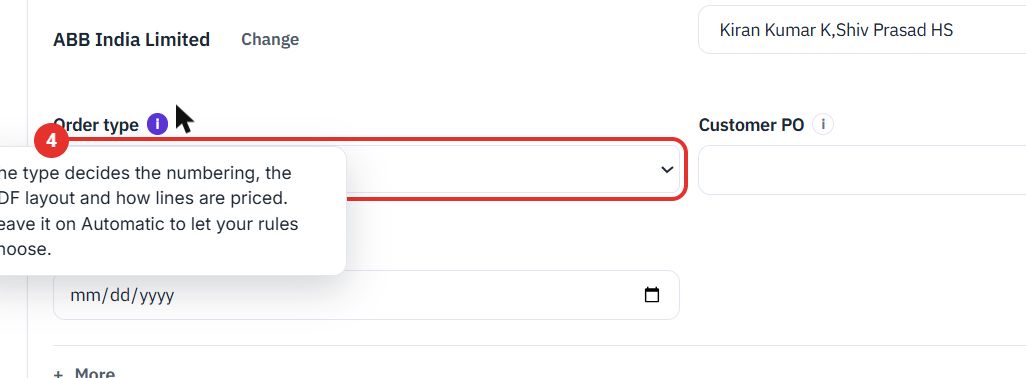
Leave Automatic to let your rules choose. Point at the i to read what a type does: it sets the numbering, the PDF layout and how lines are priced.
Enter the customer's own purchase order number. It stays with the order and is searchable in the list.
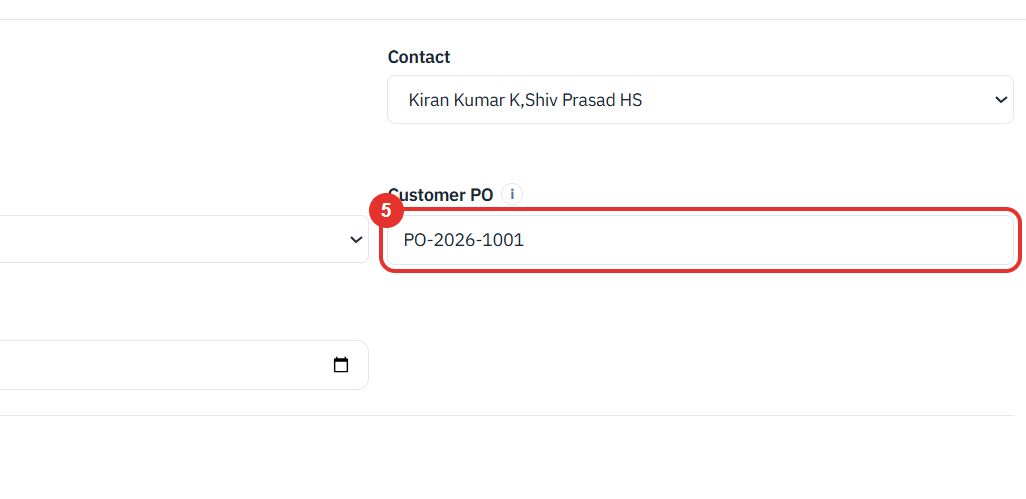
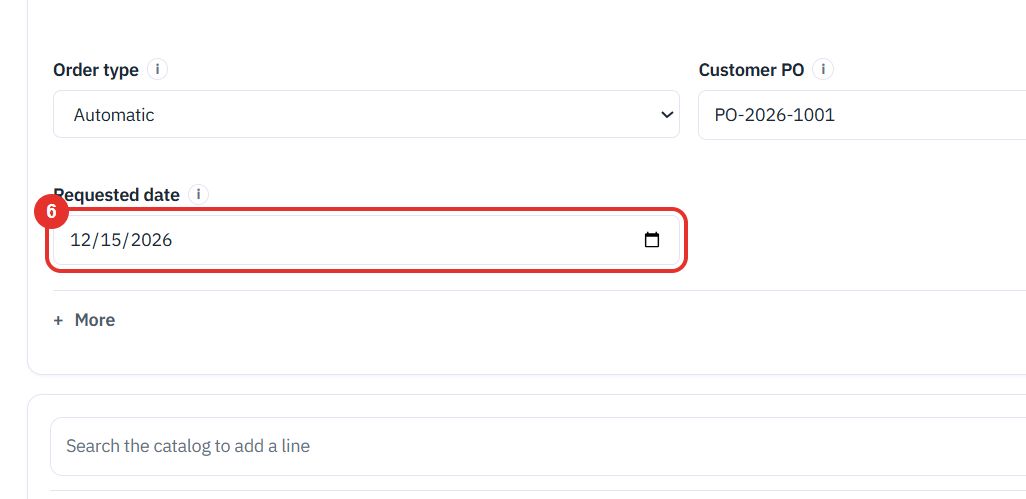
Pick the day the customer wants the goods. Each line also has its own Wanted by date.
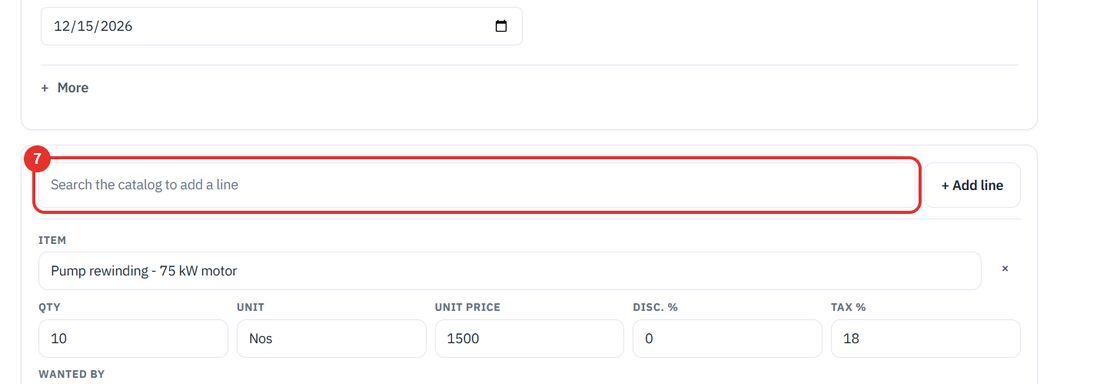
Type a product name or code in Search the catalog to add a line and click the product. + Add line next to it adds an empty line you type into.
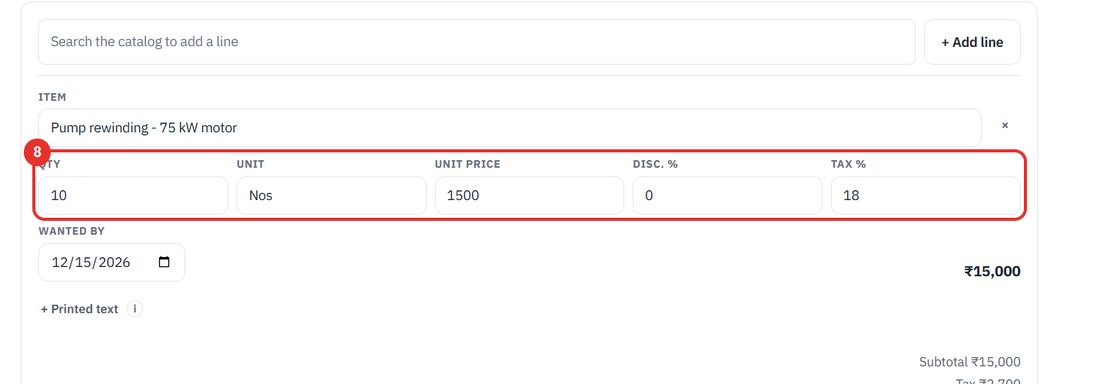
Each line has QTY, UNIT, UNIT PRICE, DISC. % and TAX %. The line total and the order Subtotal, Tax and Total update as you type.
This opens Ship to, Ship-to address and Notes. Ship to is filled in from the customer, so change it only if the goods go elsewhere.
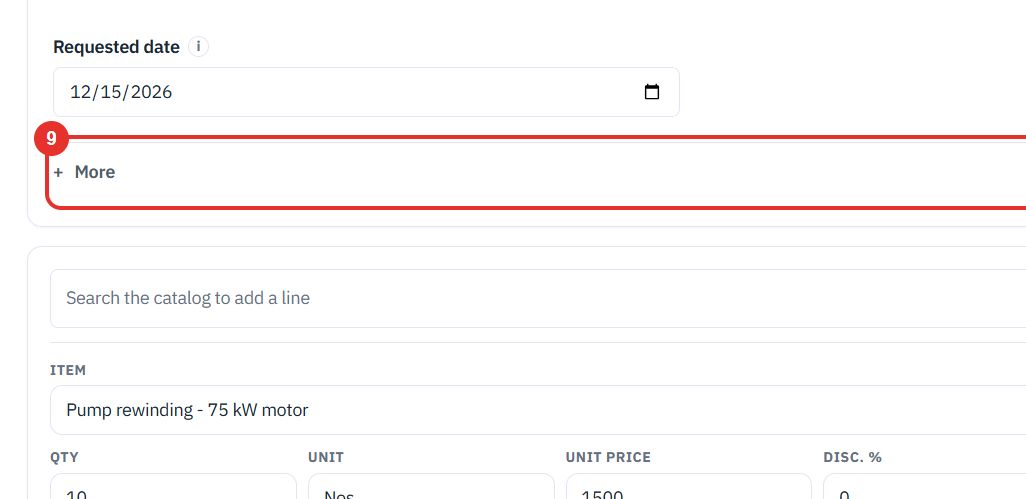
The bar at the bottom says Unsaved changes until you save. Create order saves the order and gives it a number such as SO-0002. Cancel leaves without saving.
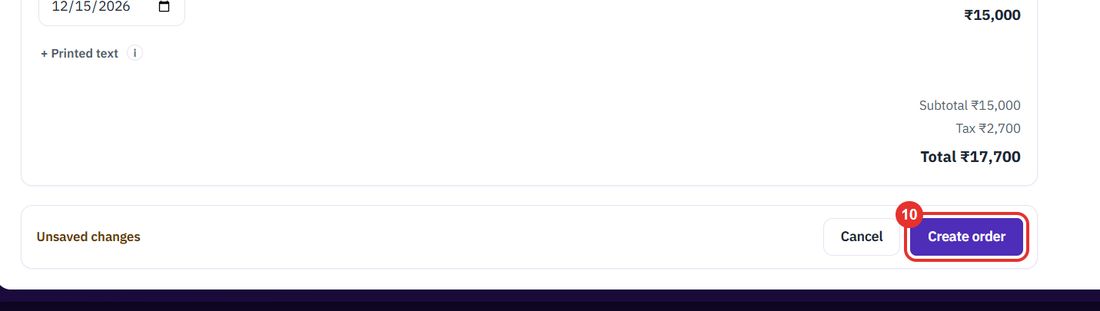
Use this to see where an order stands and what is left to do.
The buttons above the list filter by status: Draft, Confirmed and Cancelled. BPMSquare and ERP separate orders made here from orders that came from the ERP.
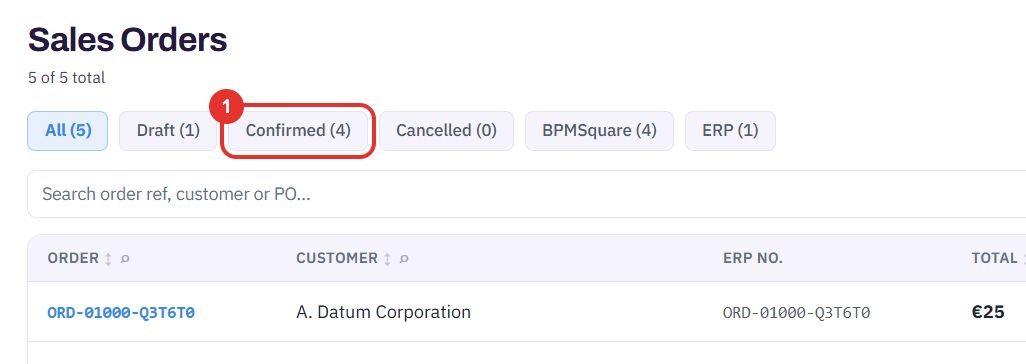
Each row shows the order, customer, ERP NO., total, expected delivery and status. Click Open → at the end of a row.
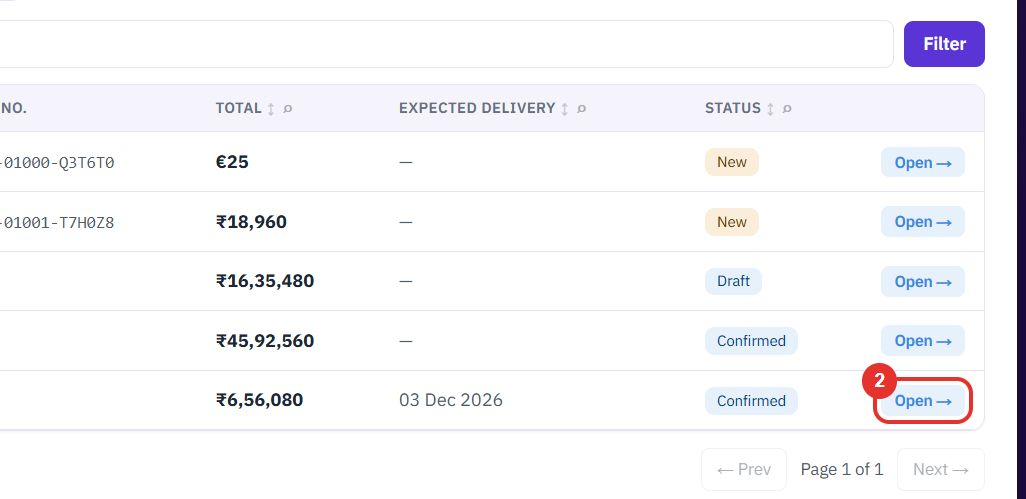
The bar across the top goes Draft, Confirmed, Delivered, Invoiced, Paid. Delivered, Invoiced and Paid fill in when your ERP reports them.

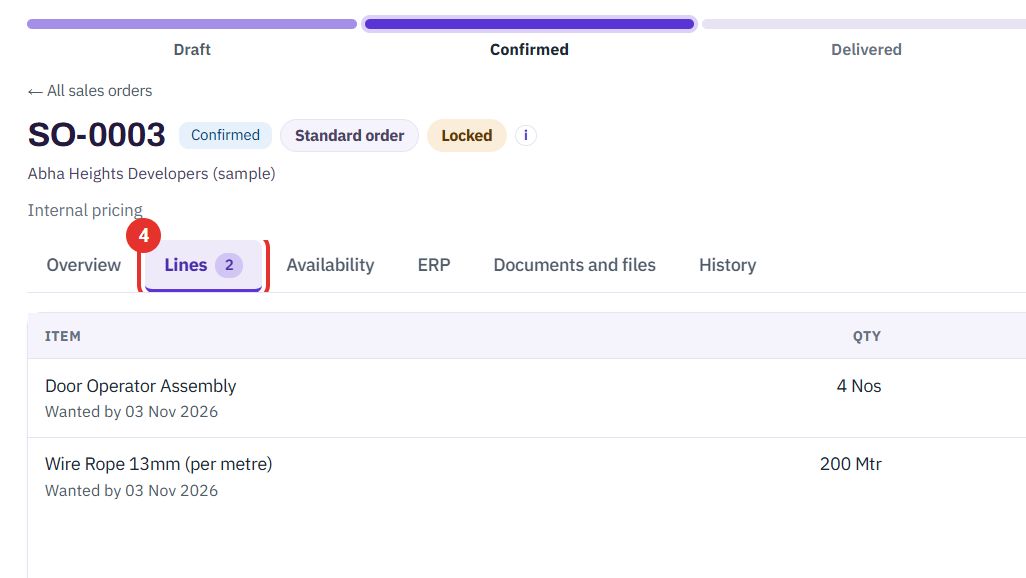
It lists each item with quantity, unit price, discount and line total. The number in the tab is the count of lines.
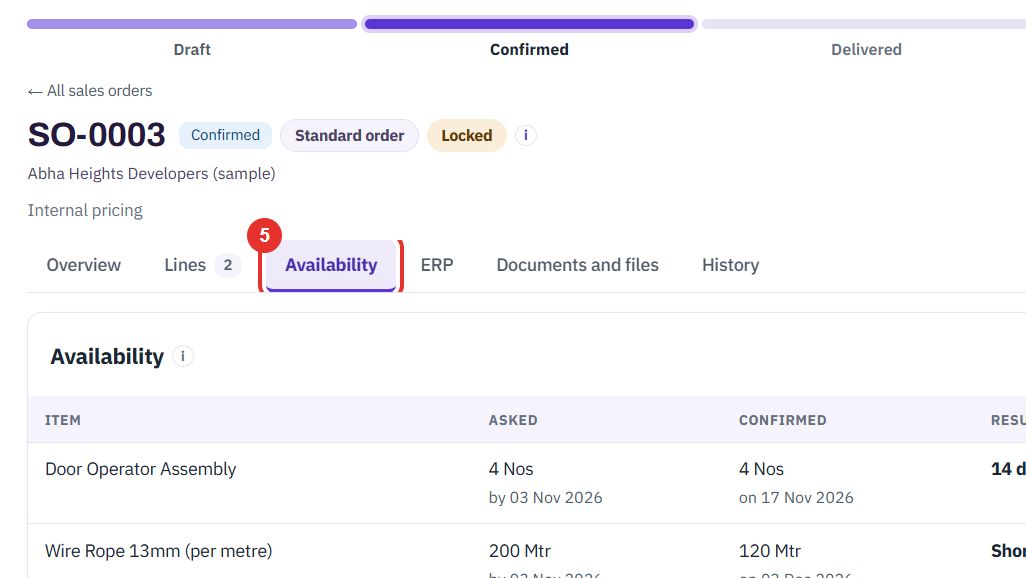
For each line it shows what was asked, what is confirmed and the result, for example "14 days late" or "Short by 80". Refresh checks again.
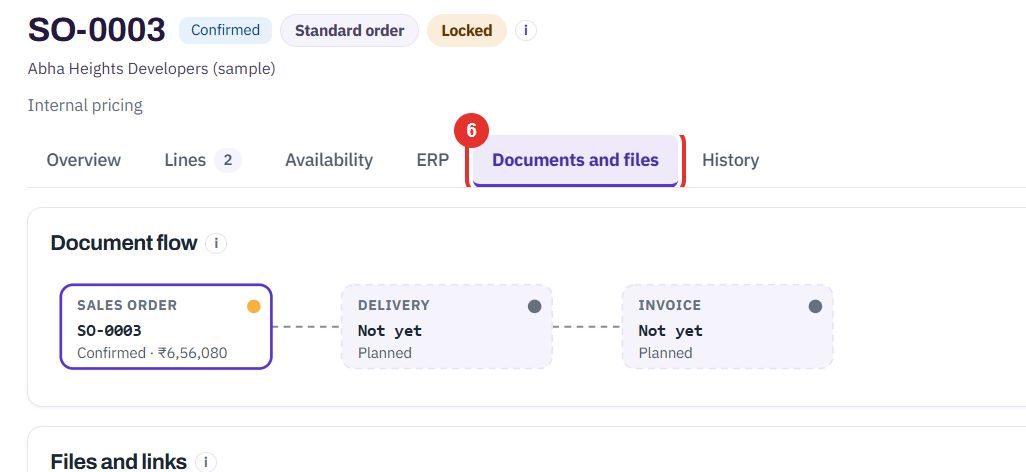
Document flow shows the sales order, then its Delivery and Invoice as they appear. Upload file and Add link keep the customer's PO or a drawing with the order.
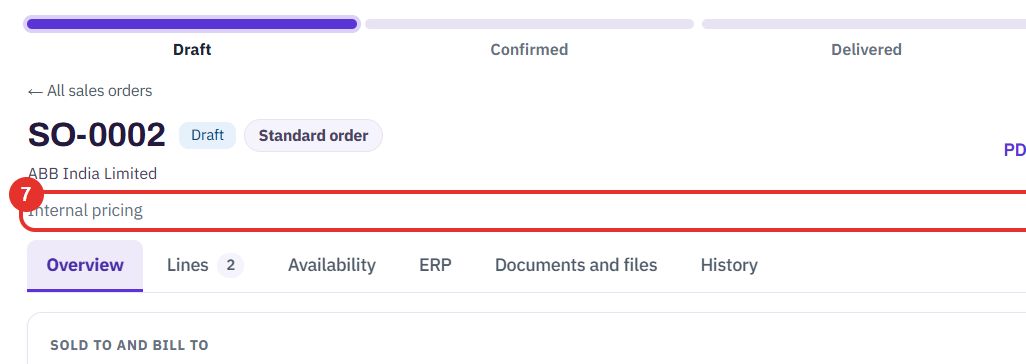
The line under the customer name says where the prices came from. It reads Internal pricing when the pricing engine and price lists set them. An order made from a standard quote adds its number, for example "as quote SQ-2026-0017".
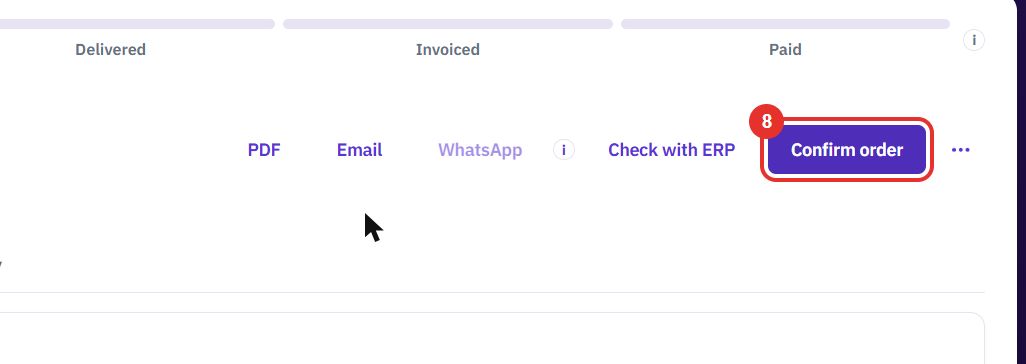
A Draft order has this button at the top right. Confirming moves the order to Confirmed. The ... menu has Edit details, Cancel order and Delete.
Use this to give the customer a copy and to pass the order to your ERP.
The row of buttons at the top right sends or shows the order. PDF makes the order document.
Use it to email the order to the customer.
Use it to send the order on WhatsApp. It is greyed out on some orders; the i next to it explains why.
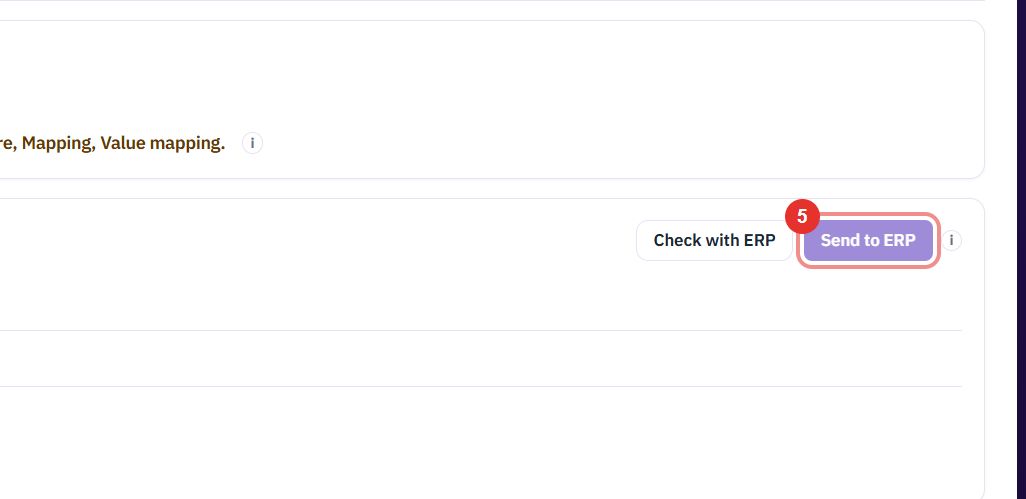
This tab holds everything about the order in your ERP: the ERP number, checks, invoices, deliveries and a log of every transfer.
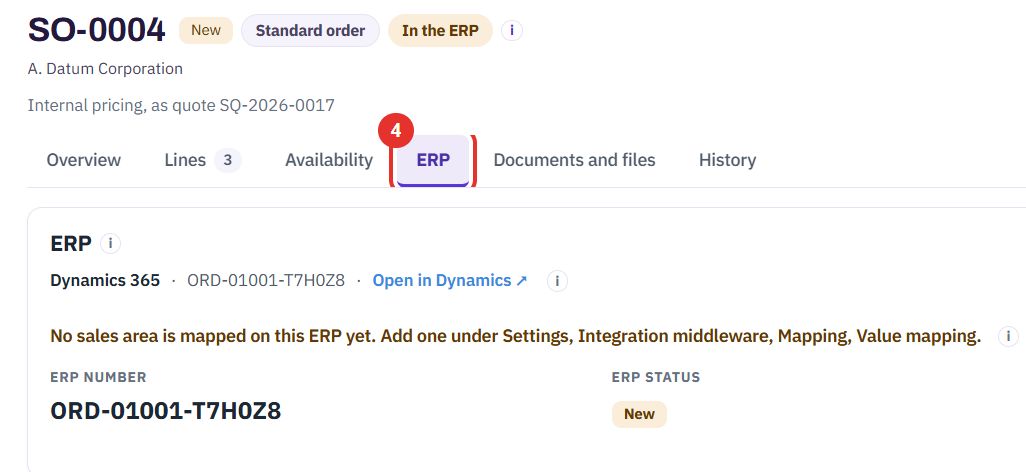
Check with ERP beside it tests credit, price and stock first. Send to ERP sends the order. On this order it is greyed out because the customer is not in the ERP yet; the page says to sync customers from the ERP first.
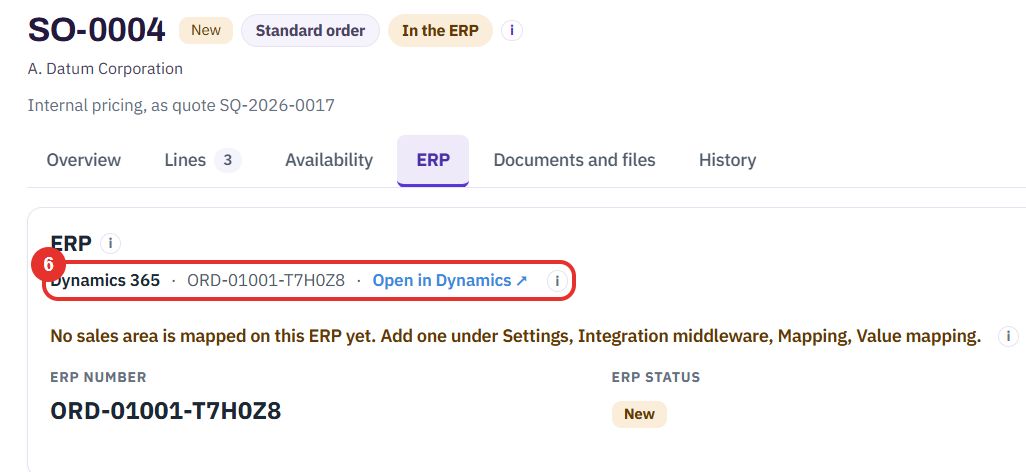
After the order is in the ERP, one line shows the ERP name, the ERP number and Open in Dynamics. ERP NUMBER and ERP STATUS are below it, with Refresh to read the status again.
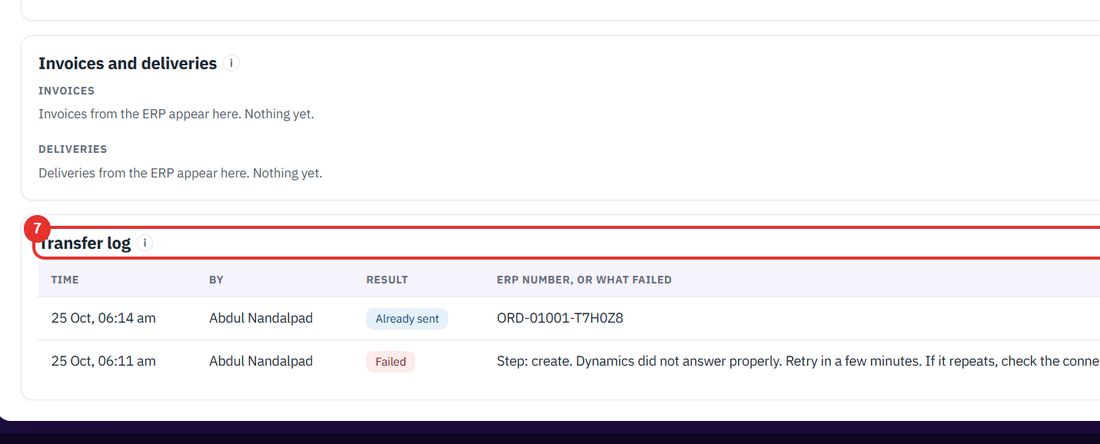
Every send is listed with the time, who sent it and the result: Already sent, Failed with the reason, or the ERP number.
Twenty minutes on a live workspace, with your files and your team.