1
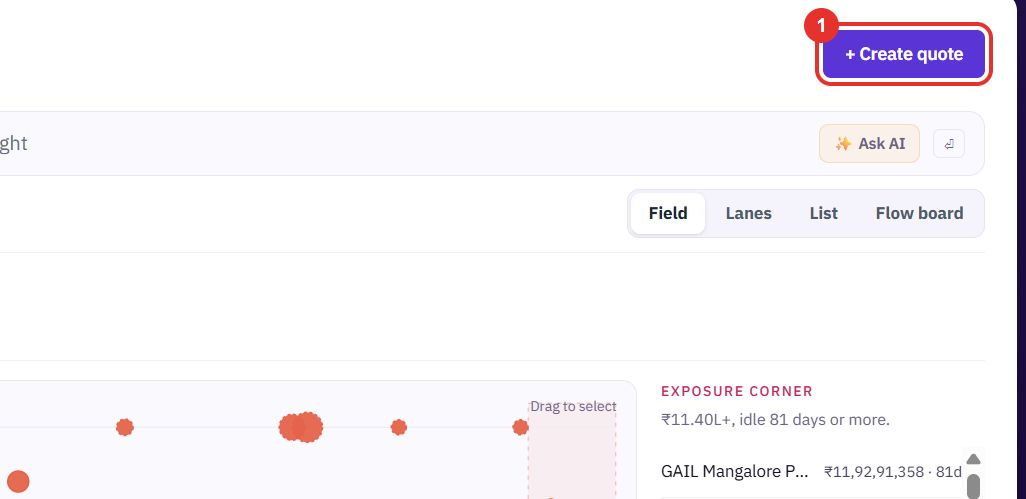
Click + Create quote
Open Quotations from the Sales menu. The button is at the top right of the page.
Make a priced offer for an account, then open it, send it and revise it when the customer asks for changes. You end with a quotation that carries its own number, versions and PDF.
Want the full chapter? Solution Guide, chapter 2: Sales and tenders (PDF) · All documentation
Use this to price work for an account and keep it as a draft.
Open Quotations from the Sales menu. The button is at the top right of the page.
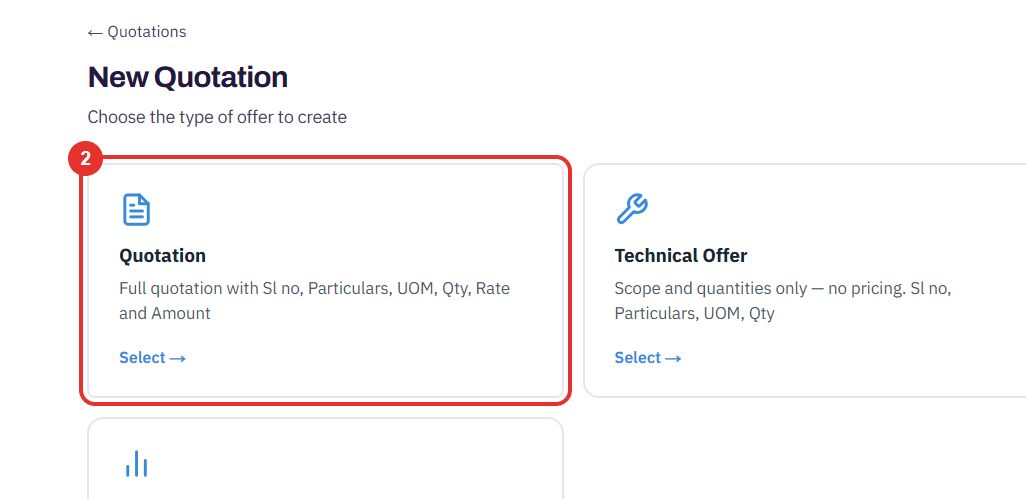
You see three offer types: Quotation, Technical Offer and Budgetary Offer. Choose Quotation for a full priced offer.
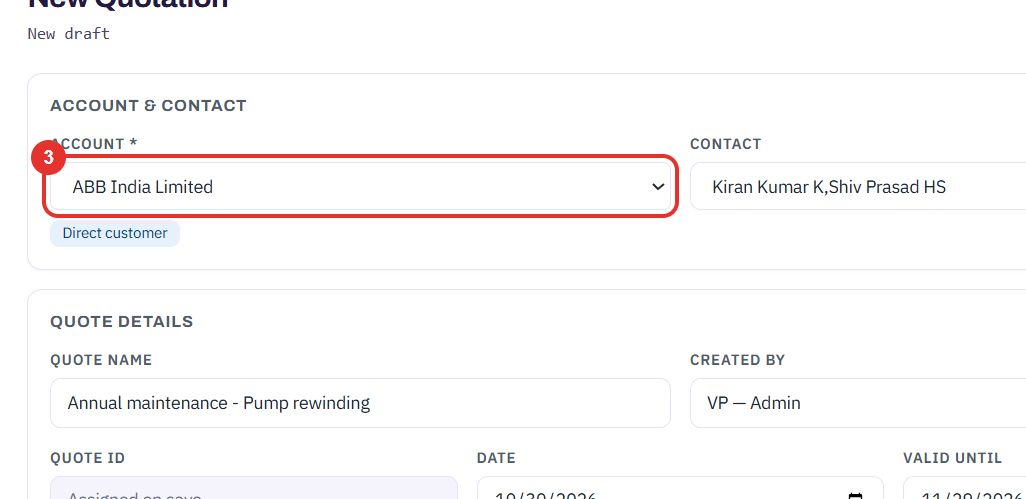
Pick the customer in ACCOUNT. A tag such as Direct customer appears under it. The account is the only required field.
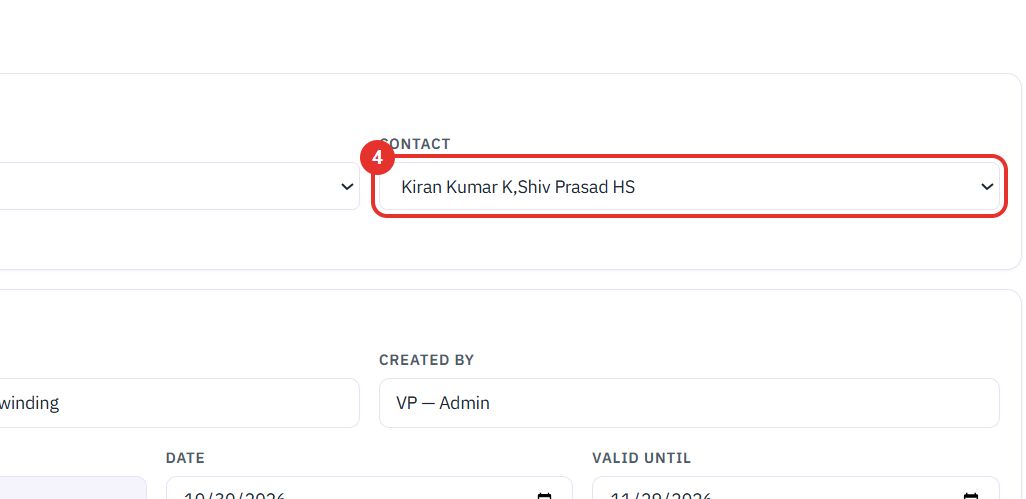
Open CONTACT and pick the person who receives the offer. The list shows contacts of the account you chose.
Write a short name for the job. Quote ID says "Assigned on save"; Date and Valid until are filled for you.
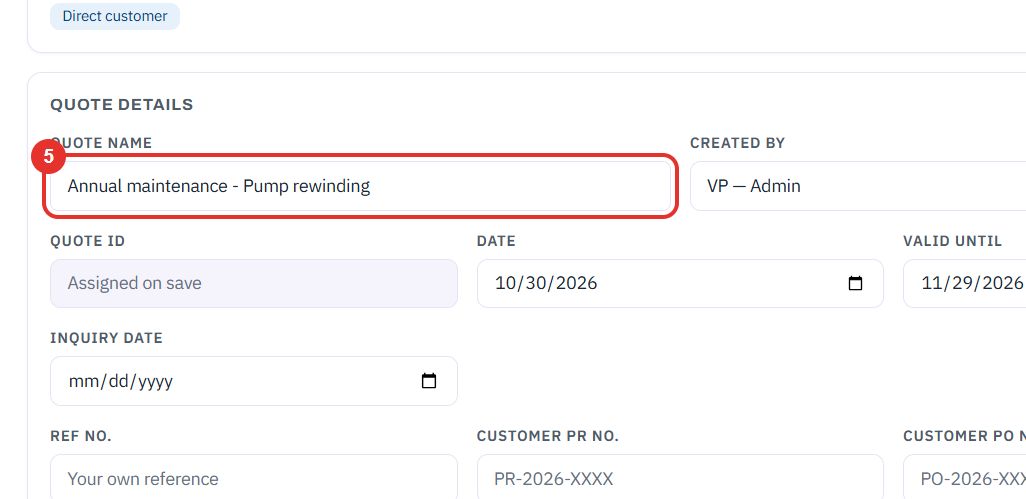
Describe what you will do in the box under SOW 1. Use B, I and the list buttons to format it. + Add SOW adds another block.
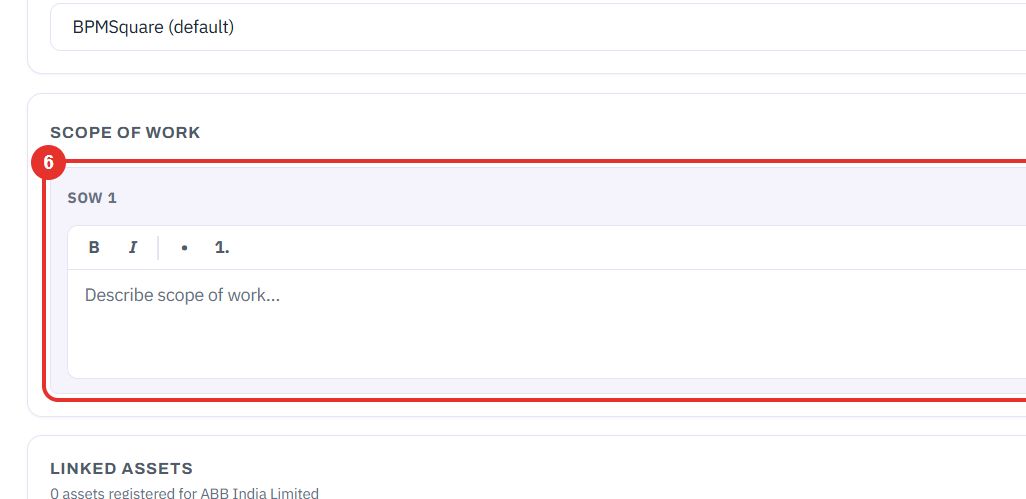
In PARTICULARS, type what you are selling on the first line. From catalog under it picks an item from your products instead.
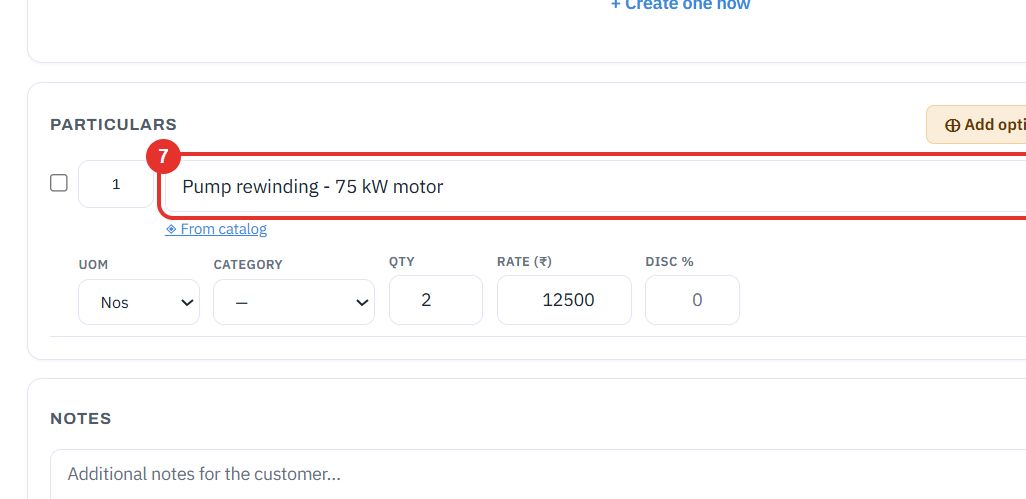
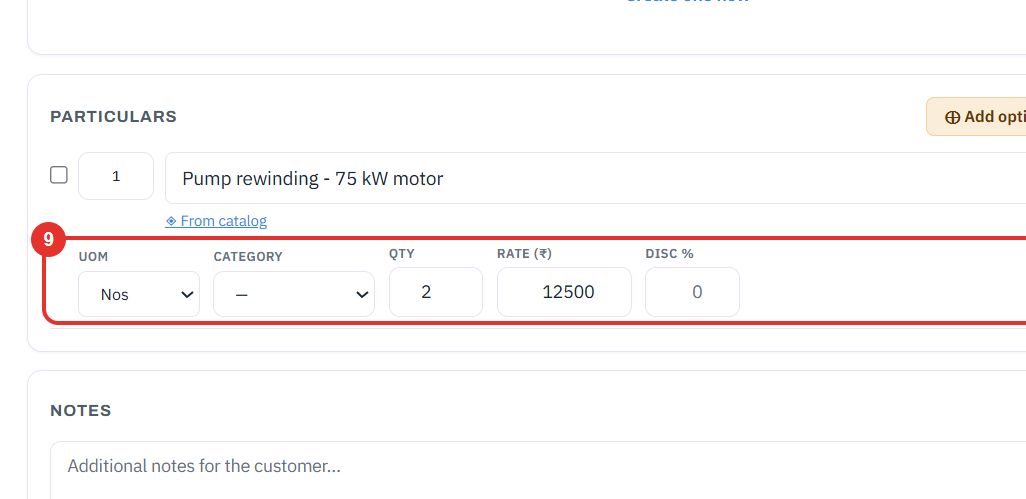
Choose the unit of measure, for example Nos, Job or Set. CATEGORY next to it is optional.
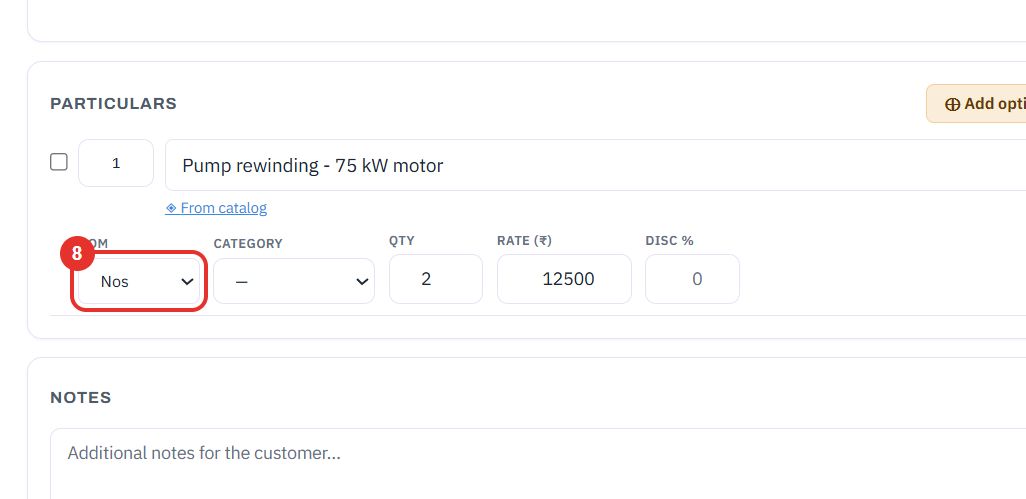
Type the quantity and the rate. DISC % gives a discount on this line only. AMOUNT is calculated for you.
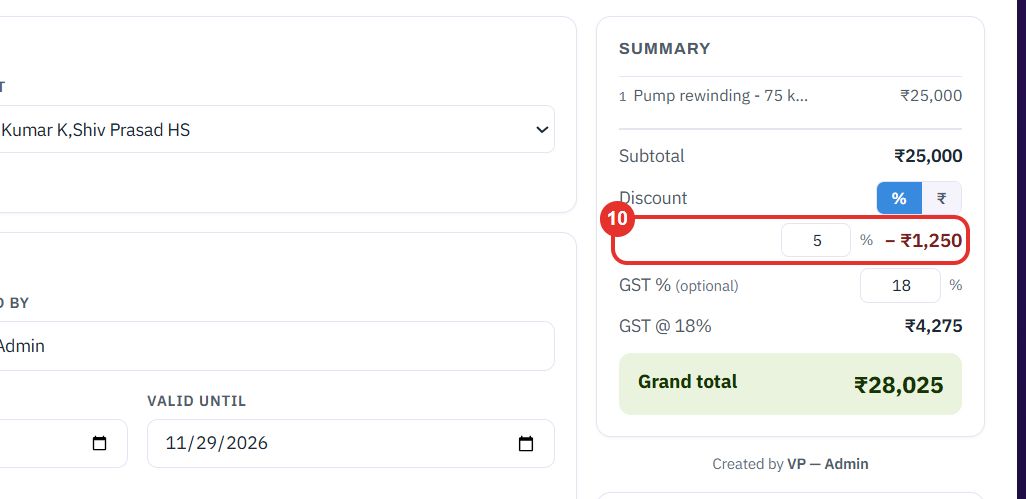
In the SUMMARY panel choose % or ₹ and type the discount for the whole quote. The amount is taken off at once.
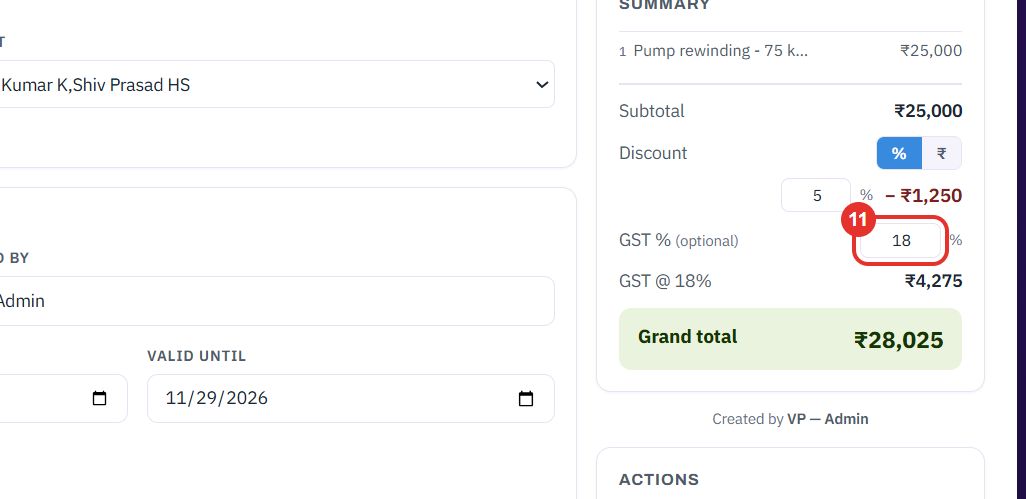
Type the tax rate. The summary adds a GST line and shows the Grand total.
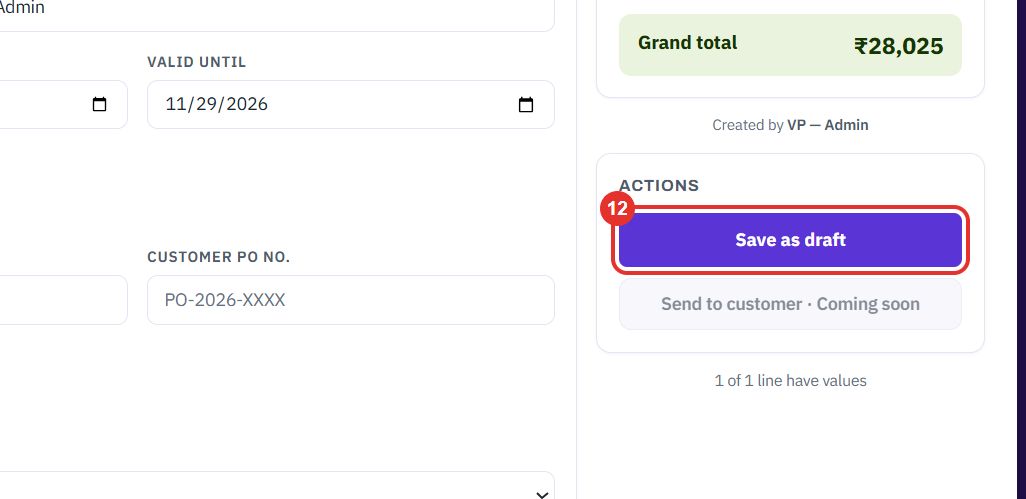
This keeps the quotation as a draft with its number. Send to customer below it is marked "Coming soon" on this form; send from the saved quotation (see the next flow).
Use this when a quotation is ready to go to the customer.
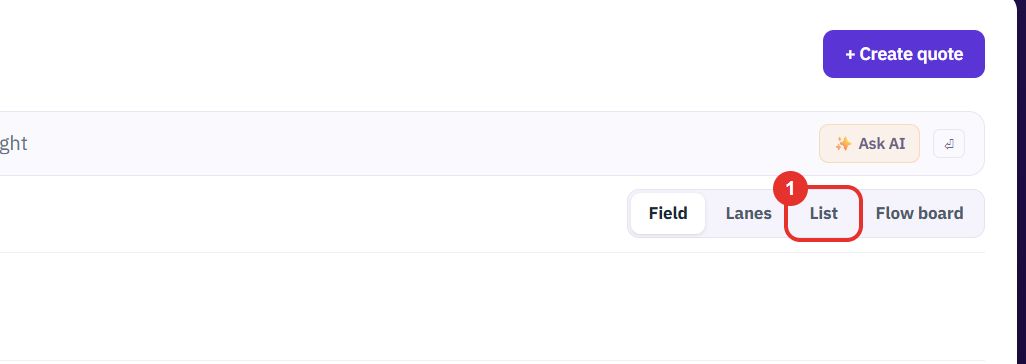
On the Quotations page, use the view switcher. List shows one row per quotation with its number, age, value and status.
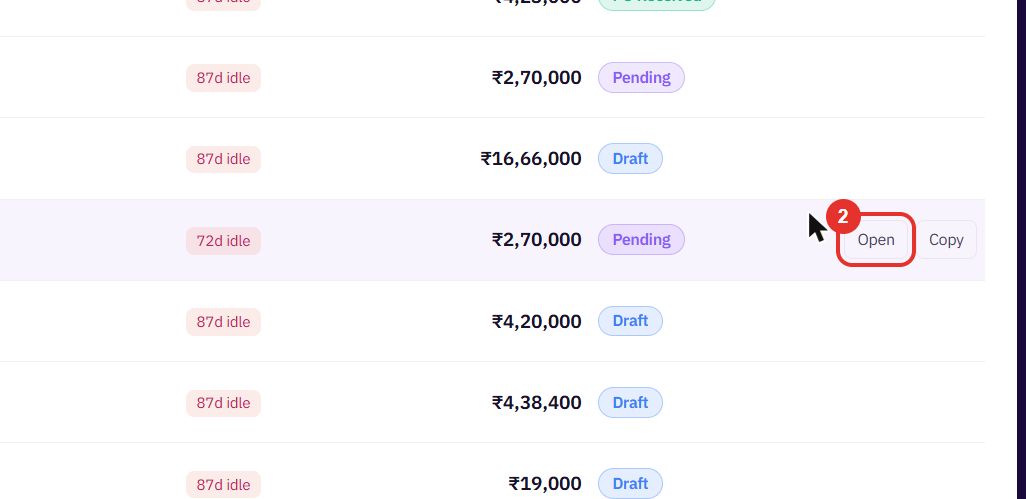
Point at a row. Open and Copy appear at the right end. Click Open.
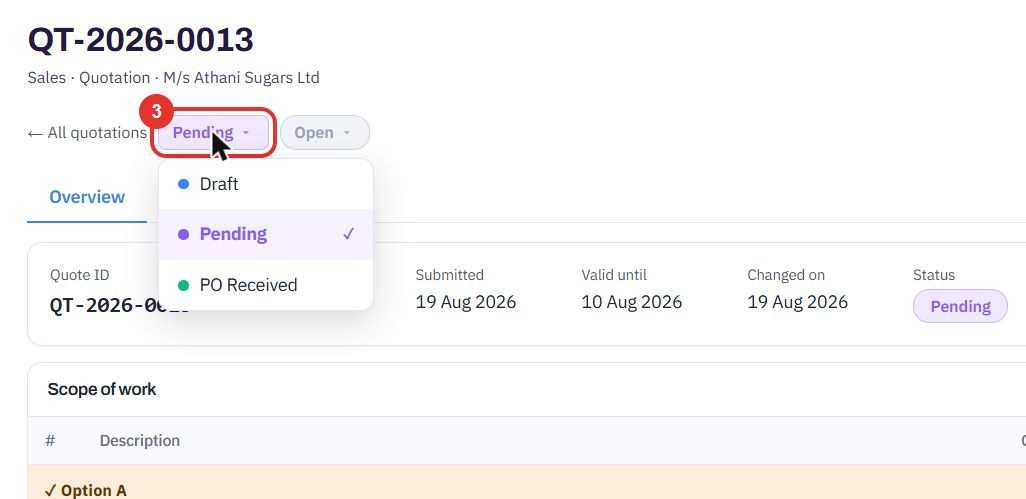
The chip next to All quotations shows the status. Click it to see the choices: Draft, Pending and PO Received. Pick one to change the status.
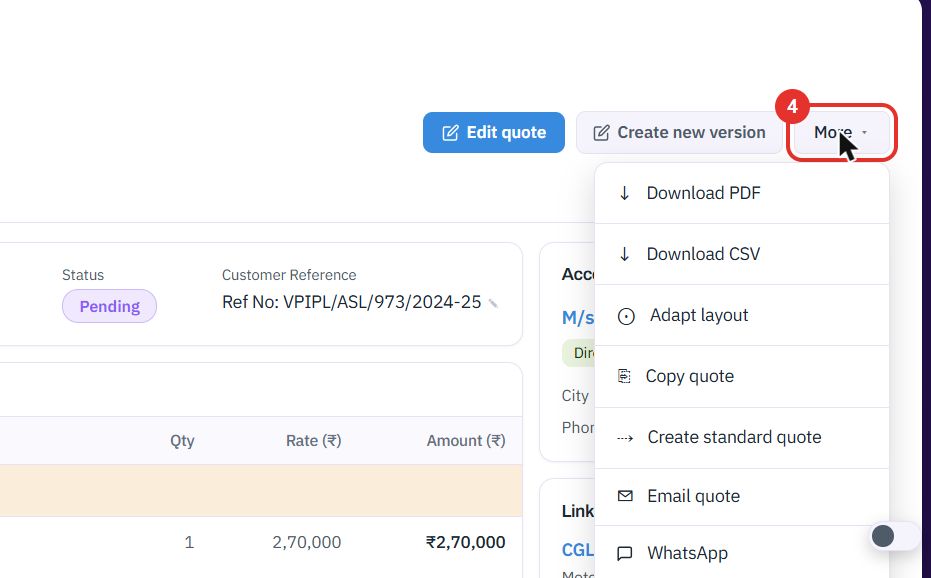
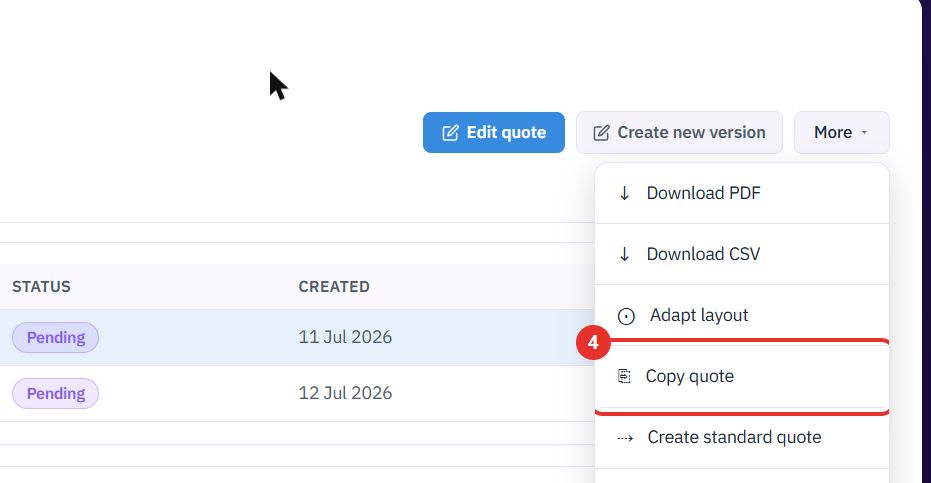
The menu has Download PDF, Download CSV, Adapt layout, Copy quote, Create standard quote, Email quote and WhatsApp.
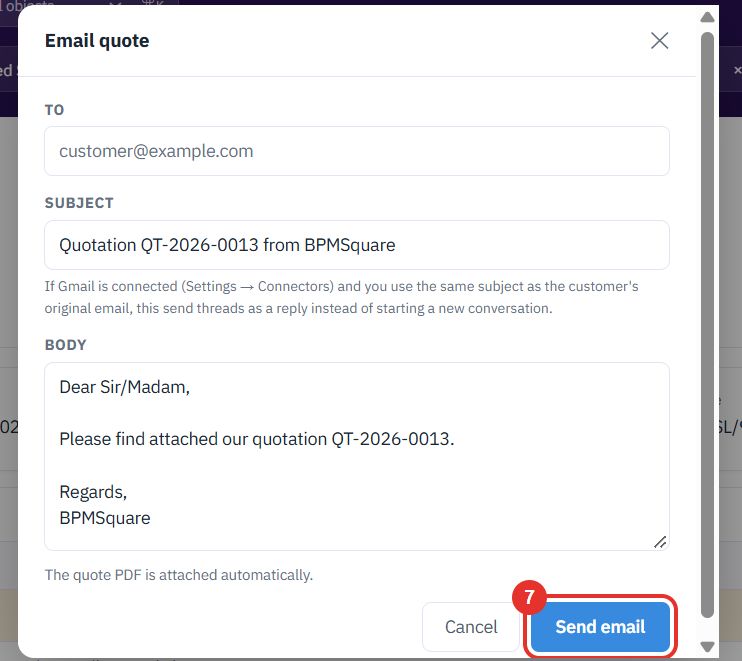
A dialog opens with the subject and message already written. The quote PDF is attached for you.
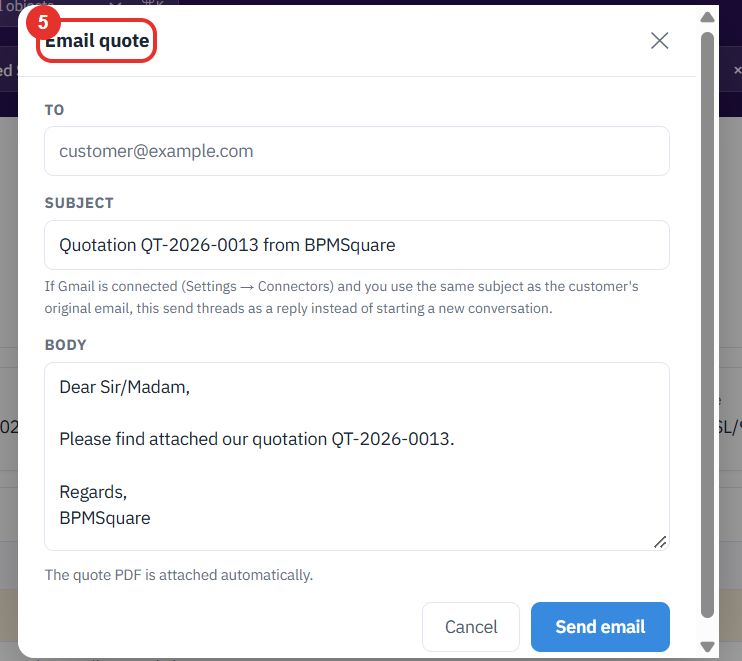
Enter the customer email. Edit SUBJECT and BODY if you want.
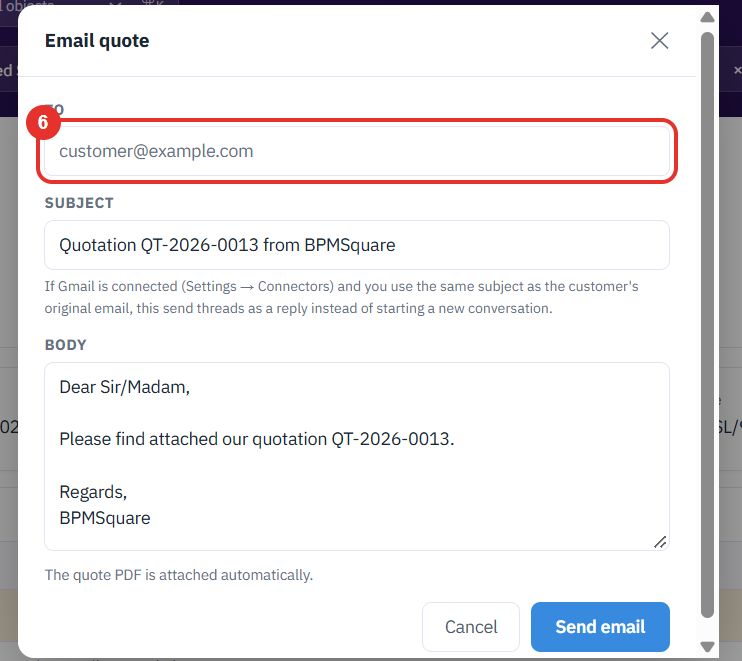
The email goes out with the PDF. Use Cancel to close the dialog without sending. WhatsApp in the same menu is the other way to send it.
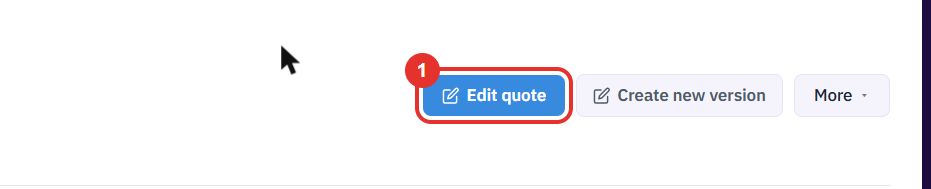
Use this when the customer asks for changes or you need a similar quote.
This opens the quotation in the same form you used to create it. Change lines, prices or text and save.
Each revision is listed with its reference, status and date. Here Rev 1 is current and Rev 2 is QT-2026-0013-R2.
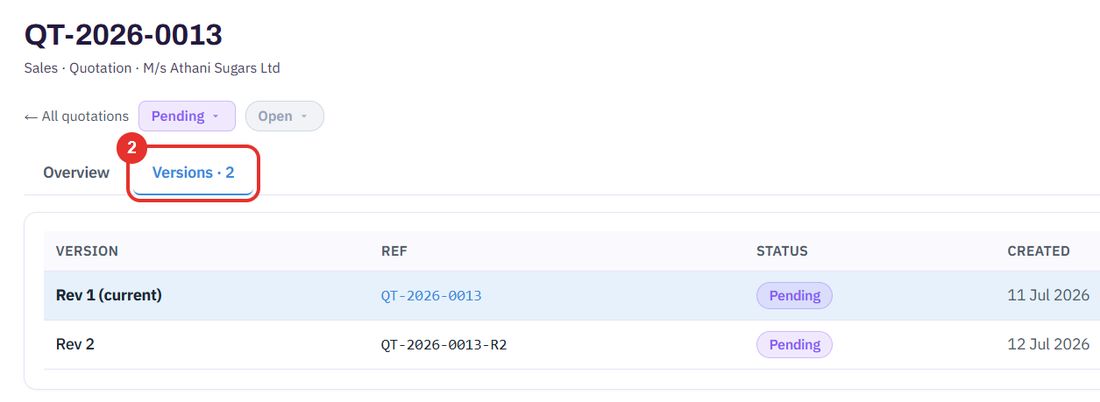
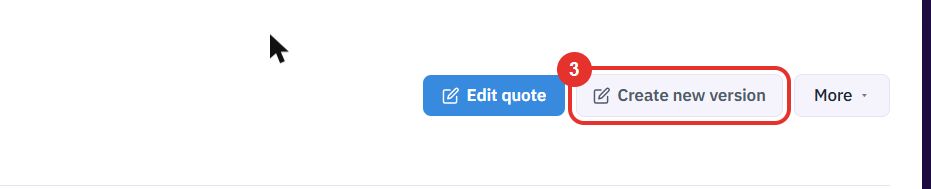
Use this to answer a change request without losing what you sent before. The new version gets an -R reference.
In More, choose Copy quote to start a new quotation from this one, for example for another account.
Twenty minutes on a live workspace, with your files and your team.