1
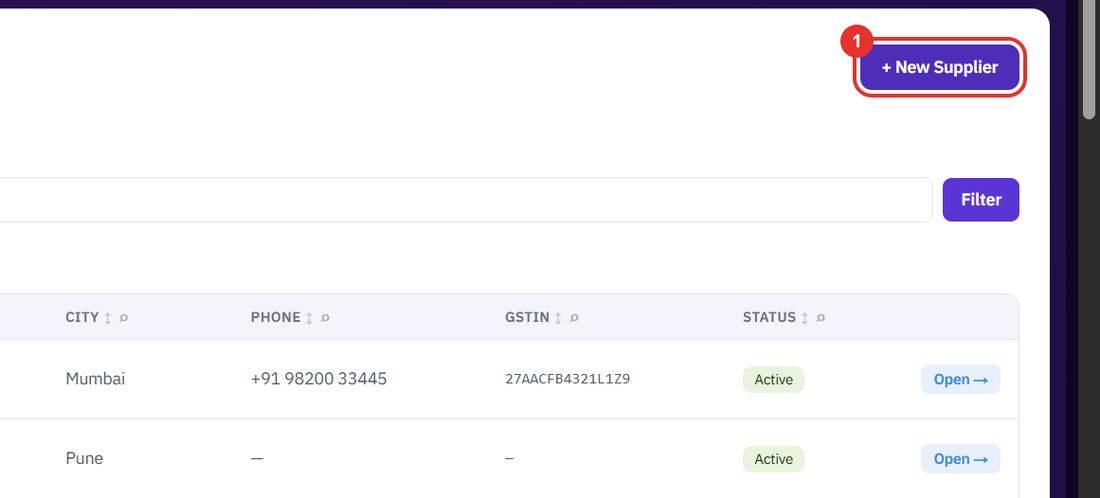
Click + New Supplier
On the Suppliers page, top right.
Keep your suppliers in one list, order stock from them with a purchase order, and record what arrives so the inventory updates.
When you start buying from a new vendor or subcontractor.
On the Suppliers page, top right.
Required.
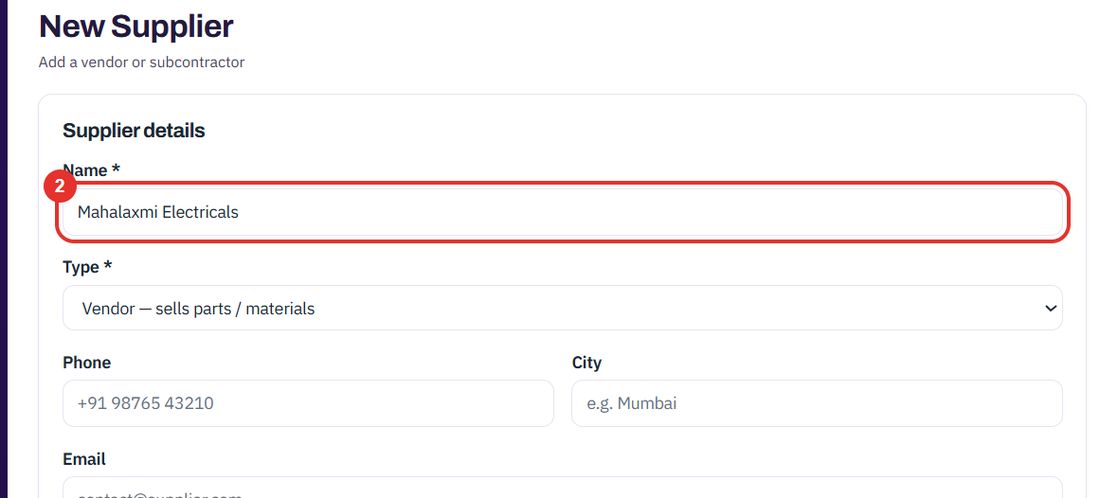
Vendor sells parts and materials. Subcontractor provides labour or specialist work. The third choice is both.
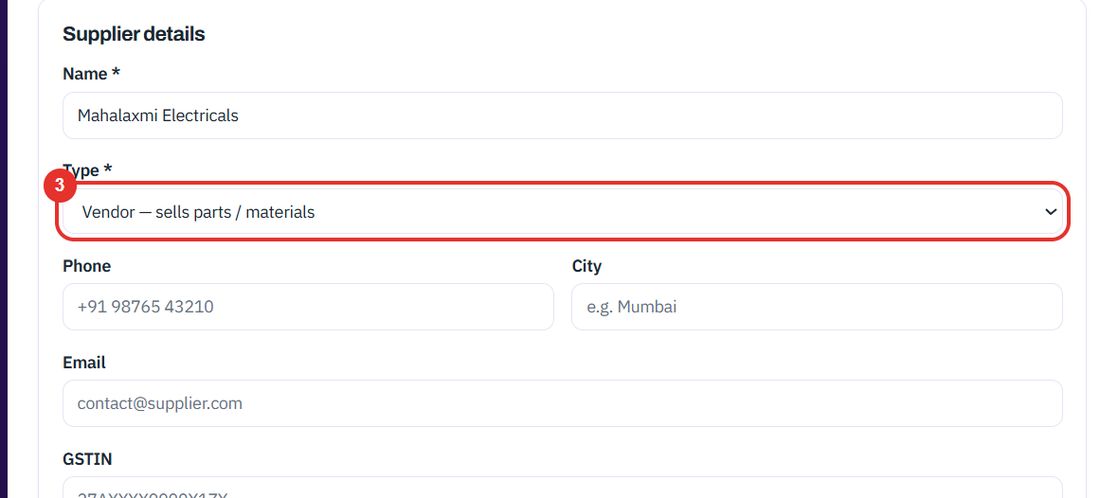
Phone, Email and GSTIN are optional. Notes can hold payment terms and lead times.
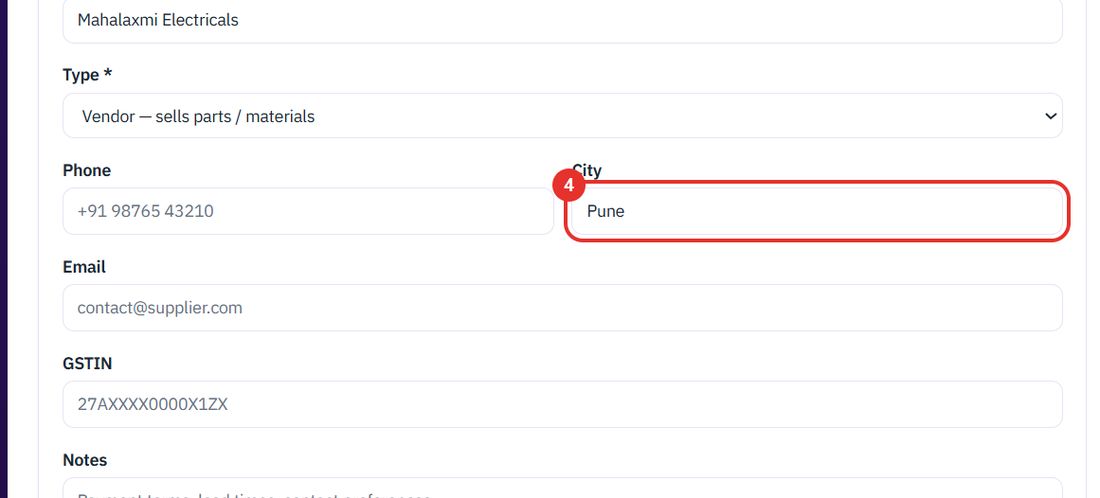
The supplier gets an ID such as SUP-0001.
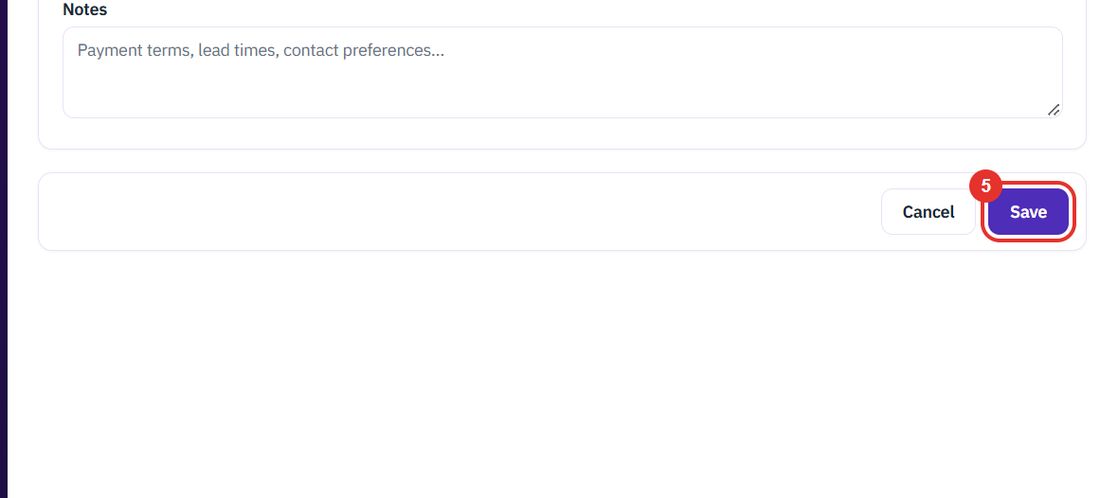
When you keep an approved list for a client.
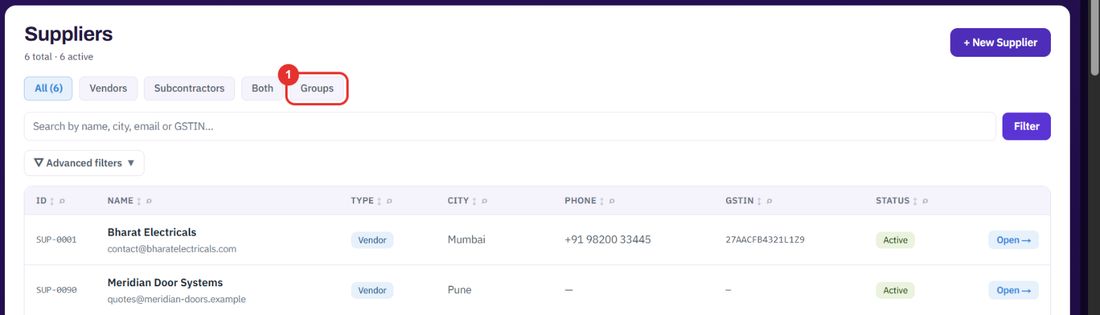
On the Suppliers page. The tabs are All, Vendors, Subcontractors, Both and Groups.
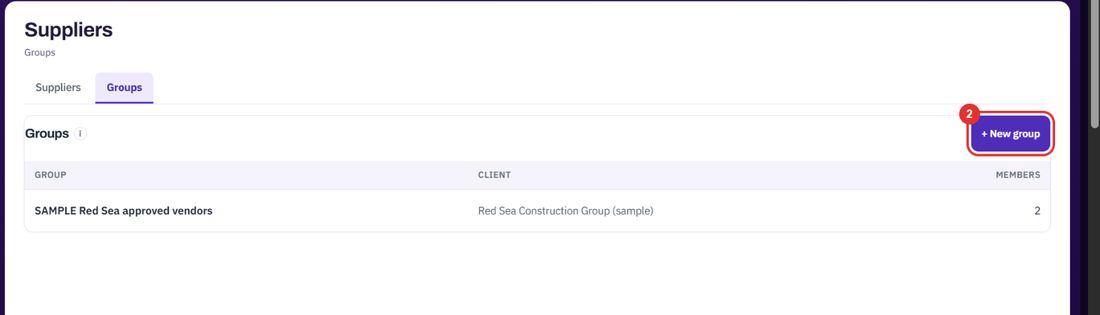
Each group has a name, a client and its members. The list shows how many members each group has.
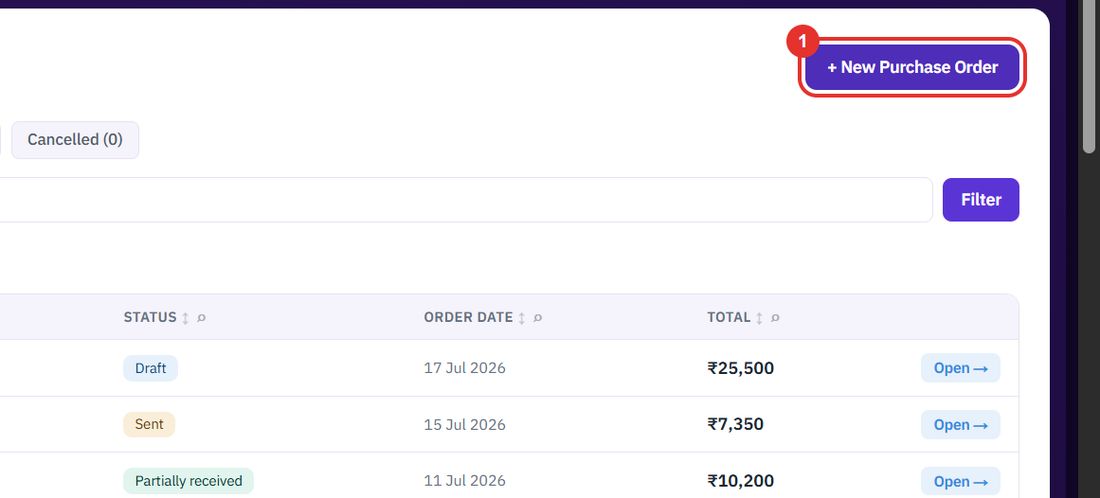
When you need parts from a vendor.
On the Purchase Orders page, top right.
Required. Order date is today's date. Linked quote and Linked case are optional.
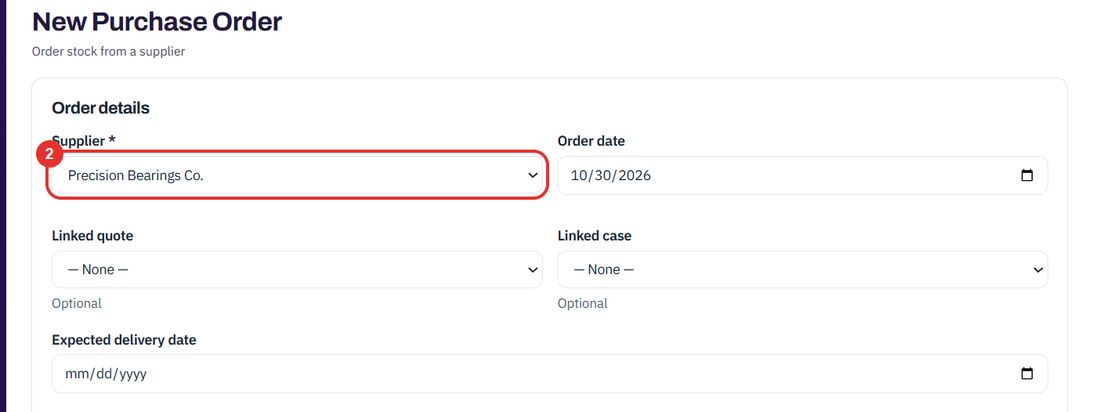
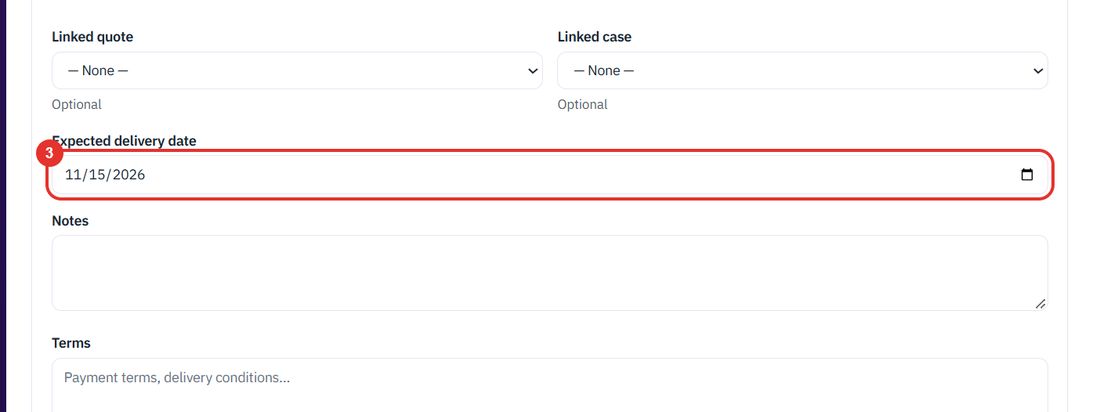
When the order should arrive. Notes and Terms are below it.
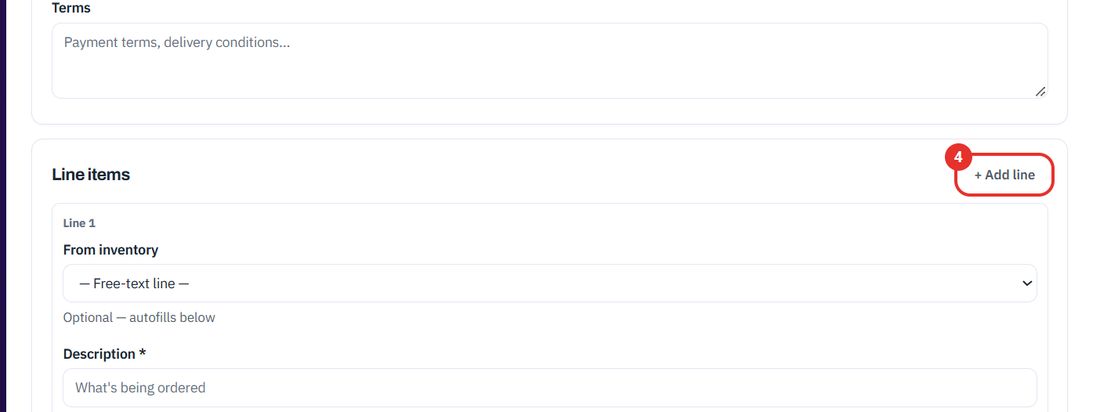
A first line is already there. Use the button for each further item.
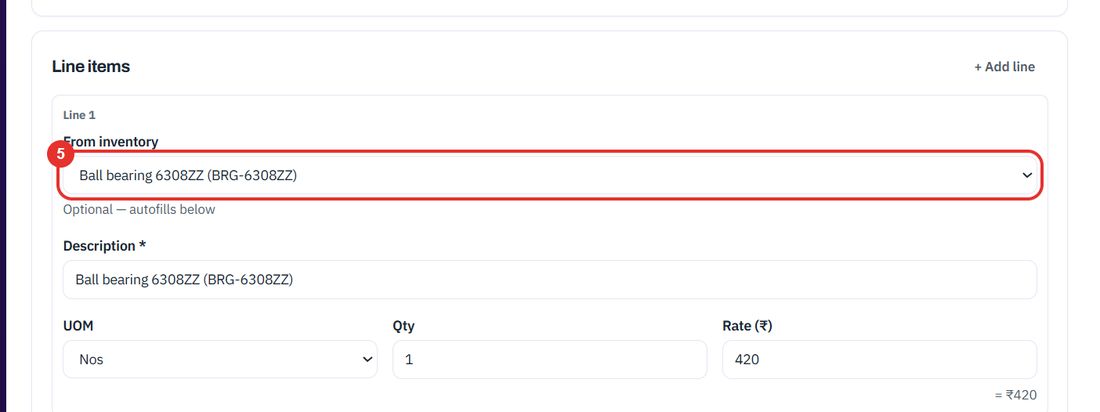
The description, unit, quantity and rate fill in from the inventory item. Change the Qty as needed. Choose — Free-text line — for something that is not in inventory.
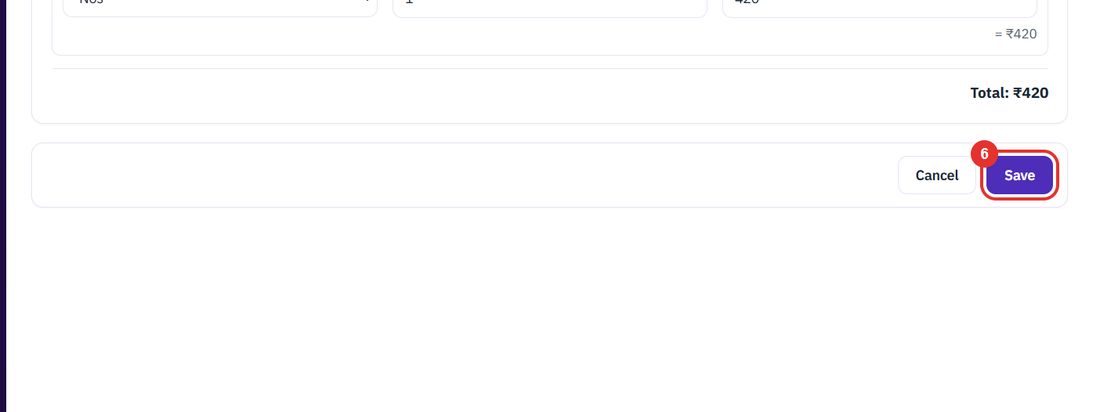
The order total is shown above the buttons.
When the goods arrive.
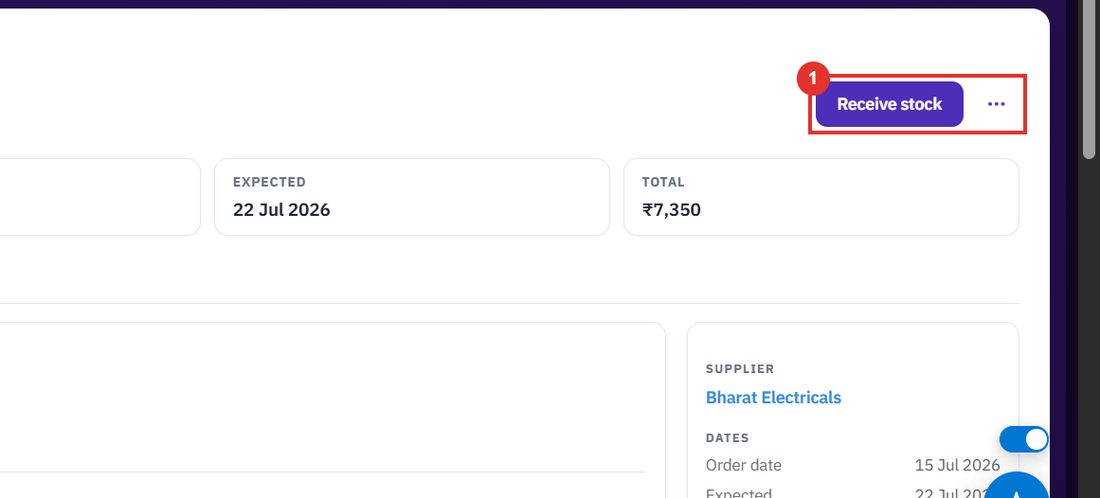
On the page of an order that is Sent or Partially received. It opens the Lines tab.
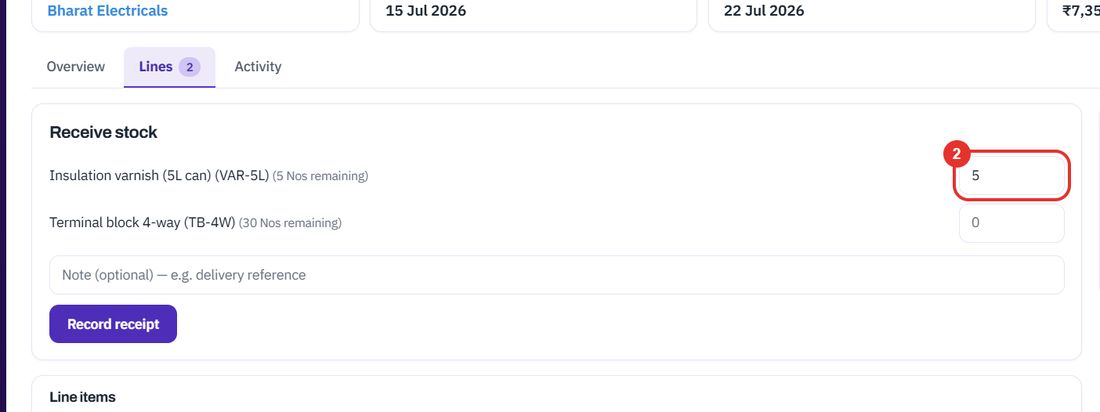
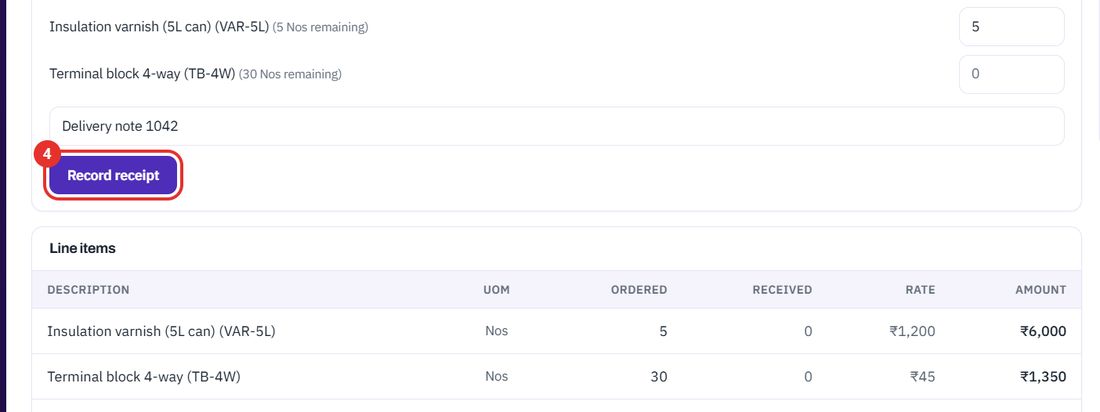
One box per line, with the number still remaining. Type what actually arrived.
Optional, for example a delivery reference.
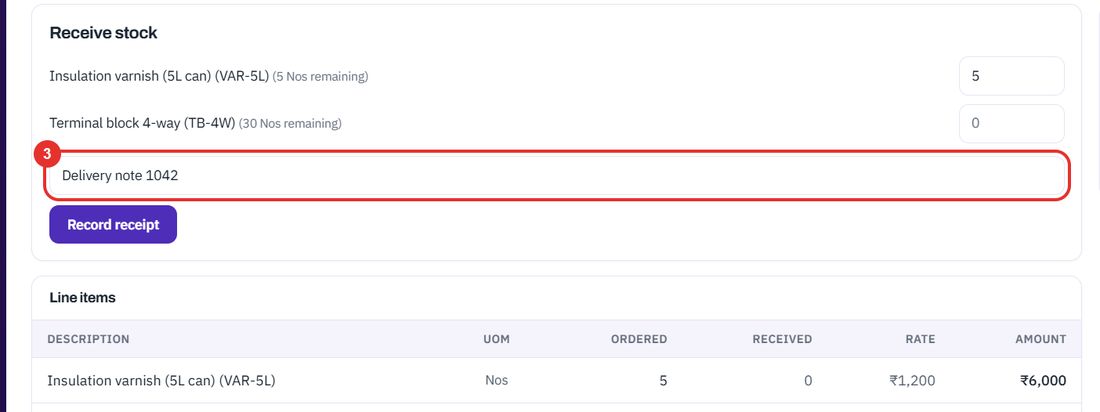
The Received column of the Line items table updates and the stock goes onto the inventory item.
Twenty minutes on a live workspace, with your files and your team.