1
Click + Invite
Open Settings, then People under USERS & ACCESS. The People tab lists everyone with a login, with their employee record, role and status. Click + Invite at the top right.
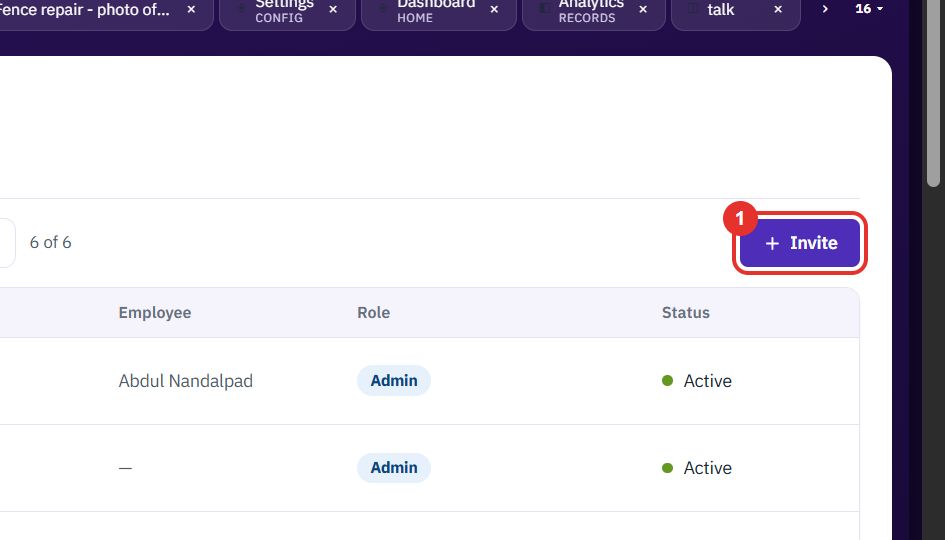
Settings, People is where you add logins and decide what each person can reach. Only an administrator sees it.
Want the full chapter? Solution Guide, chapter 1: Settings and setup (PDF) · All documentation
Do this to give a colleague a login to your workspace.
Open Settings, then People under USERS & ACCESS. The People tab lists everyone with a login, with their employee record, role and status. Click + Invite at the top right.
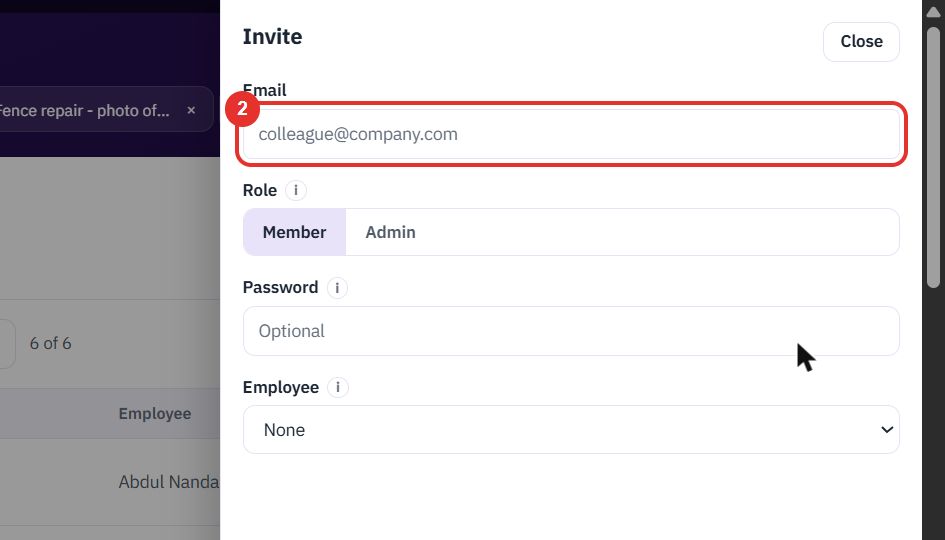
Type the email address of the person, for example colleague@company.com.
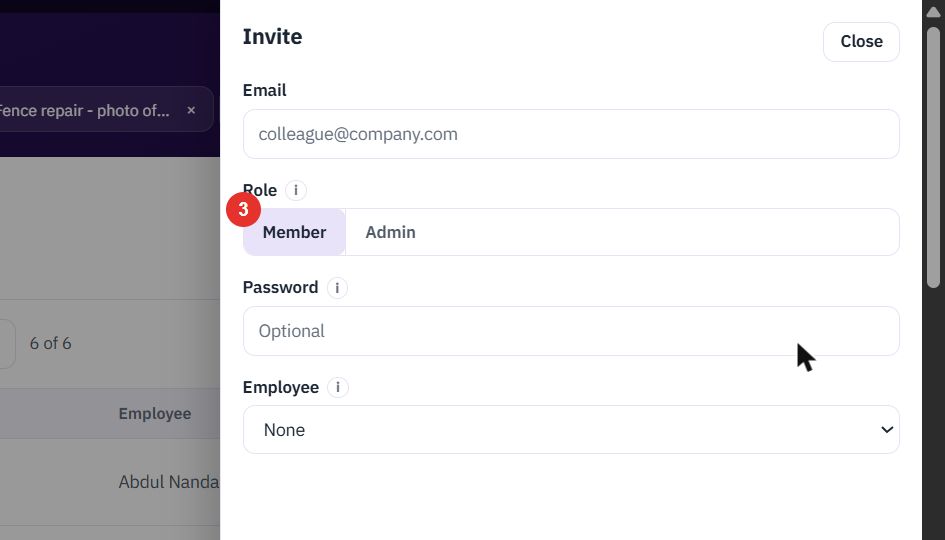
Choose Member or Admin. The “i” icon next to Role explains the difference.
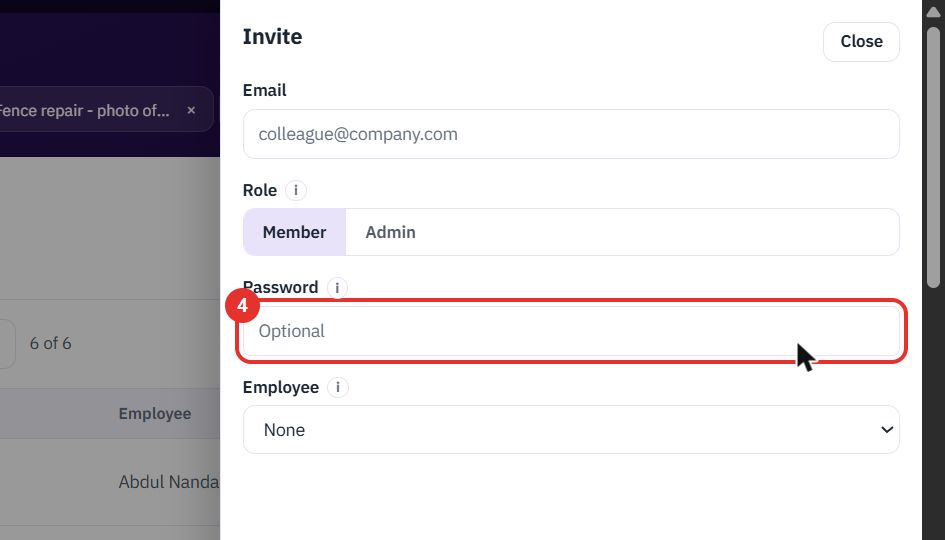
Password is optional. The “i” icon explains what happens when you leave it empty.
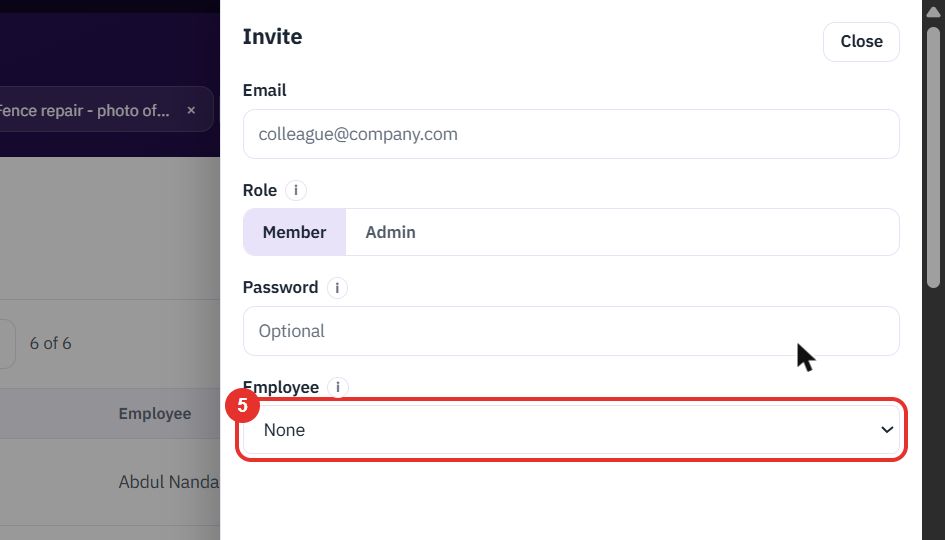
Link the login to an employee record from the list, or leave None. The “i” icon explains why you would link one.
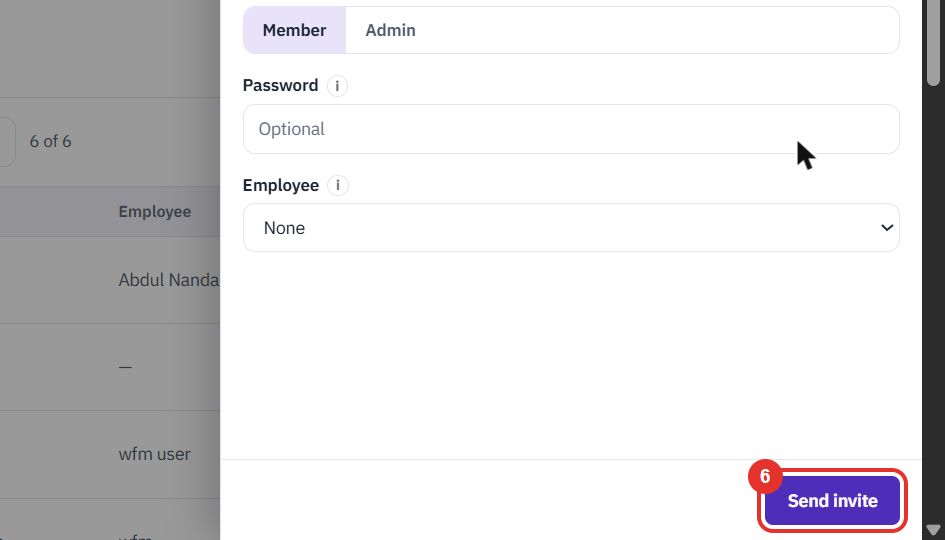
Send invite creates the login. Close at the top of the panel leaves without saving.
Do this to check which screens a business role reaches before you give it to someone.
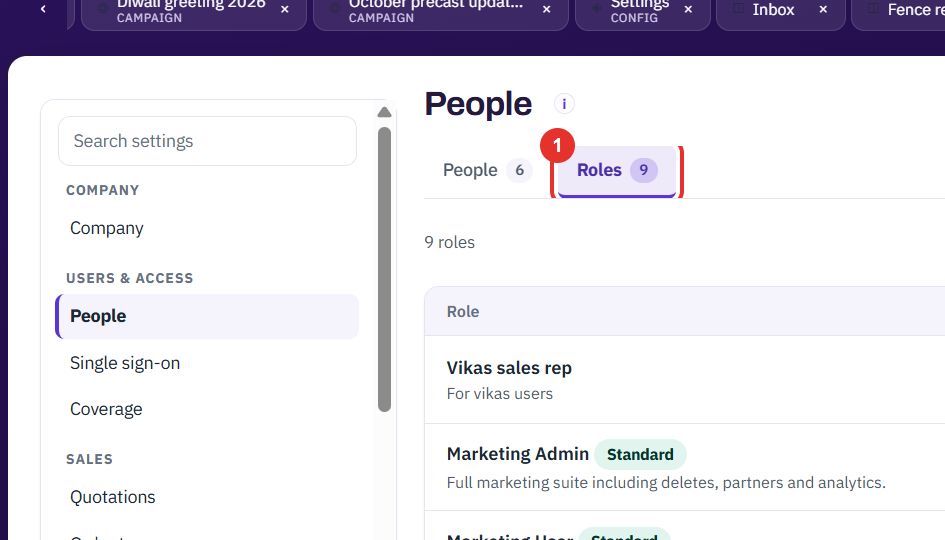
Click Roles next to People. The number on the tab is how many roles there are.
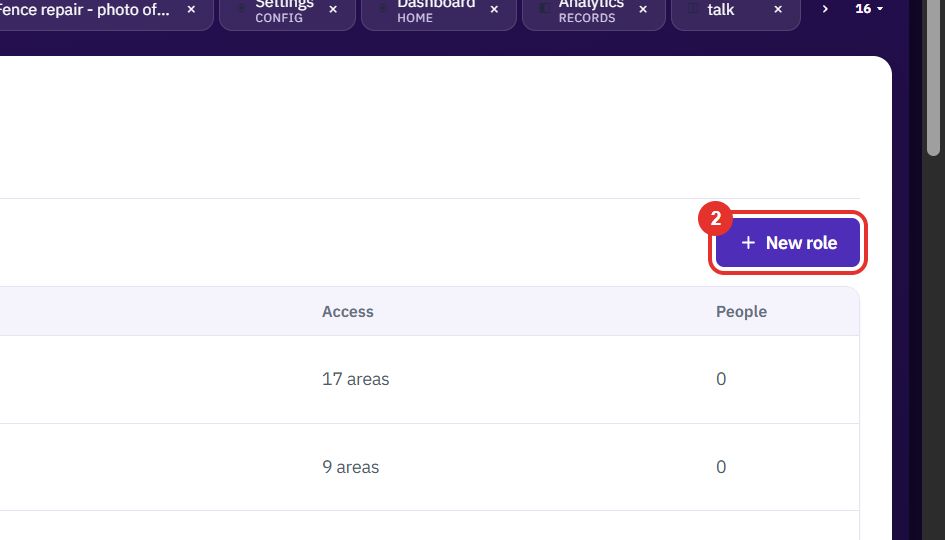
The table lists each role with how many areas it opens and how many people hold it. + New role at the top right makes your own.
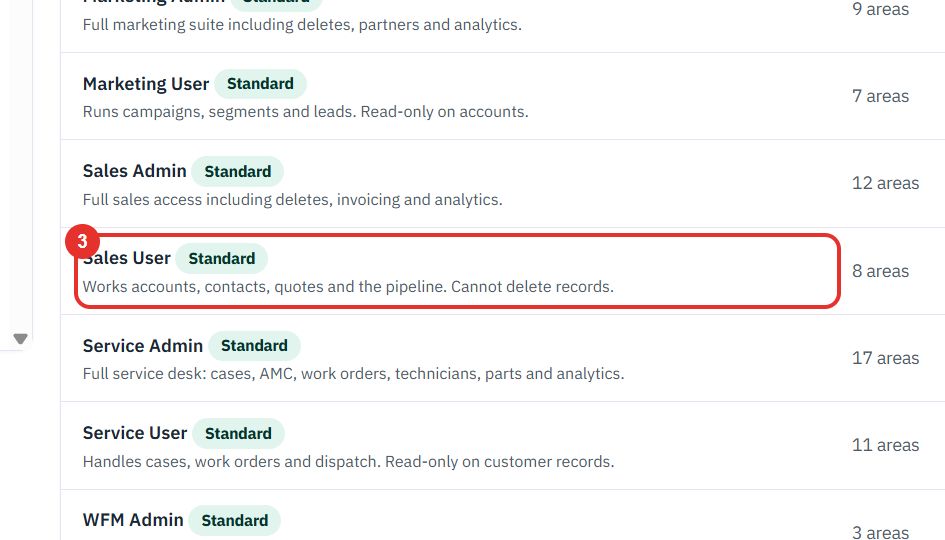
Click a row, for example Sales User. The ready-made roles carry a Standard tag.
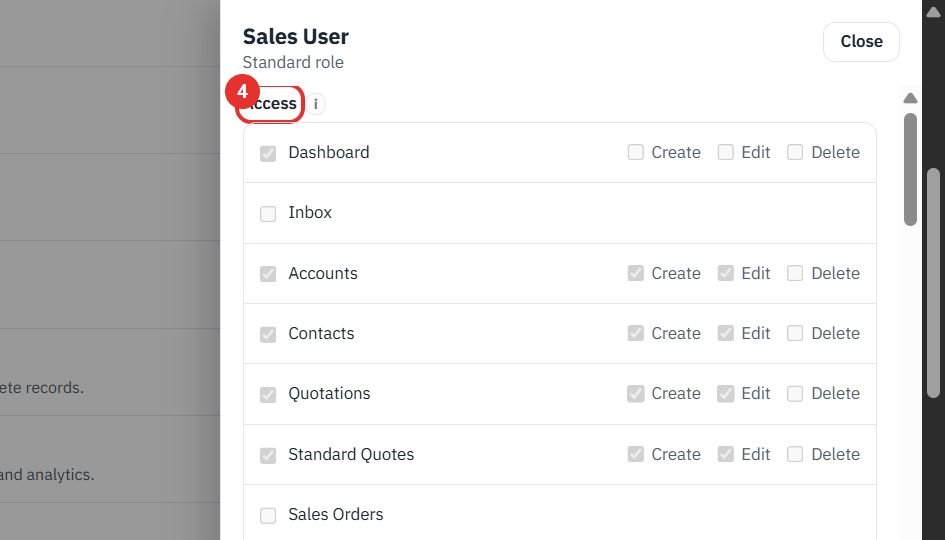
A panel lists every area of the product. A ticked area is open to the role. For areas that hold records, Create, Edit and Delete show what the role may do there. The “i” icon explains the list.
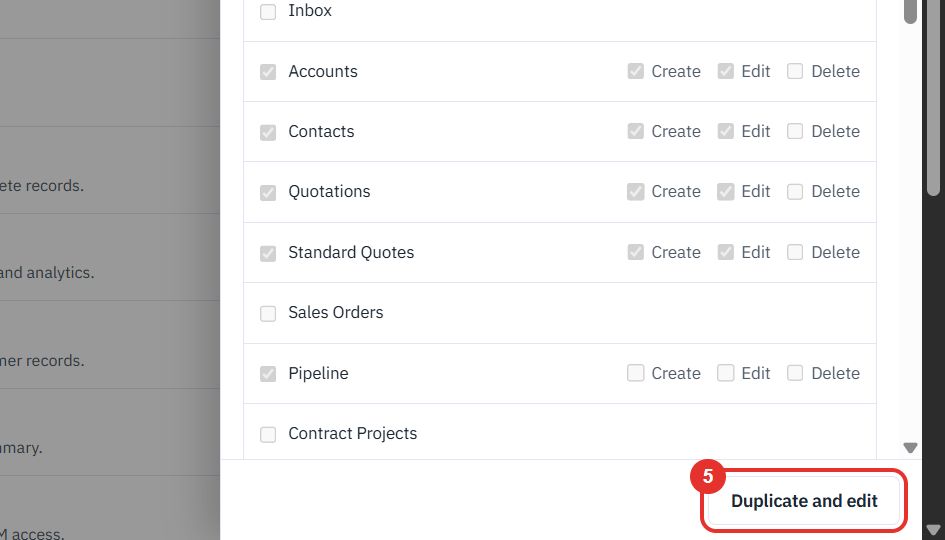
A standard role cannot be changed. Duplicate and edit makes a copy you can change.
Twenty minutes on a live workspace, with your files and your team.