1
Open the Marketing Overview
Click Marketing in the sidebar, then Overview. Four numbered steps show what to do next: Audience (who), Message (what), Review and send and What happened. Each has one number and one button.
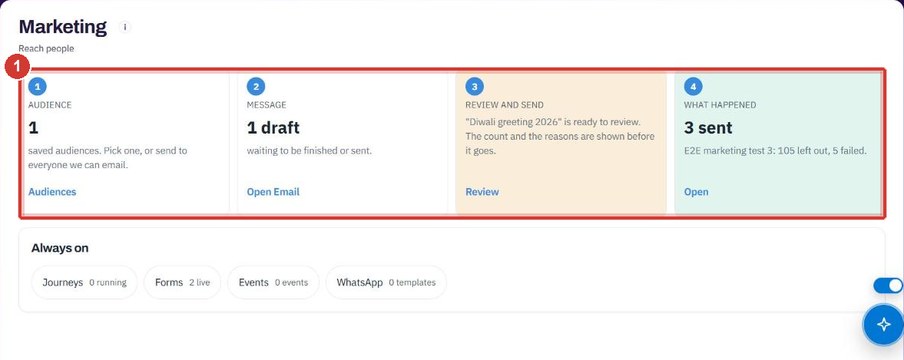
Marketing reaches people. Intelligence shows who is ready. Build an audience, send an email, see who got it and who was left out and why, then find the leads that are ready. Consent rules decide who may be emailed at all.
Want the full chapter? Solution Guide, chapter 5: Marketing (PDF) · All documentation
Do this to see where you are. Marketing and Intelligence each open on an Overview with a short path of numbered steps.
Click Marketing in the sidebar, then Overview. Four numbered steps show what to do next: Audience (who), Message (what), Review and send and What happened. Each has one number and one button.
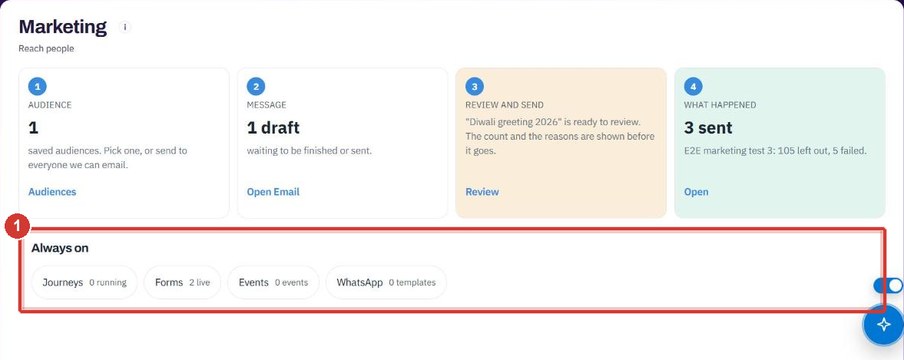
Under the steps, Always on links to Journeys, Forms, Events and WhatsApp, each with a small count. Only the modules your workspace has are shown.
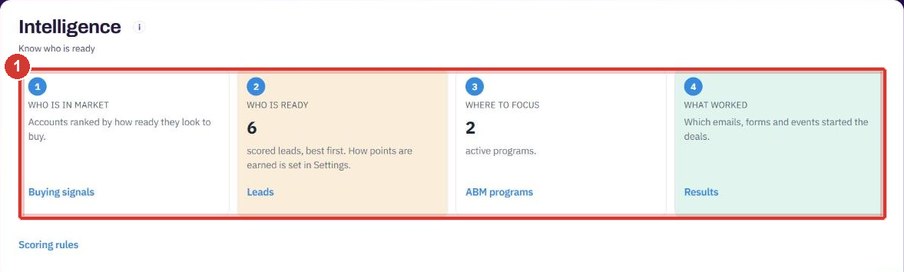
Click Intelligence in the sidebar, then Overview. It has up to four steps: Who is in market, Who is ready, Where to focus and What worked. A step shows only for a module your workspace has and you may open.
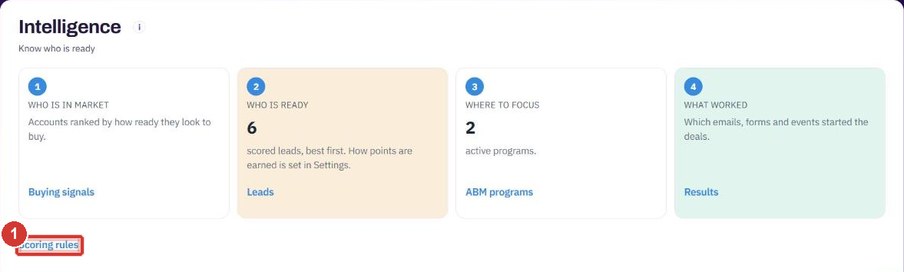
This link under the steps opens the settings where a lead earns points. Scoring rules are not a sidebar row.
Do this to save a group of customers, such as all prospects in one city, so you can pick it again for emails, newsletters and programs.
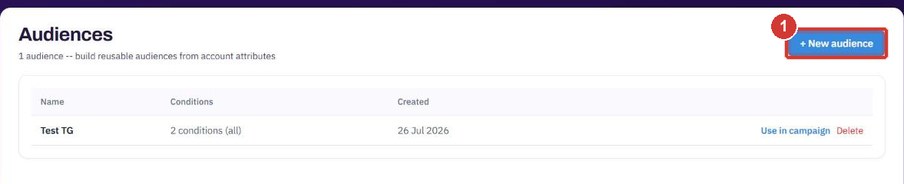
Open Audiences under Marketing. The list shows each saved audience with its conditions. Click + New audience at the top right.
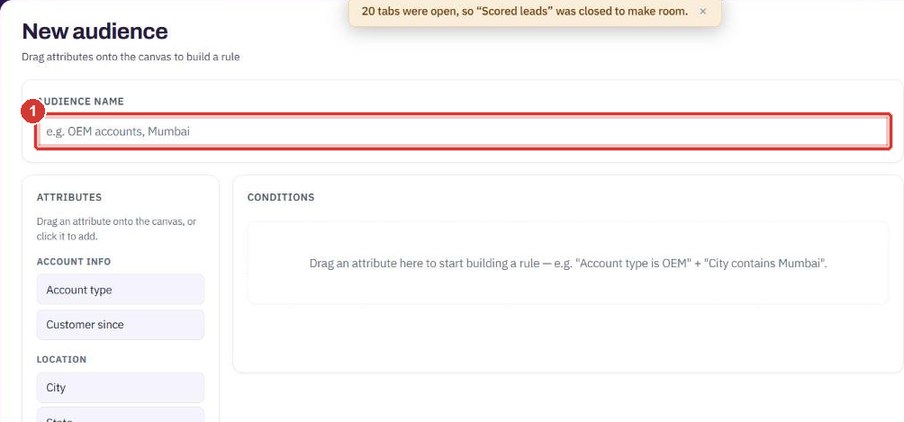
Click Audience name and type a name, for example Precast buyers in Mumbai.
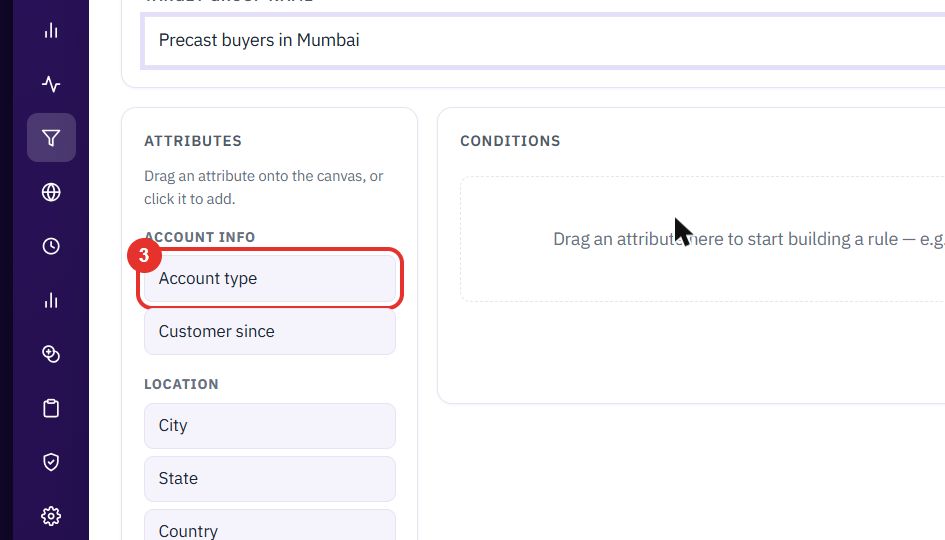
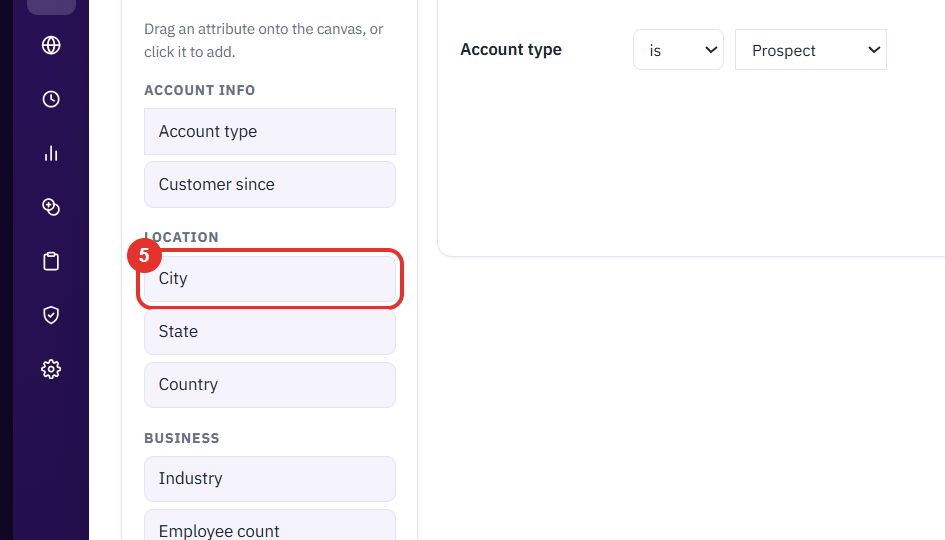
Under Attributes, click an attribute to add it as a condition. You can also drag it onto the canvas. Attributes are grouped as Account info, Location, Business, Engagement and more.
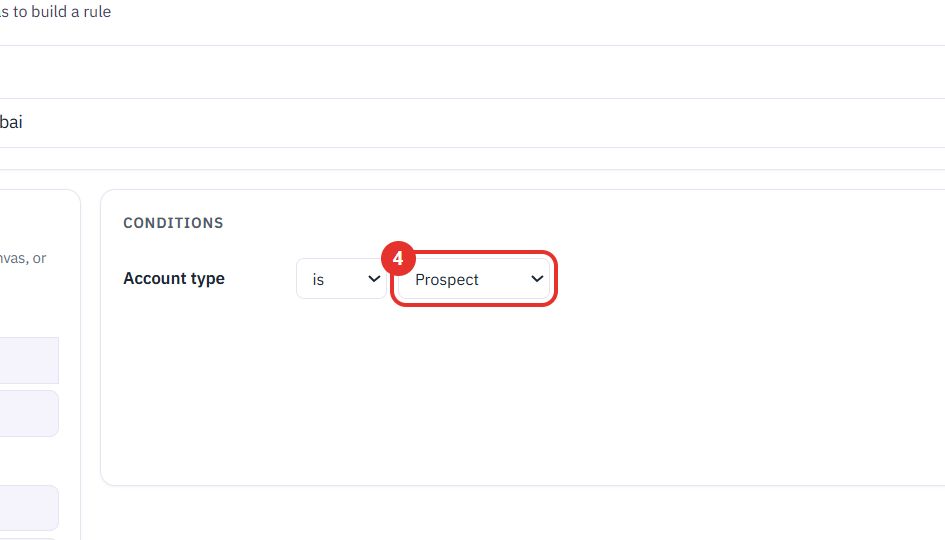
The condition appears under Conditions. Choose is or is not, then a value such as Prospect.
Click a second attribute to add another condition. It is joined to the first with AND. Type the city, for example Mumbai, in the box next to it.
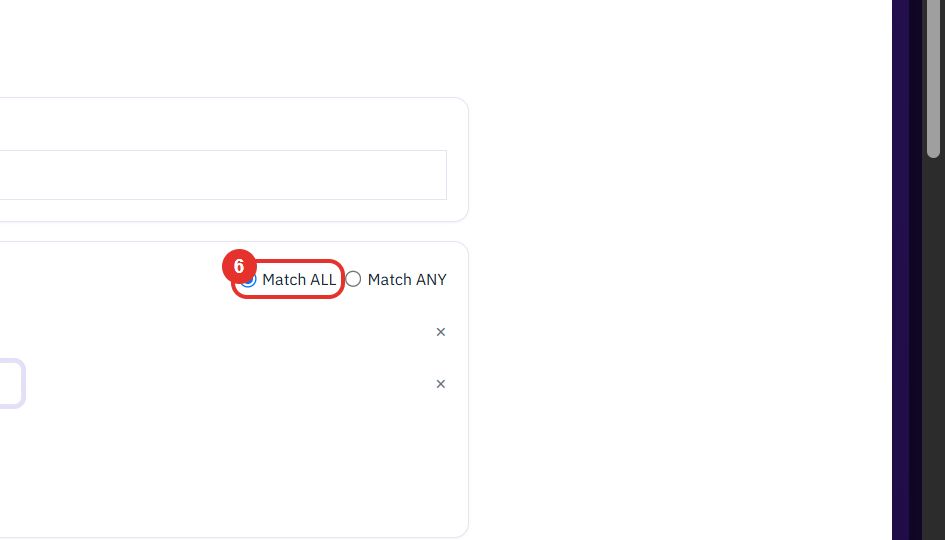
With two or more conditions, choose whether an account must meet all of them or any one of them.
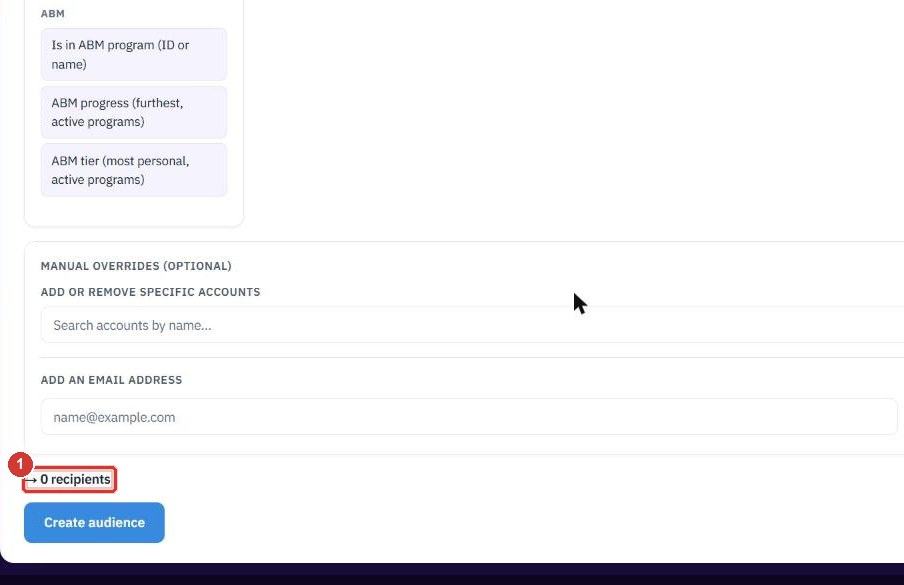
The line under the form shows → N recipients for the rule. Accounts with no email address are counted separately. This is a quick count of accounts. The real count for an email, which also checks each person's consent, is on the email itself.
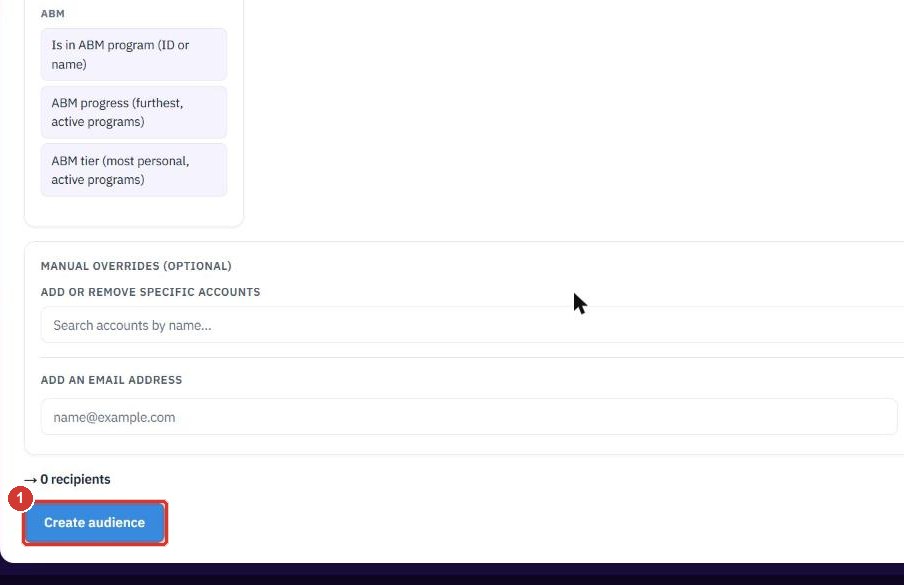
This saves the audience. It then shows in the Audiences list and in the Audience list of a new email. Above the button you can also add or remove single accounts, or add an email address.
Do this to email a message to an audience. The screen follows the order Audience, Message, Review and send. A draft is saved until you send it.
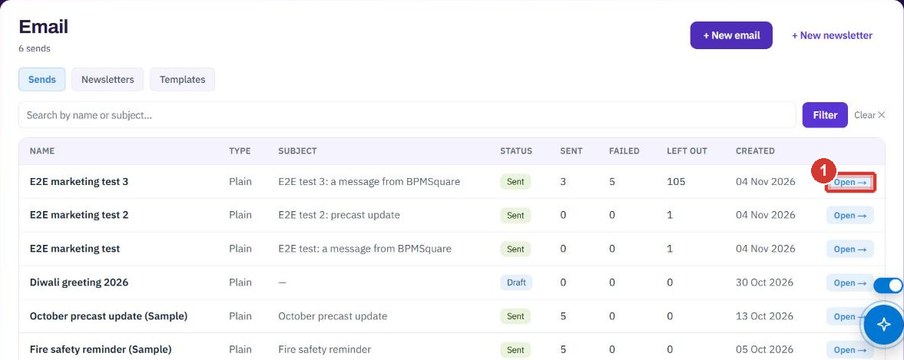
Open Email under Marketing. The Sends chip lists every email with its type, status, how many were sent, failed or left out. Click + New email.
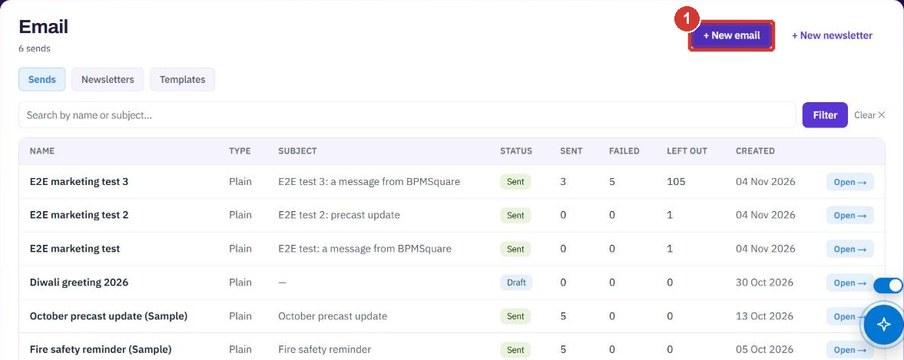
Type a name in Campaign name (internal). Only your team sees it.
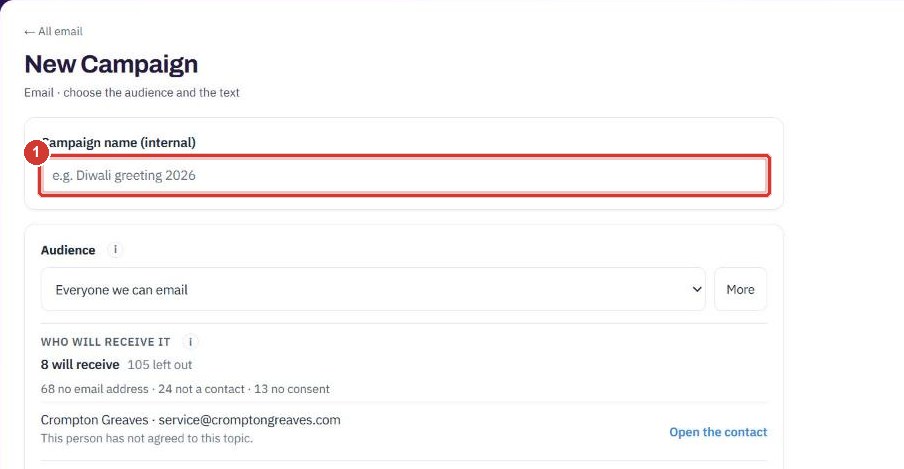
Choose Everyone we can email, or one of your saved audiences. More opens account types, single accounts and extra addresses. Change anything and the list shows One-off (changed here), with Save as audience beside it.
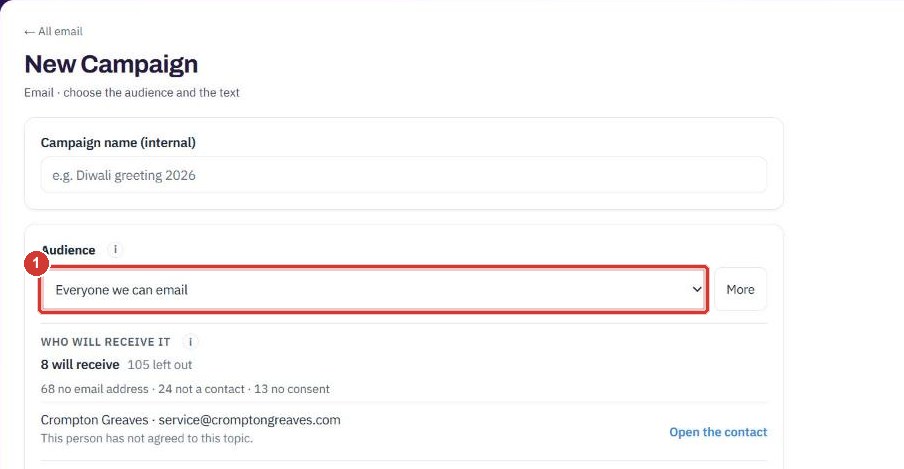
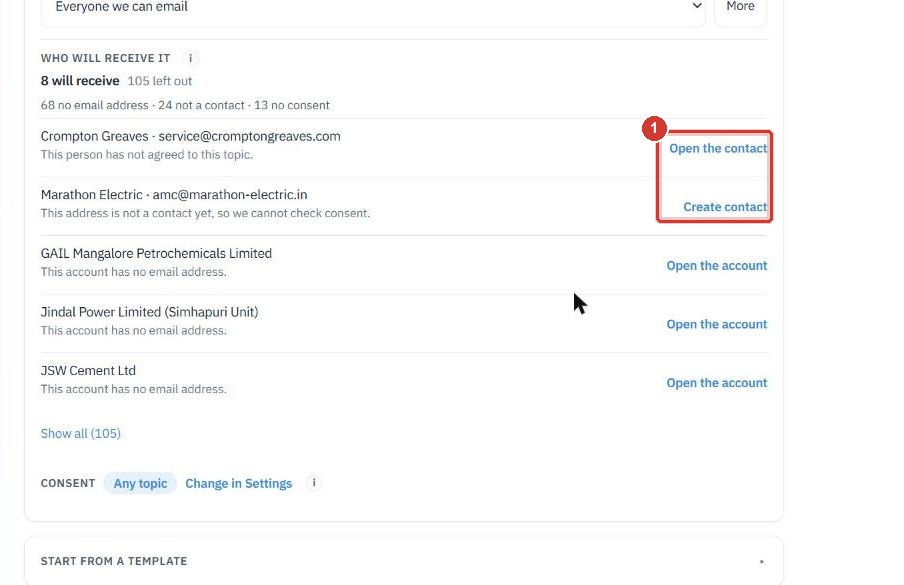
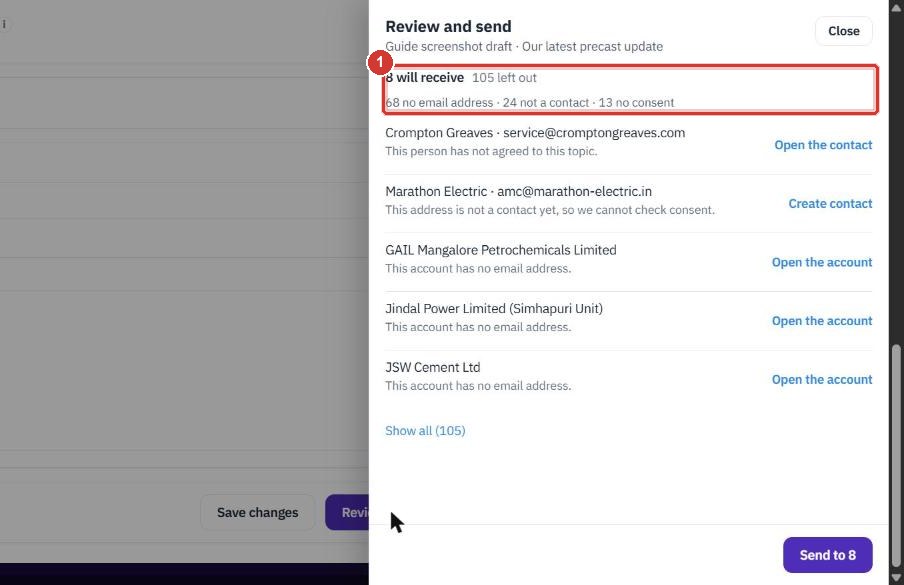
This is the real count, for example 8 will receive and 105 left out. It runs the same checks as the send: an email address, a contact, and consent for the topic. Under it is the count for each reason.
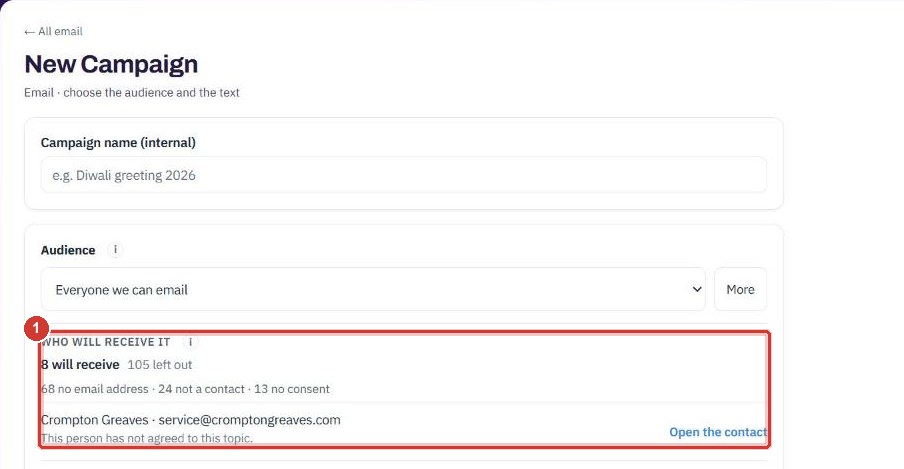
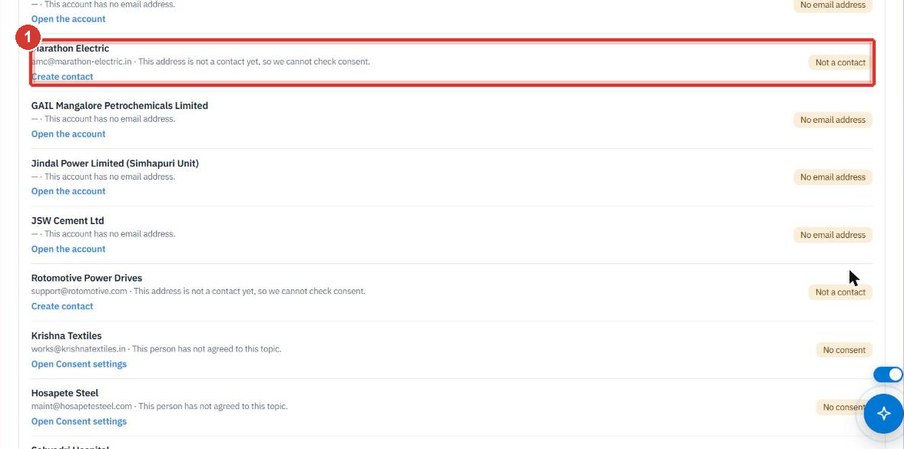
Each person who is left out has a plain reason and a link that fixes it: Open the account, Create contact or Open the contact. The first five are shown. Click Show all for the rest.
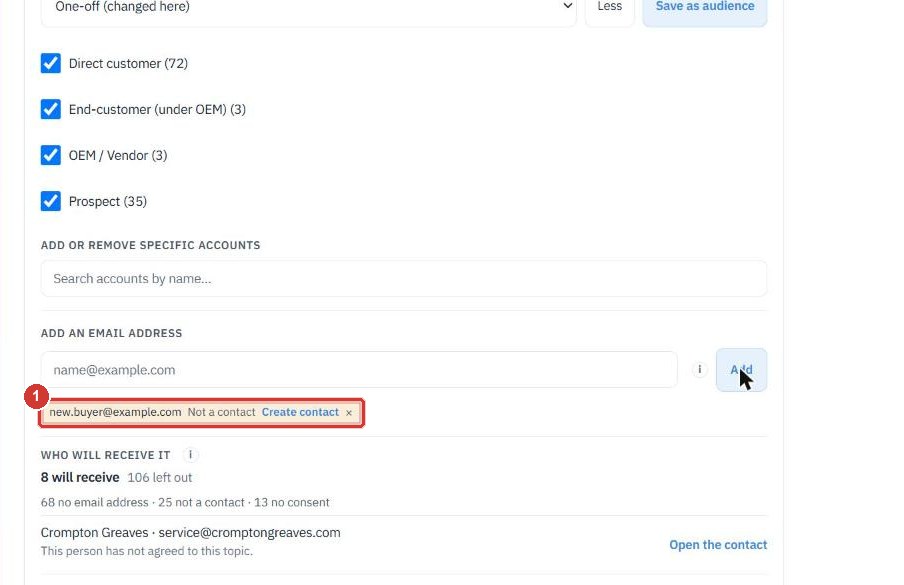
Open More, type an address under Add an email address and click Add. A chip says Ready, Not a contact or No consent. Only a contact who agreed to the topic is emailed. For a stranger, click Create contact first.
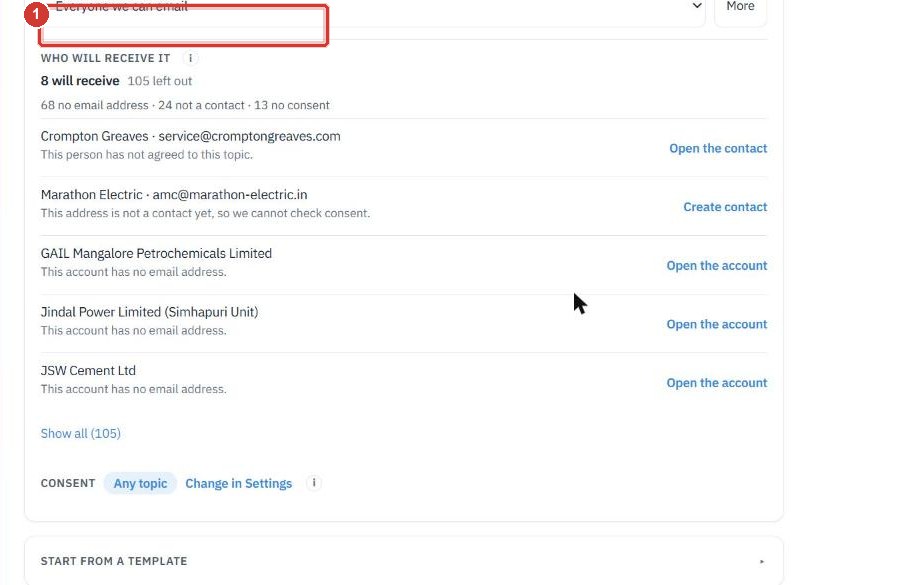
The chip shows the topic (Any topic) and a Change in Settings link. Topics and rules are set once in Settings, not on this screen.
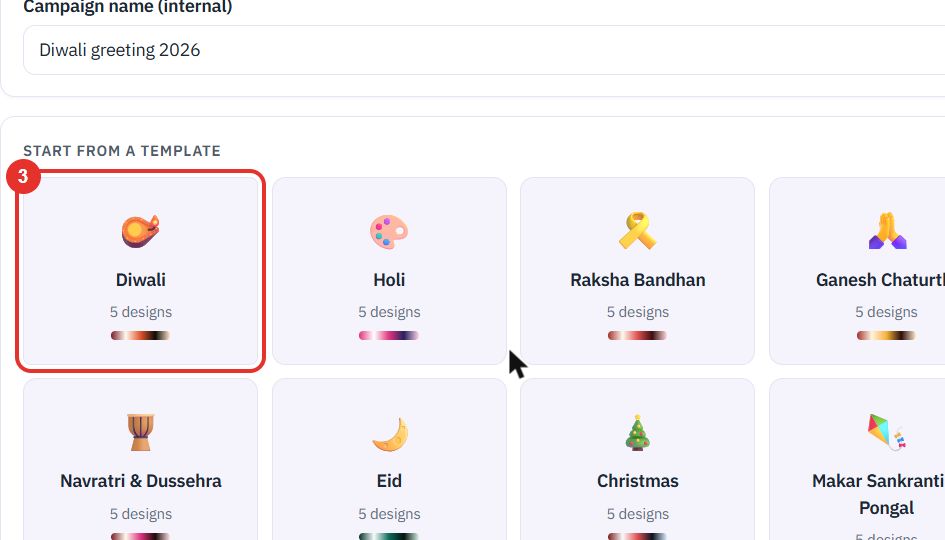
Click START FROM A TEMPLATE to open the occasion tiles, for example Diwali, Holi, Eid, Christmas and Service Reminder. Each tile has designs to start from. You can skip this and write your own.
Type the subject line. You can put the account name in with {{company_name}}. The “i” icon next to the label explains the fields you can use.
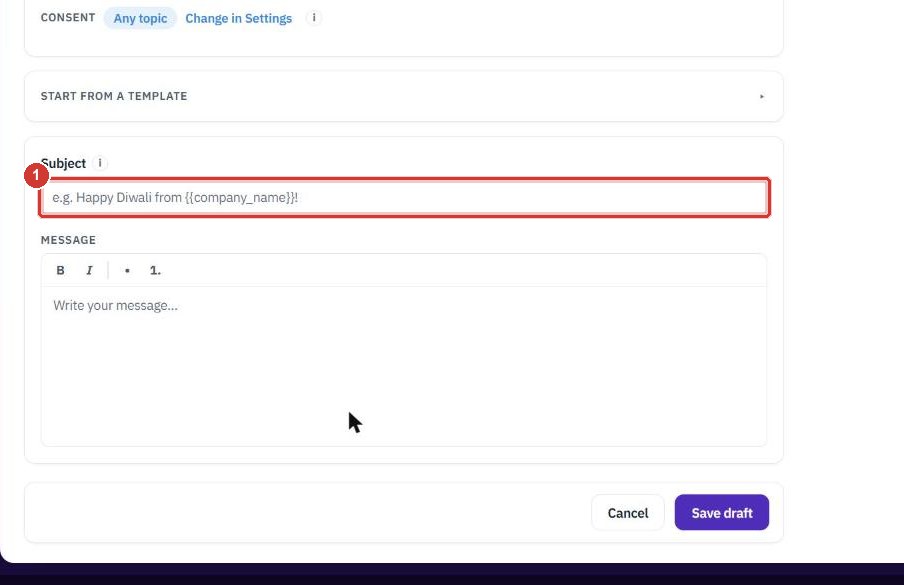
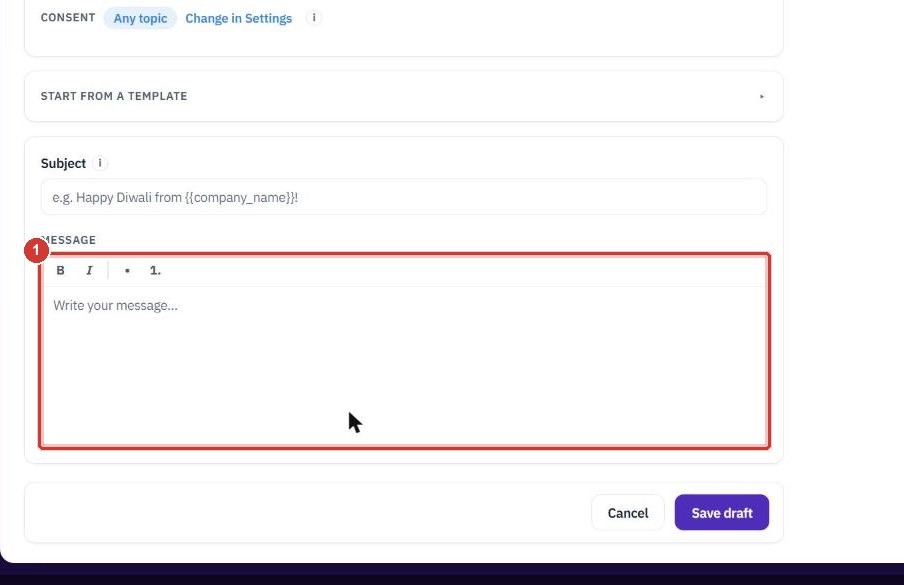
Type the text in the MESSAGE box. The toolbar has B for bold, I for italic, a bullet list and a numbered list.
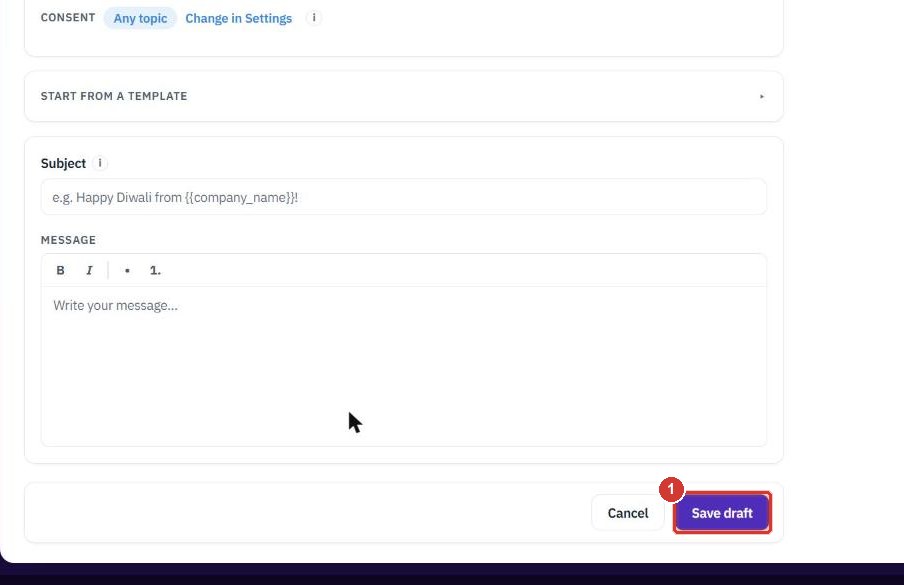
This keeps the draft and opens it. Nothing is sent. Click Save draft again later and the same draft is updated, never copied.
On the saved draft, click Review and send. It opens a panel. It does not send anything yet.
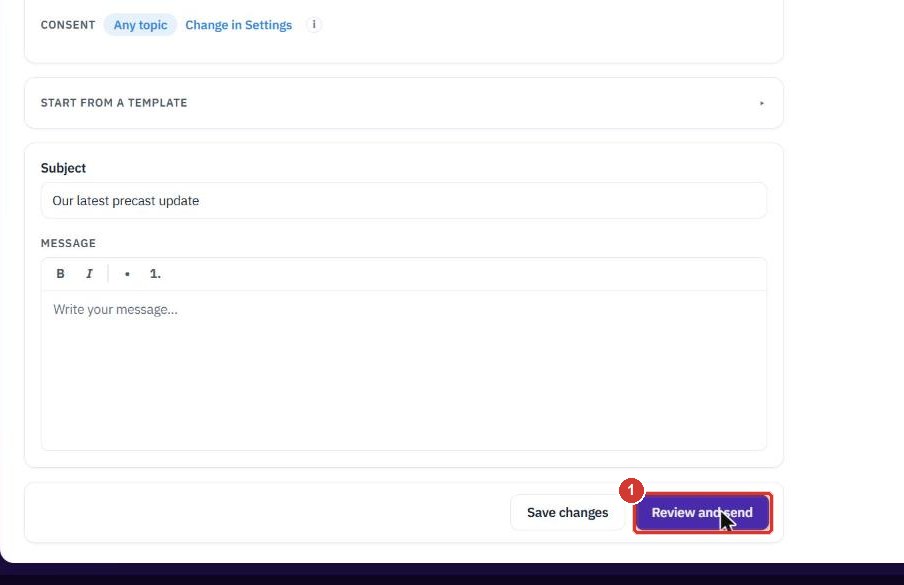
The panel shows who will receive the email and who is left out and why, with the same fix links. If nobody can be emailed yet, the send button stays off and the panel says so.
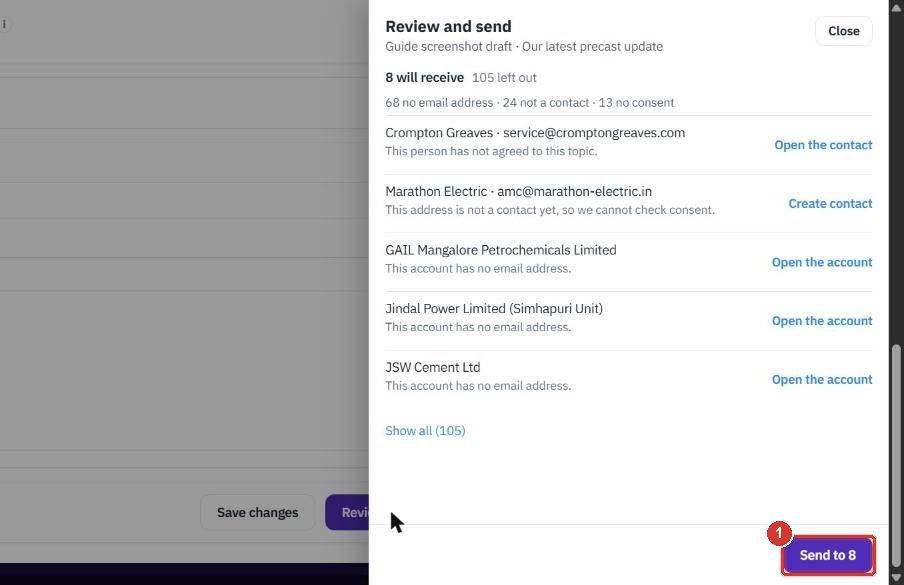
Click Send to N only when the text and the audience are right. The email goes out at once and cannot be recalled. Click Close instead to go back.
Do this after an email went out, to see who got it, who was left out, and to finish a send that was cut short.
In the Email list, click Open → on a sent email. Newsletters you sent from the Studio are in the same list, with the type Newsletter.
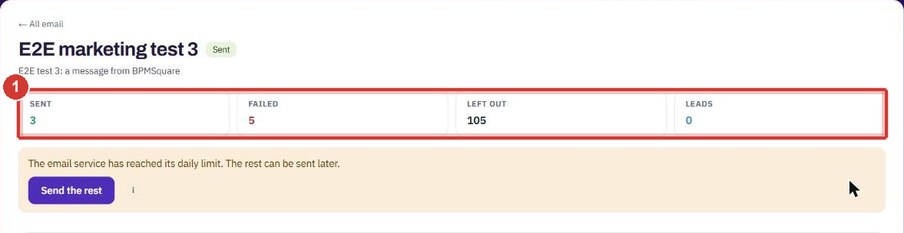
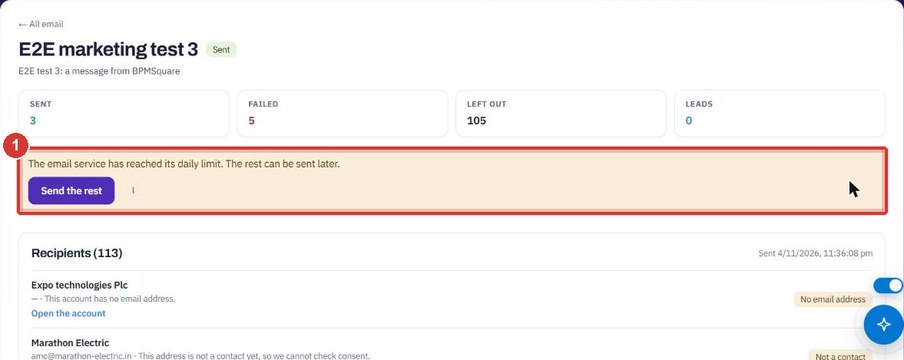
SENT, FAILED, LEFT OUT and LEADS sit at the top. While a send is running the page counts by itself, for example Sending… 4 of 8. You do not need to reload.
The Recipients list names everyone. A person who was left out has a reason, such as Not a contact or No consent, and a link that fixes it.
If the email service reached its daily limit, some emails fail and the page says so. Click Send the rest when the limit has reset. It sends only to people whose email failed or was never tried. Nobody already sent is emailed again.
Do this to build a designed email with blocks, a preview and an unsubscribe link. Newsletters need Newsletter Studio.
Open Email under Marketing. With Newsletter Studio, two more chips appear next to Sends: Newsletters for your designs and Templates for reusable ones. Click Newsletters.
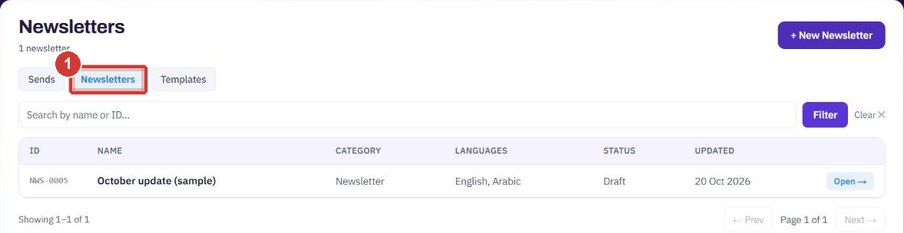
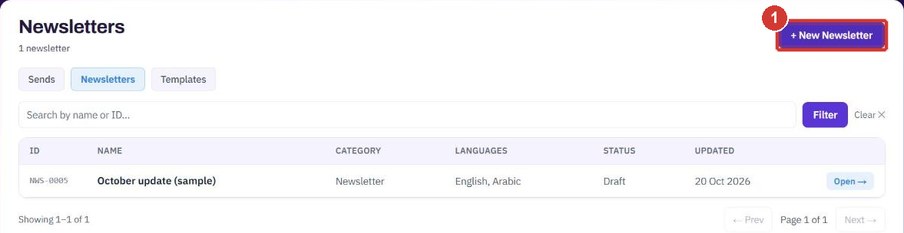
The list shows ID, name, category, languages, status and last update. Click + New Newsletter.
In the Start panel, type a name in Name, for example October update.
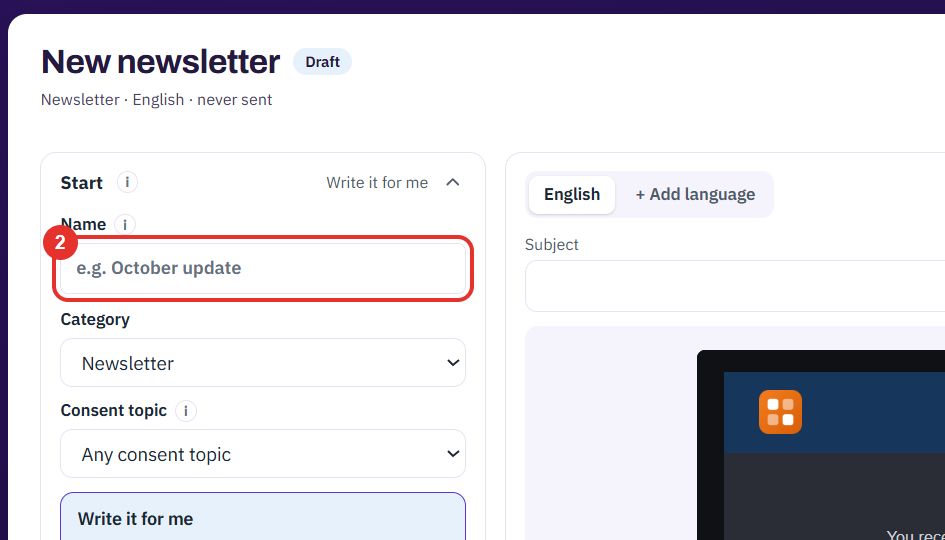
Choose Newsletter, Offer, Event, Announcement or Festival.
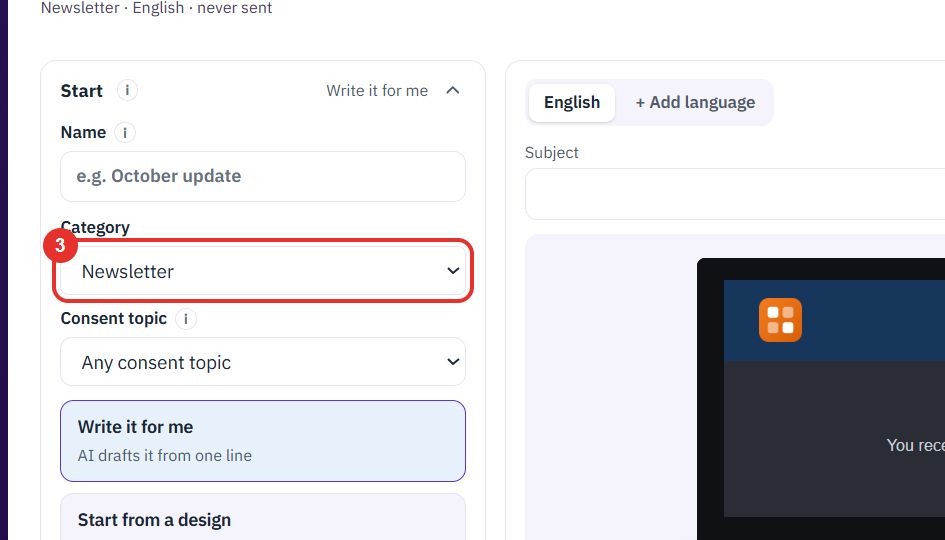
Choose the topic this mail is about: Offers, New products, Service reminders or Events, or leave Any consent topic. The “i” icon explains how topics are used.
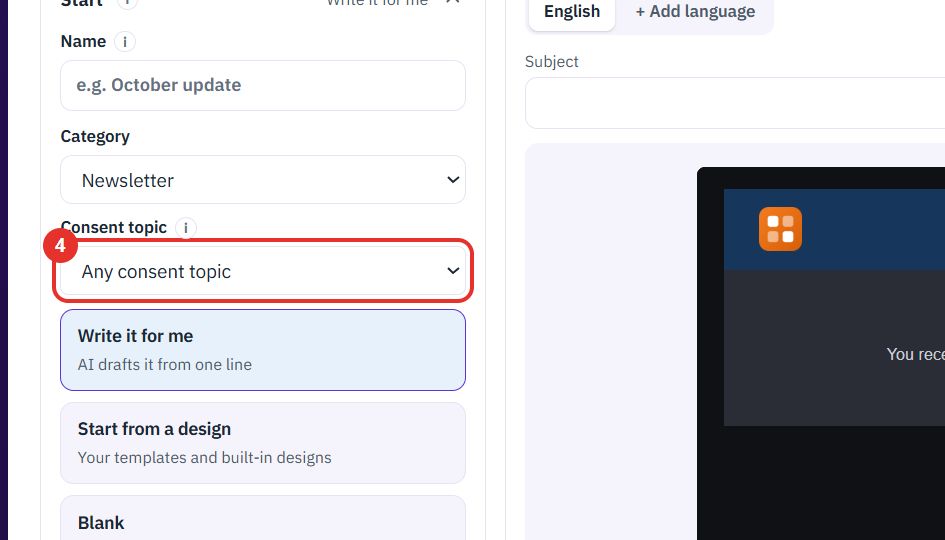
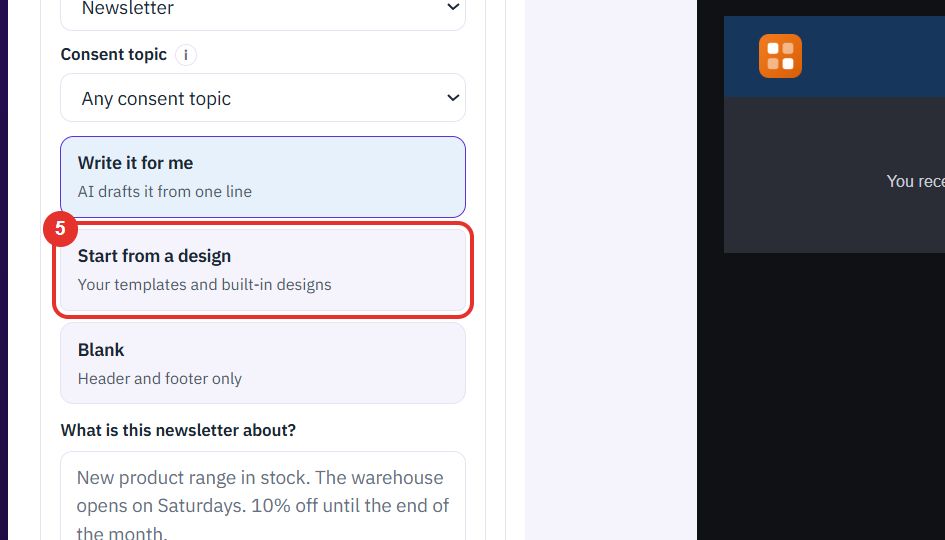
Write it for me drafts the mail from one line you give. Start from a design opens your templates and the built-in designs. Blank gives only a header and footer.
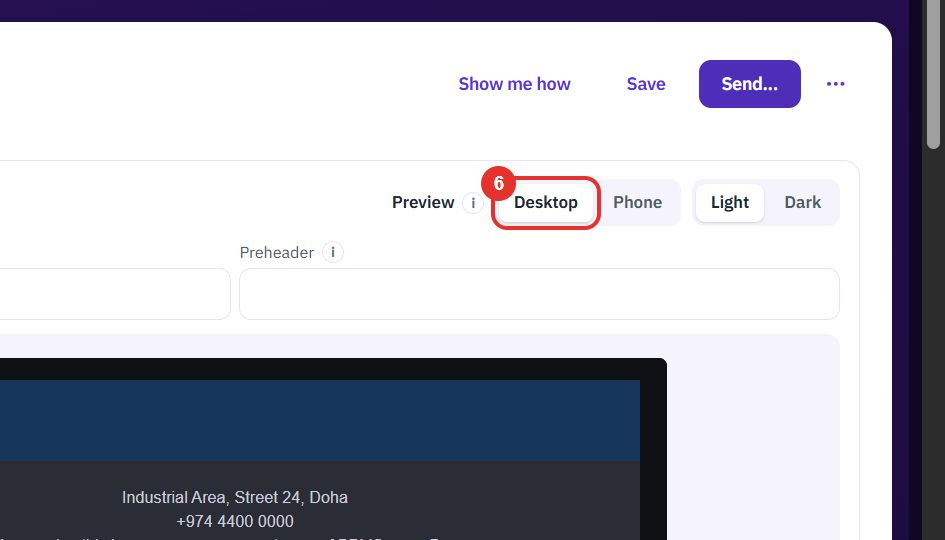
Switch between Desktop and Phone, and between Light and Dark, to see how the mail looks.
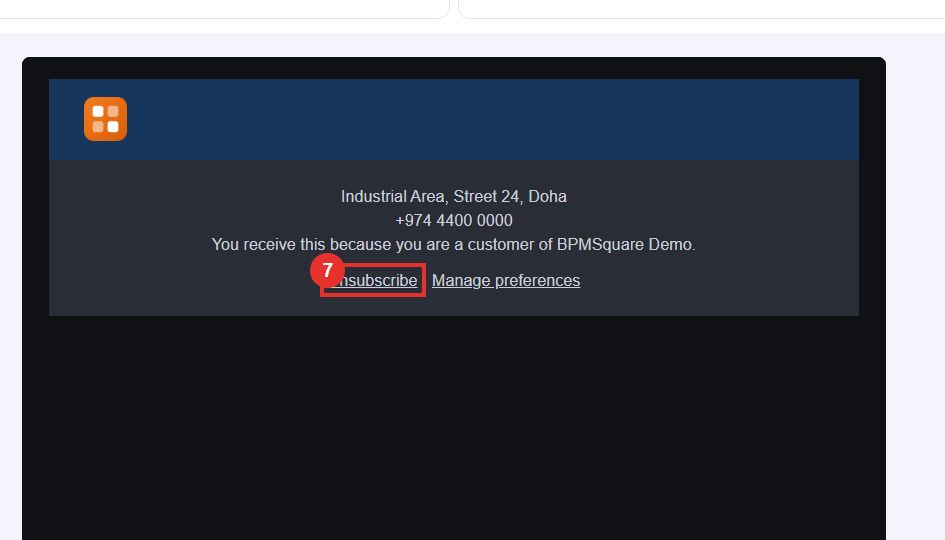
Every newsletter ends with your address and two links, Unsubscribe and Manage preferences. You do not add them yourself.
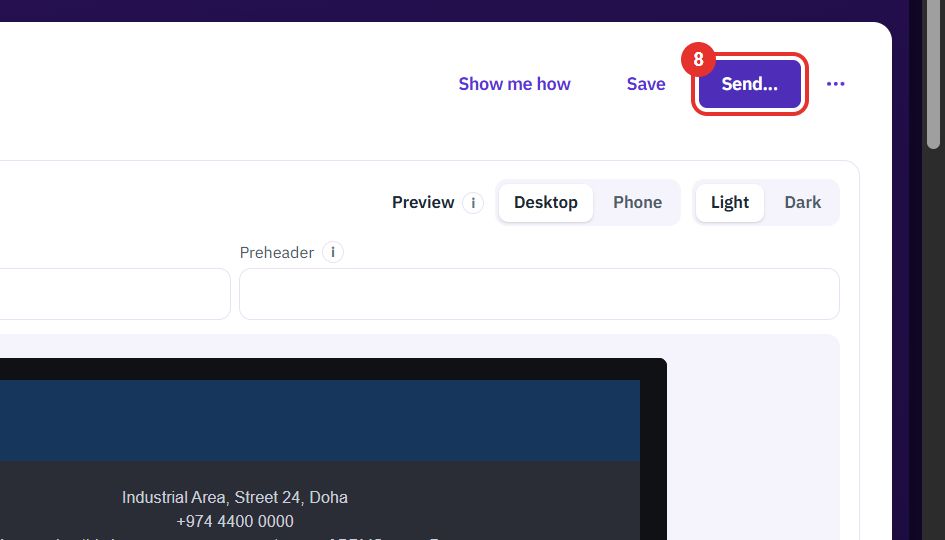
Send... opens the send options: the audience, and the count of who will receive it and who is left out. Save keeps a draft. Show me how starts a guided tour of this screen.
Do this to see which leads a salesperson should pick up. In a workspace with lead scoring, one Leads list has two views of the same leads.
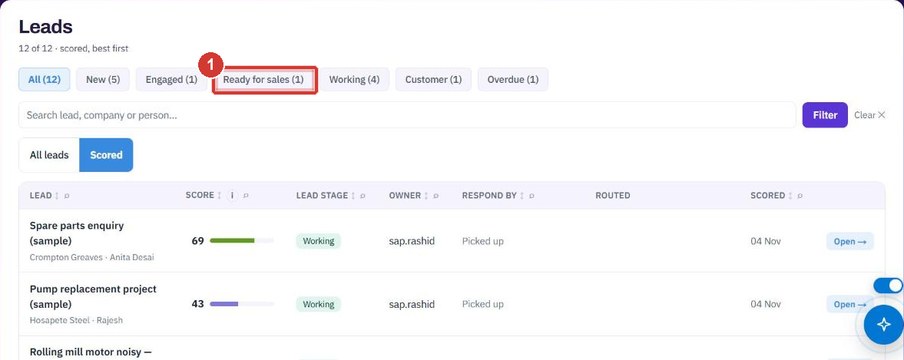
Open Leads under Intelligence. A switch above the list reads All leads and Scored. All leads shows status and source. Scored adds the score, the stage, the owner and the time left to respond. Click Scored.
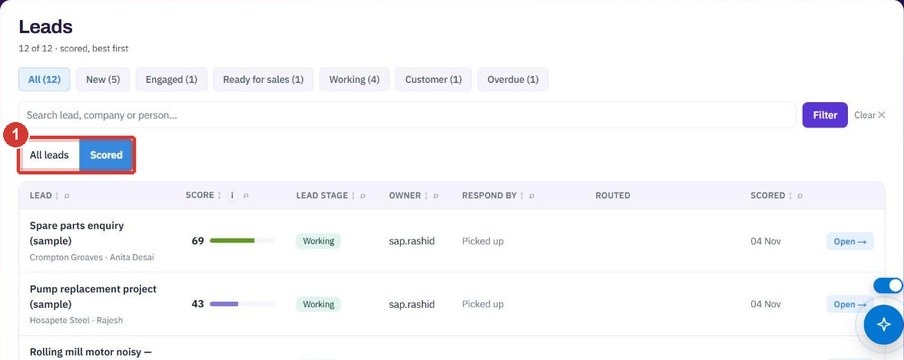
The chips filter the list by stage. Click Ready for sales to see leads that sales should pick up. Overdue shows the ones past their deadline.
Do this once, and again when you start mailing in a new country. These rules apply to every email and newsletter. The page opens in any workspace that has Marketing. On an email, the Change in Settings link next to the Consent chip opens it too.
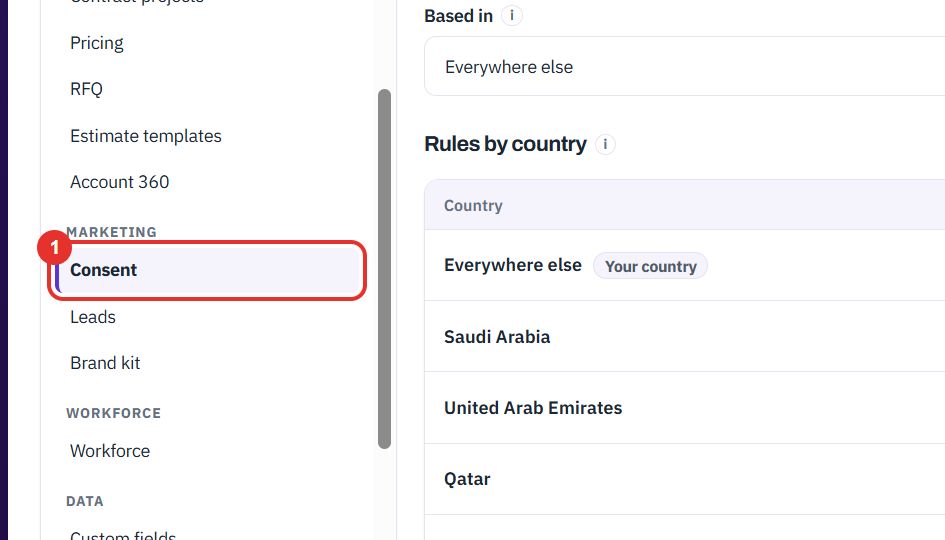
Open Settings. Under MARKETING, click Consent.
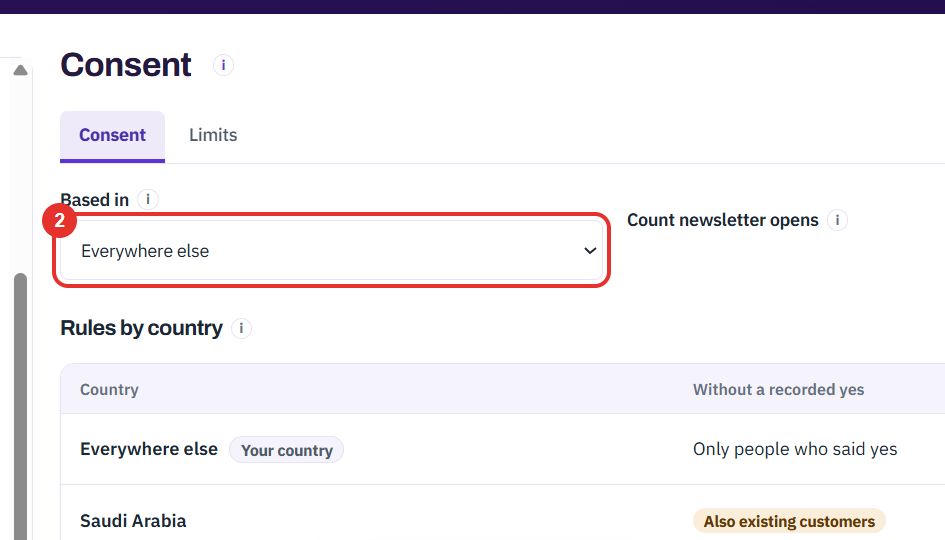
Choose the country you send from. The “i” icon next to the label explains why it matters.
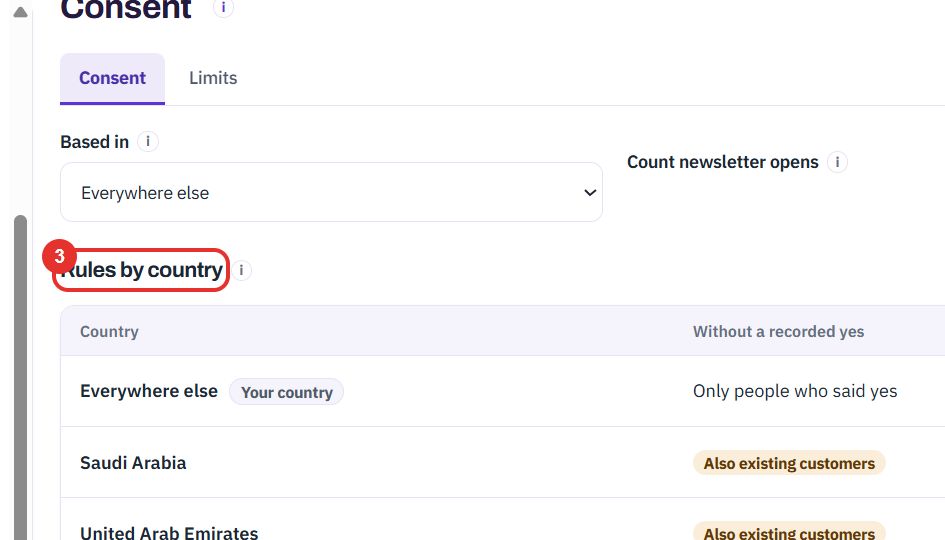
For each country the table shows who you may email Without a recorded yes: Only people who said yes, or Also existing customers.
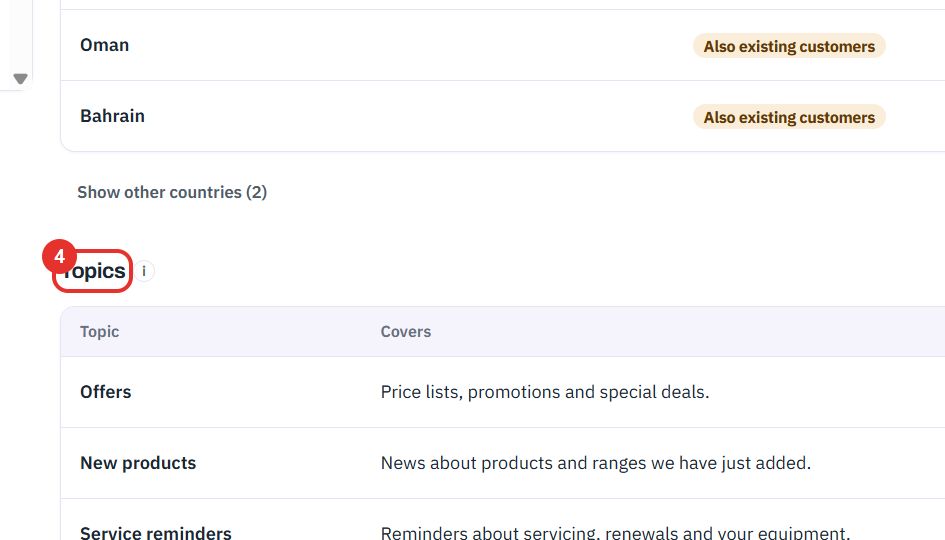
Topics are what people can say yes to: Offers, New products, Service reminders and Events. Each row says what it covers.
The Limits tab sets when and how often messages may go out.
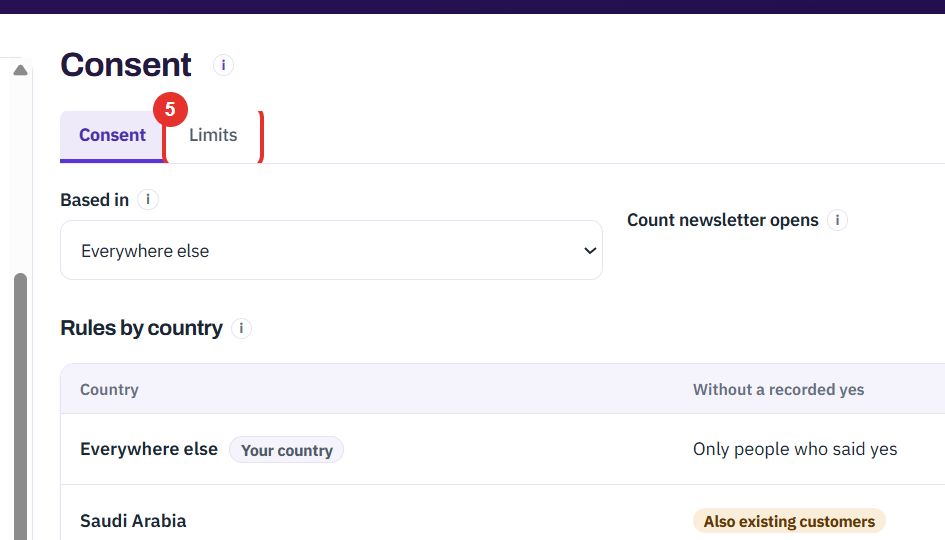
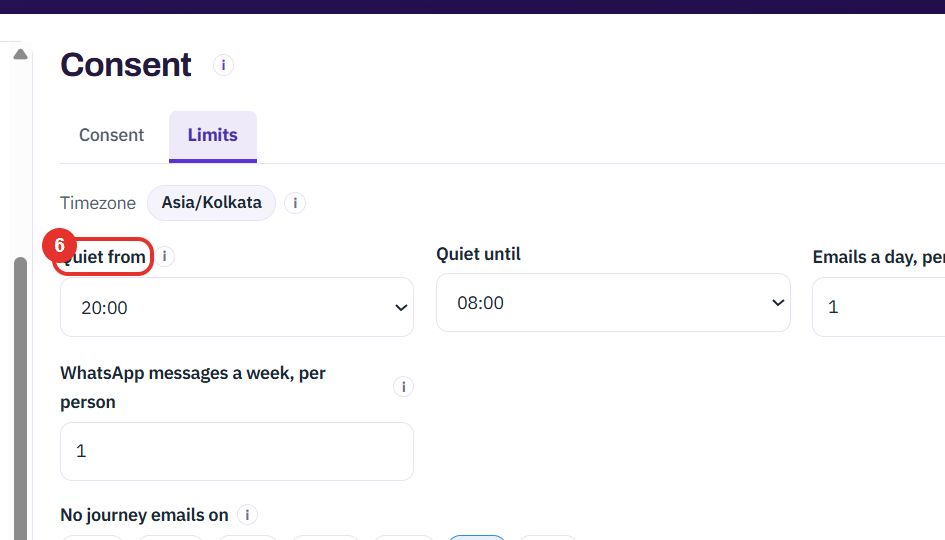
Quiet from and Quiet until are the hours when no message goes out. Below them are Emails a day, per person, WhatsApp messages a week, per person and No journey emails on for the days you choose.
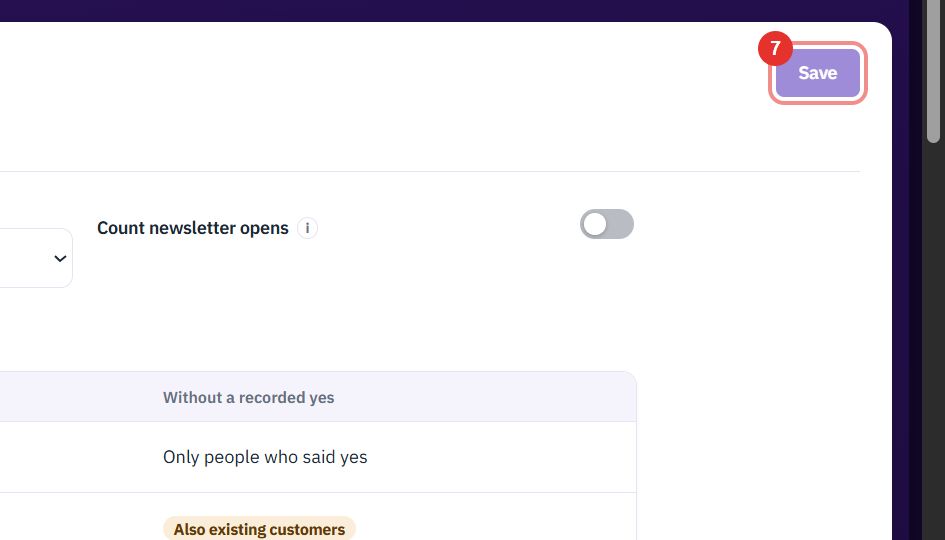
Click Save at the top right after any change.
Twenty minutes on a live workspace, with your files and your team.