1
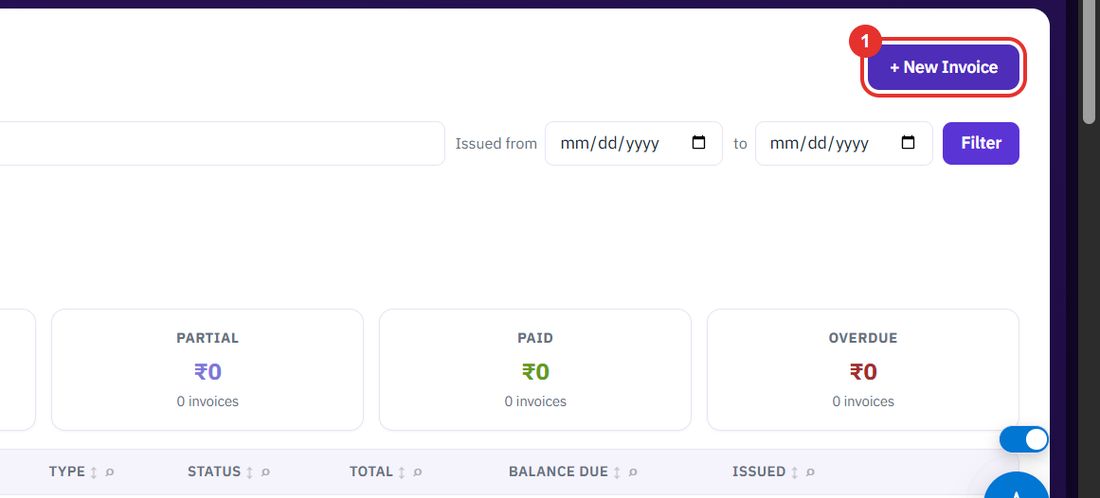
Click + New Invoice
On the Invoices page, top right. From approved quote at the top of the form fills everything in from a quote. Leave it on — Manual entry — to type it yourself.
Invoices bill an account, either entered by hand or filled in from an approved quote. Track each one from Draft to Paid.
Want the full chapter? Solution Guide, chapter 2: Sales and tenders (PDF) · All documentation
When you bill a customer by hand.
On the Invoices page, top right. From approved quote at the top of the form fills everything in from a quote. Leave it on — Manual entry — to type it yourself.
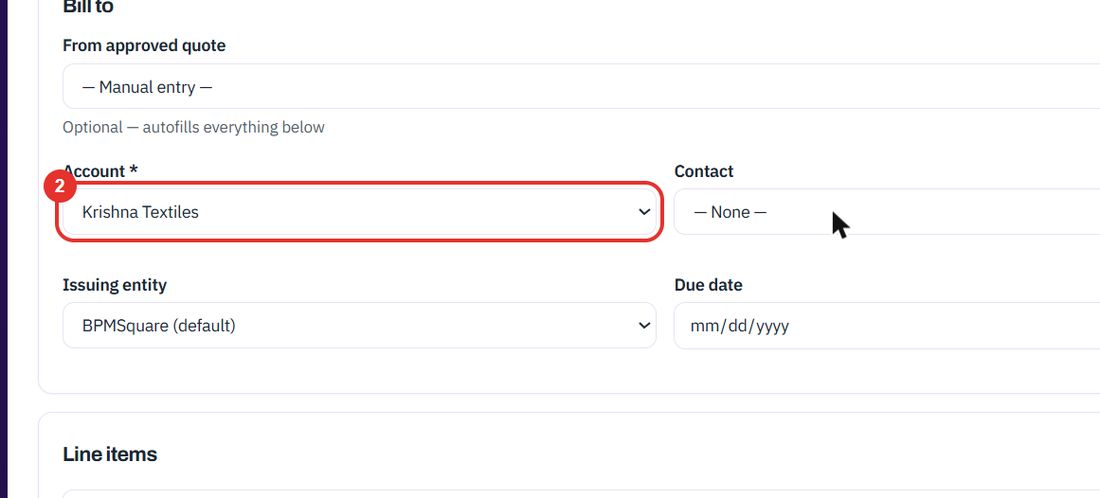
Required. Contact, Issuing entity and Due date sit beside and below it.
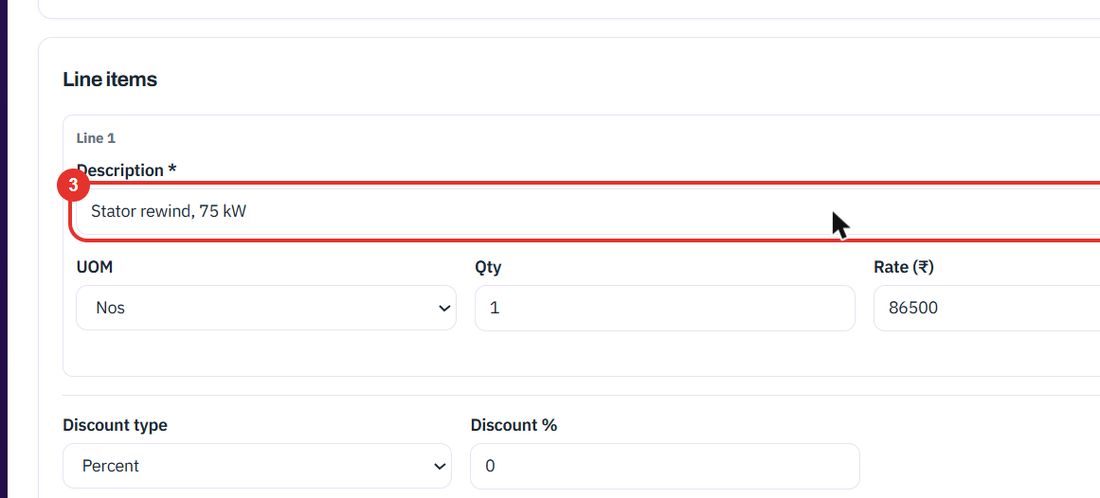
Under Line items. It is required. Use + Add line for more lines.
Next to UOM.
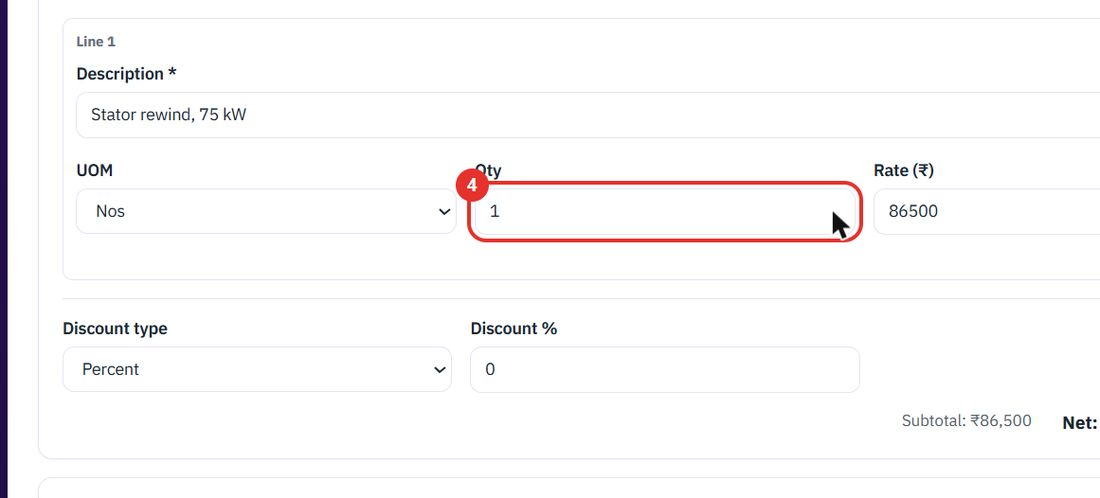
The line subtotal shows under the lines.
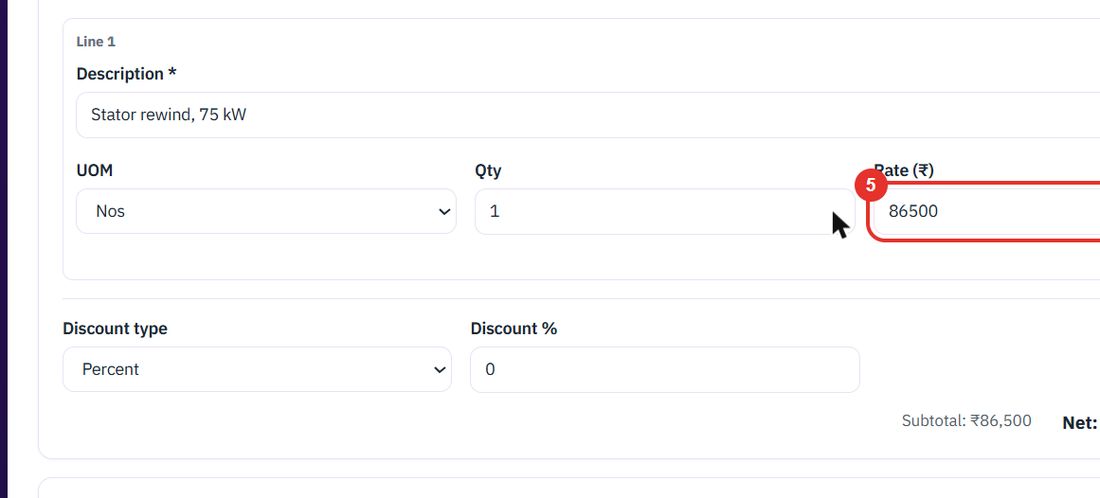
Percent or Fixed amount, then the amount in the box beside it.
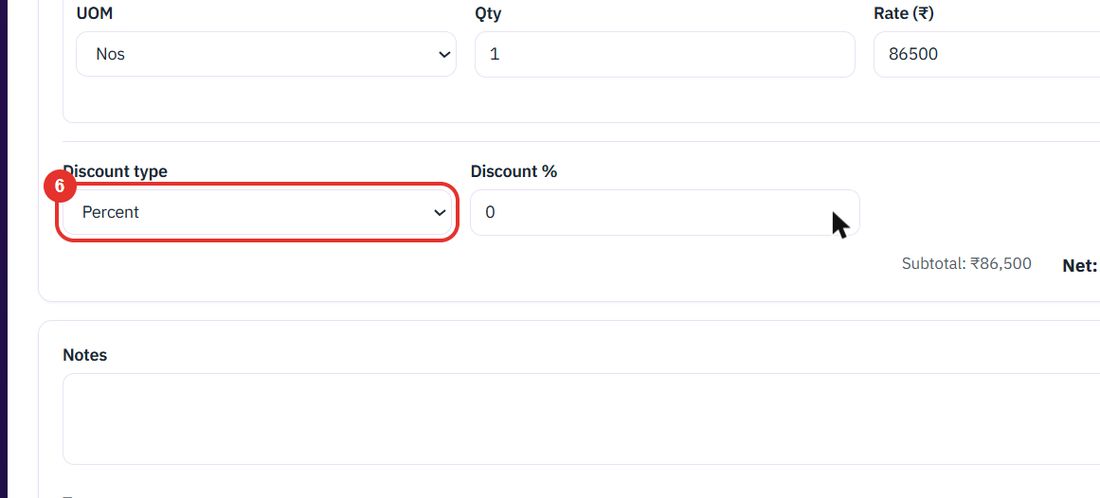
Save creates the invoice. Notes and Terms are optional and sit above the buttons.
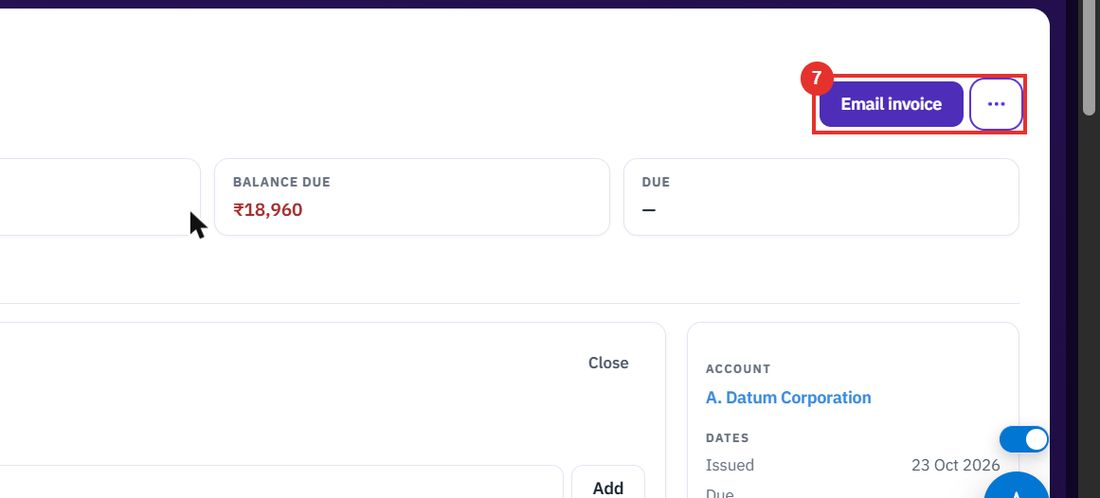
When a draft is ready to go to the customer.
Draft, Sent, Partial, Paid and Overdue each show a total and a count of invoices.
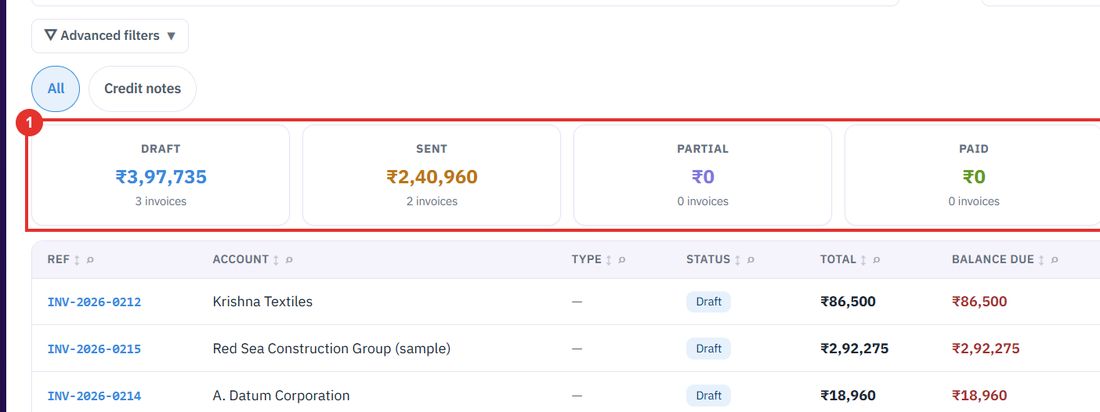
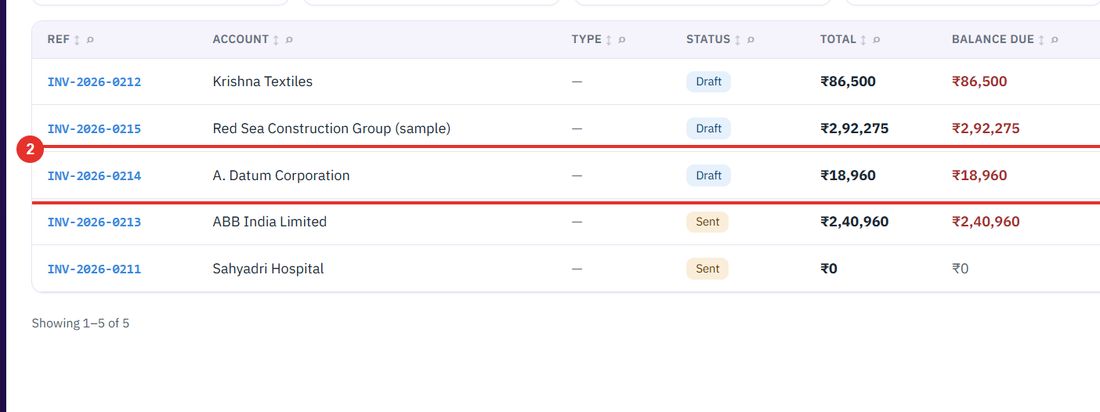
Each row shows the reference, account, status, total, balance due and issue date.
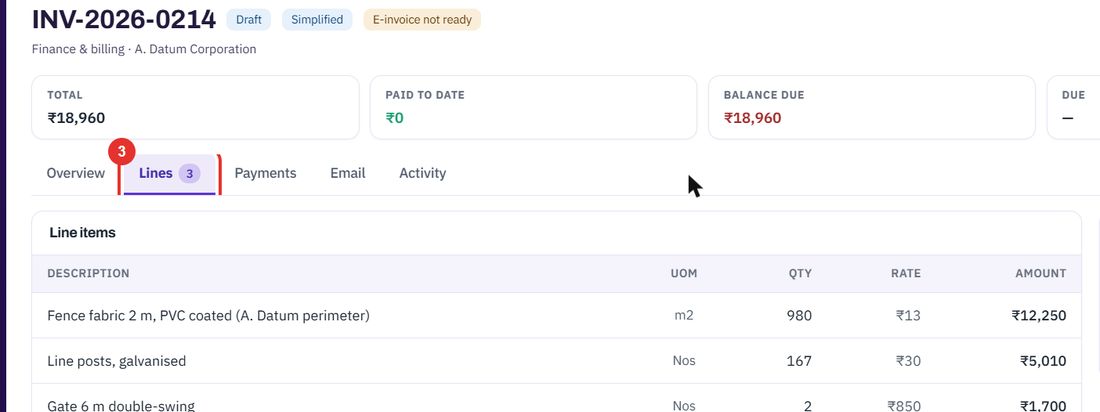
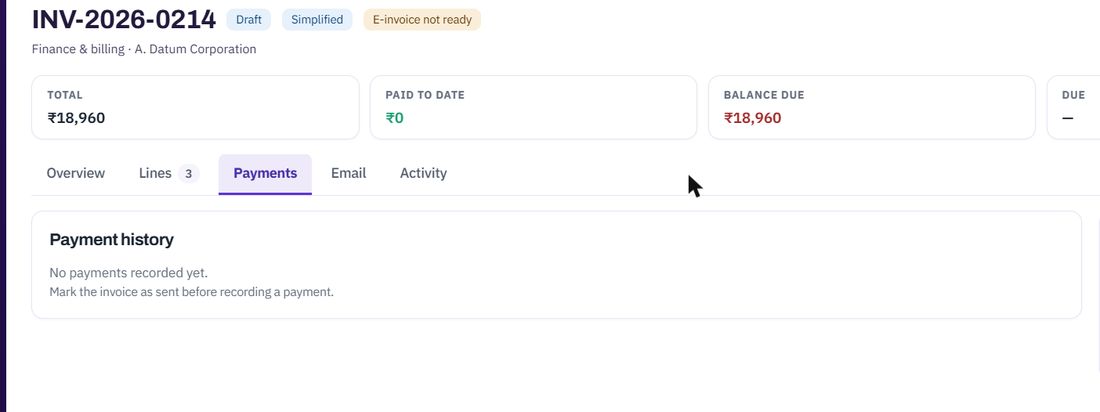
The number on the tab is the number of lines. Total, Paid to date and Balance due are above the tabs.
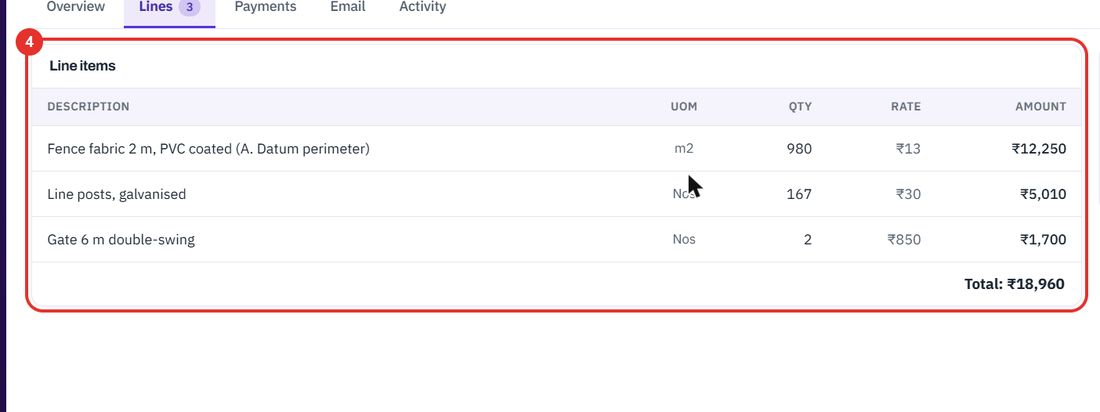
Each line has a description, unit, quantity, rate and amount. The total is under the table.
Payments are recorded here once the invoice has been sent.
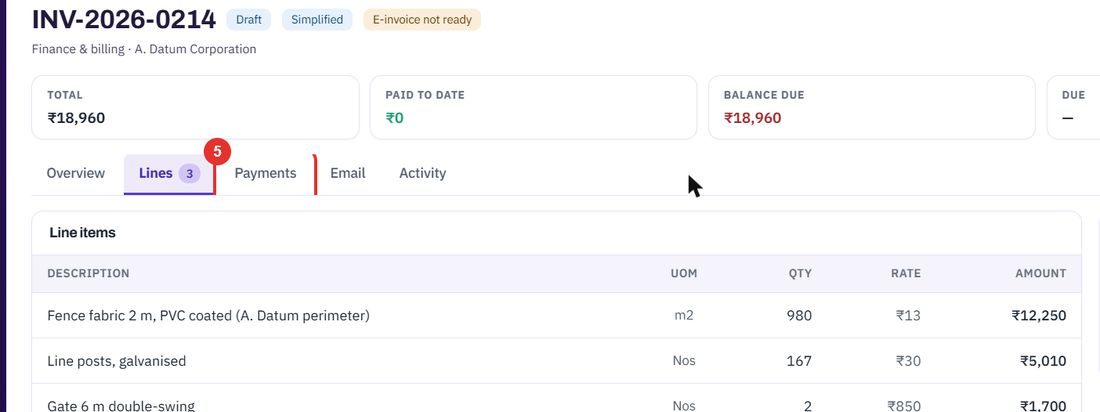
On a draft it says Mark the invoice as sent before recording a payment.
The Email tab opens with the recipient, a subject and a message to check before sending.
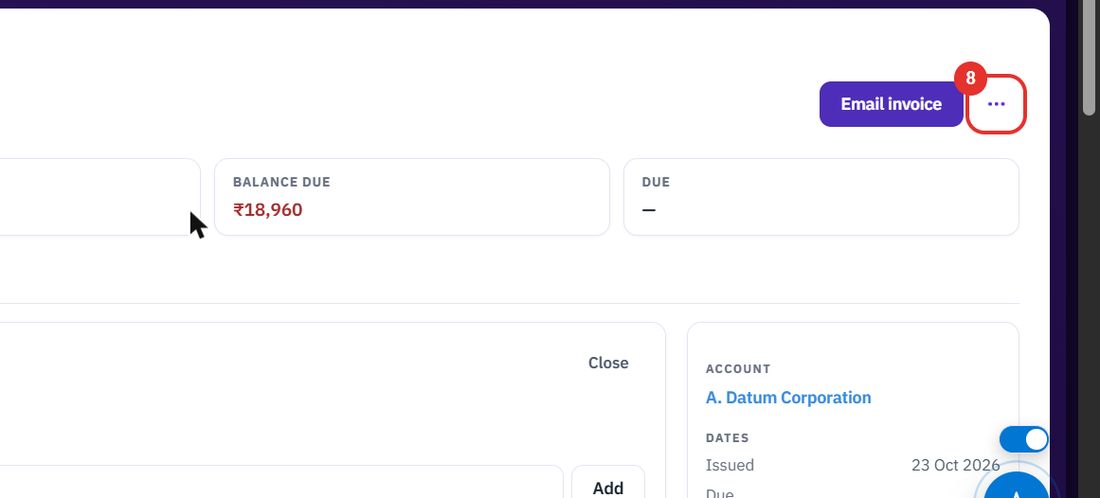
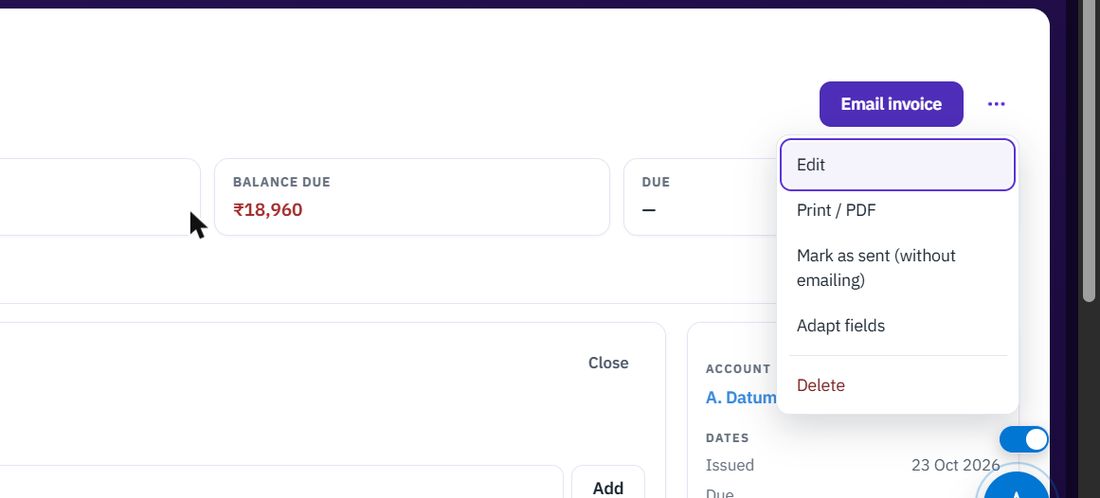
The menu offers Edit, Print / PDF, Mark as sent (without emailing), Adapt fields and Delete.
Twenty minutes on a live workspace, with your files and your team.