1
Click API keys & developer
Open Settings. Under INTEGRATIONS, click API keys & developer.
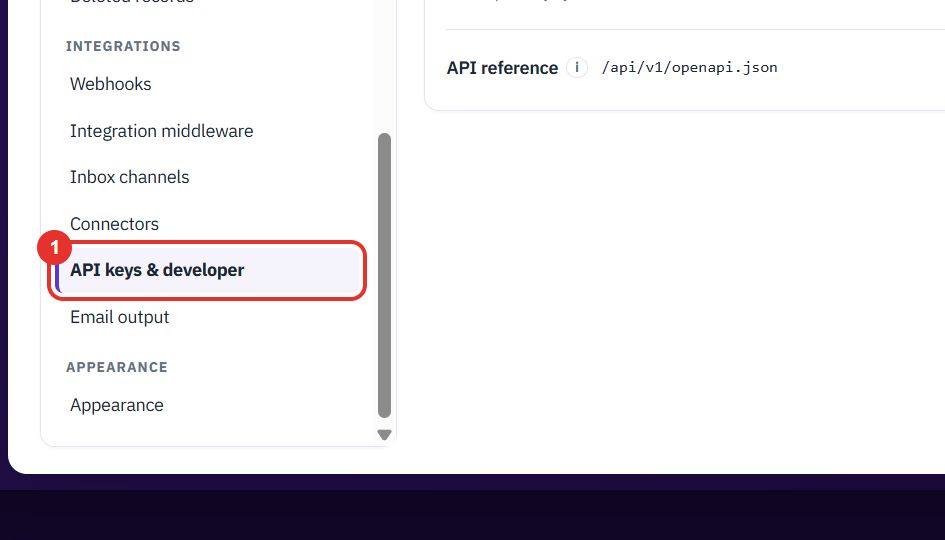
Everything that connects BPMSquare to other systems sits under INTEGRATIONS in Settings: API keys, webhooks and the Integration middleware for your ERP. Only an administrator sees most of these screens. This guide never shows a key.
Want the full chapter? Integration Guide: Connectors and middleware (PDF) · API reference · All documentation
Do this when a developer or another system needs to read your data through the API.
Open Settings. Under INTEGRATIONS, click API keys & developer.
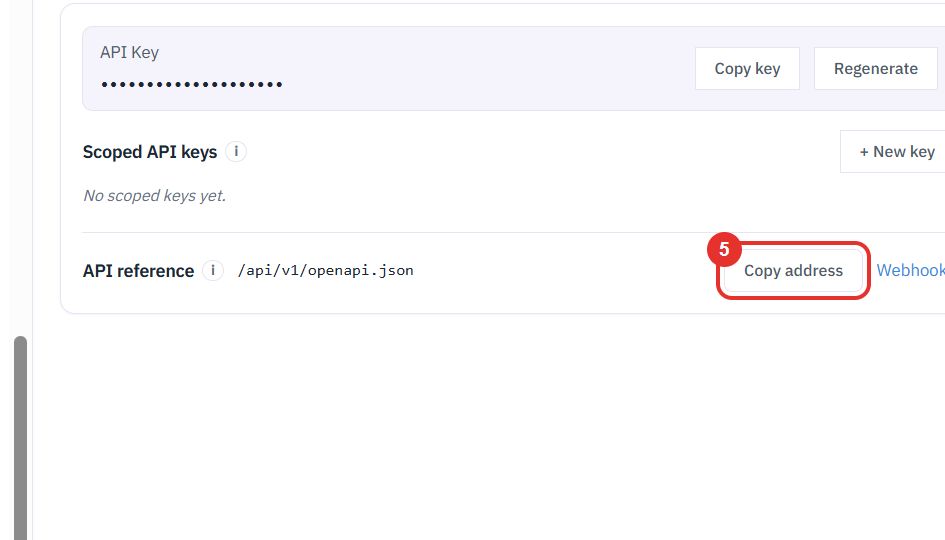
The top box holds your workspace API Key. Copy key copies it so you can paste it where it is needed. Treat it like a password; the key is hidden in this guide.
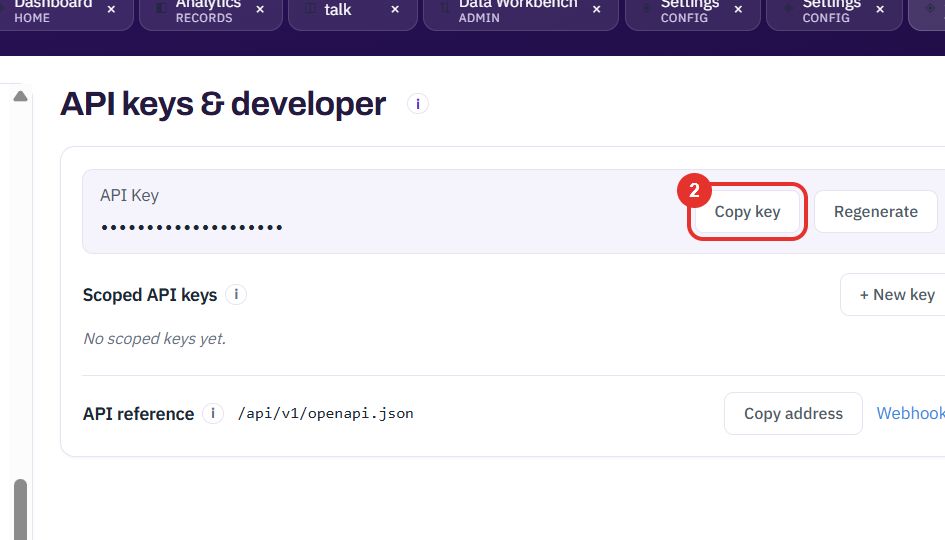
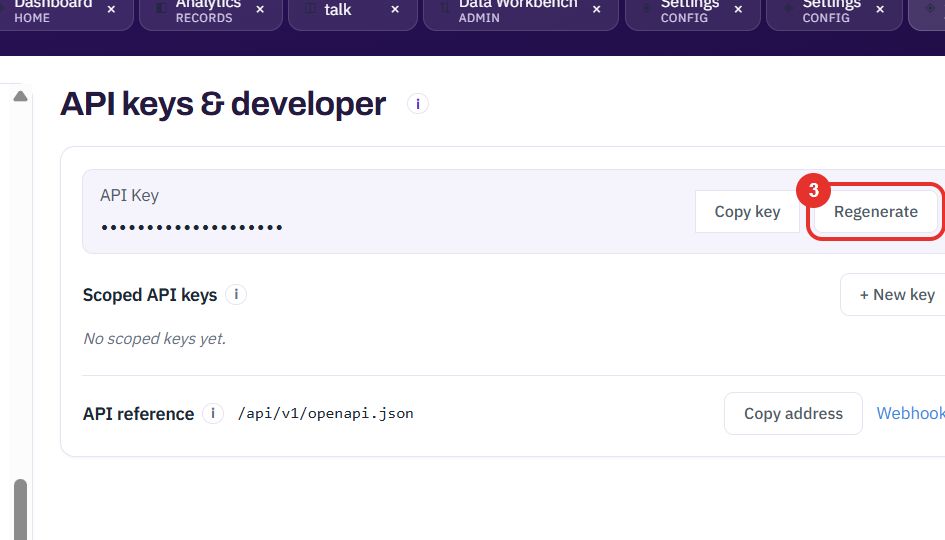
Regenerate makes a new key. Systems that use the old key stop working until you give them the new one.
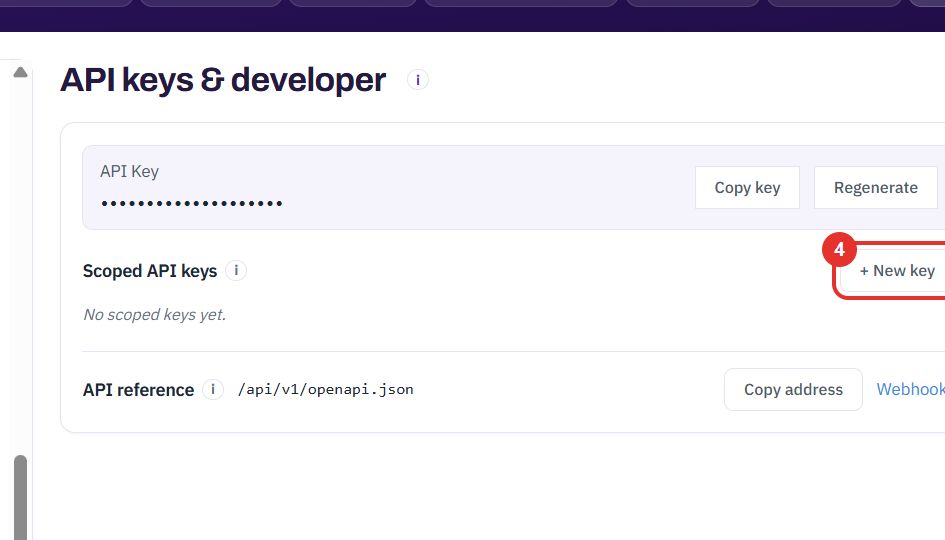
Scoped API keys are keys limited to chosen kinds of records, so a system sees only what it needs. Click + New key to make one. The “i” icon explains scopes.
API reference shows the address of the machine-readable description of the API. Copy address copies it. Webhooks next to it opens the webhooks list.
Do this to have BPMSquare call another system when something happens, or when someone presses a button on a record.
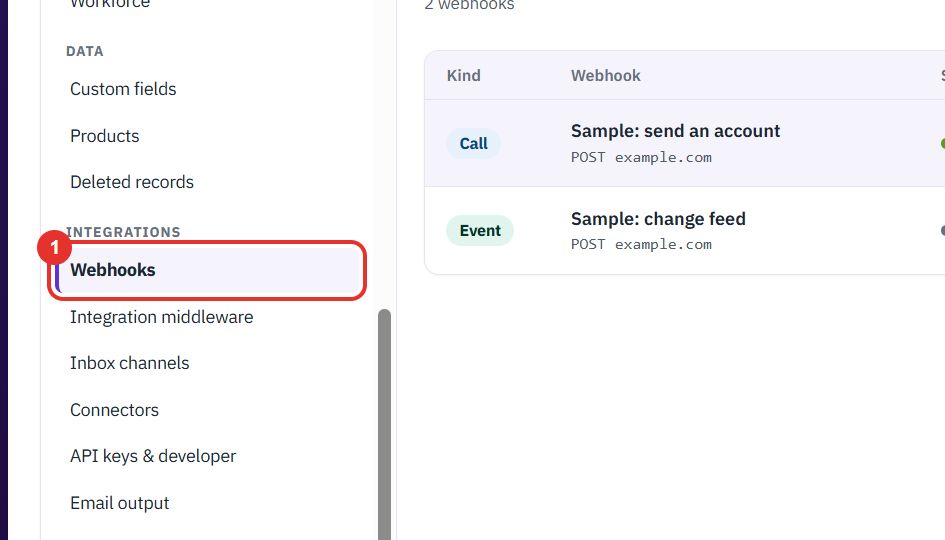
Under INTEGRATIONS, click Webhooks. All webhooks are in one list.
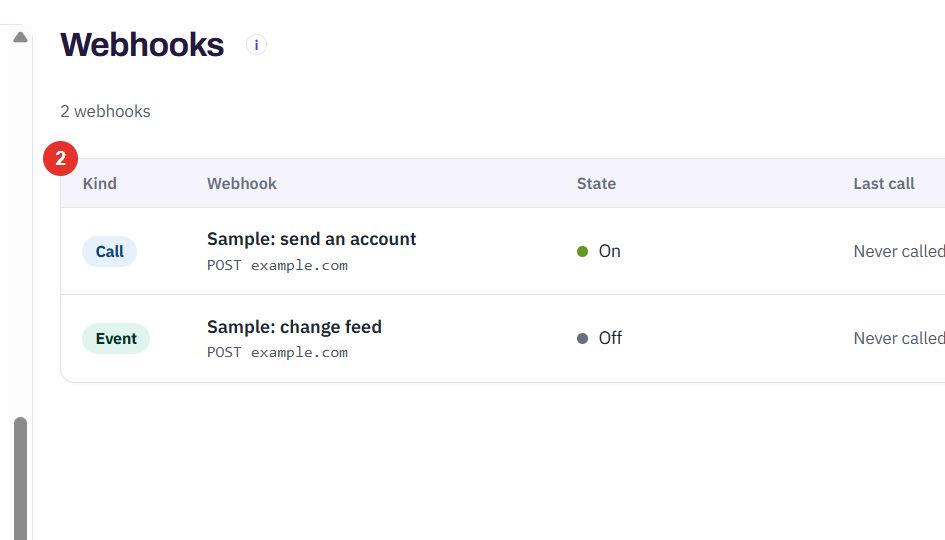
Each row shows the Kind (Call or Event), the webhook and its address, its State, the Last call and Used by.
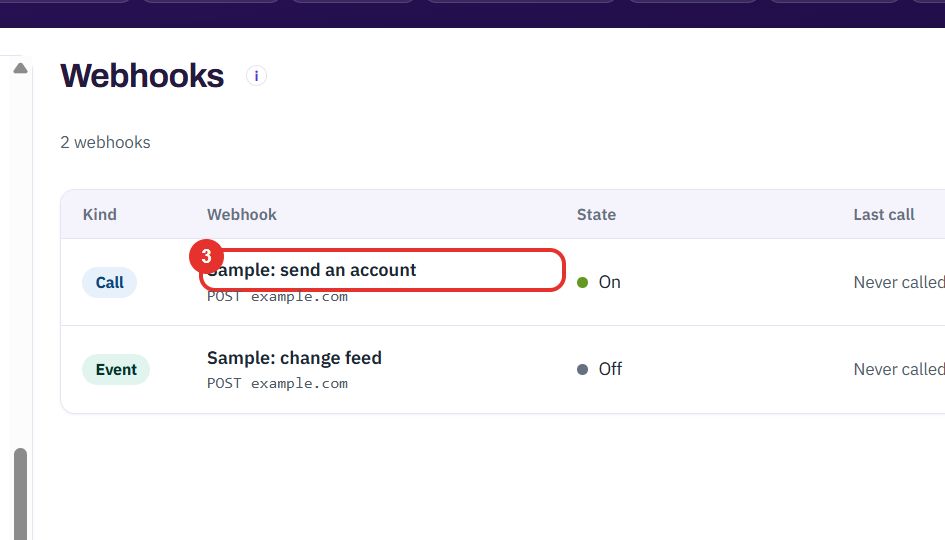
The name and the method and host sit under Webhook. Click a row to open and change it.
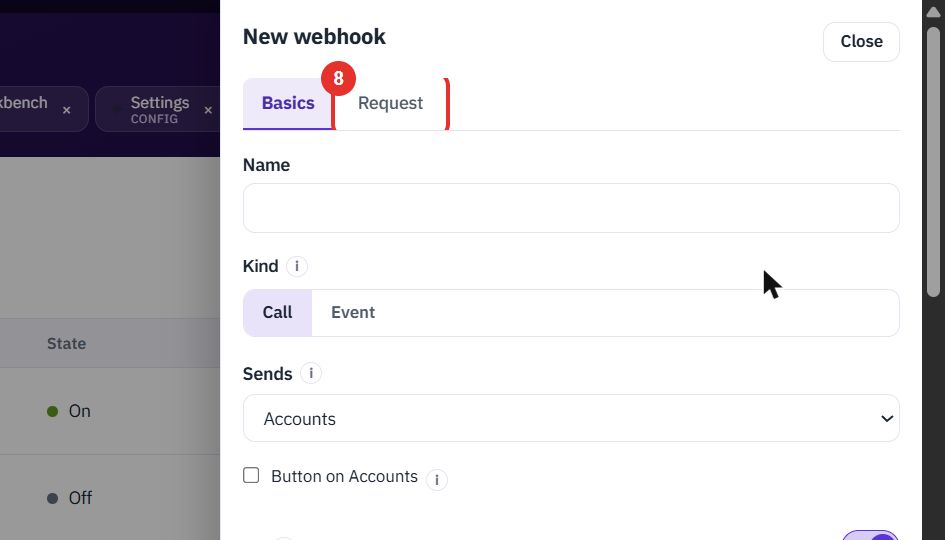
Click + New webhook at the top right. A panel opens with two tabs, Basics and Request.
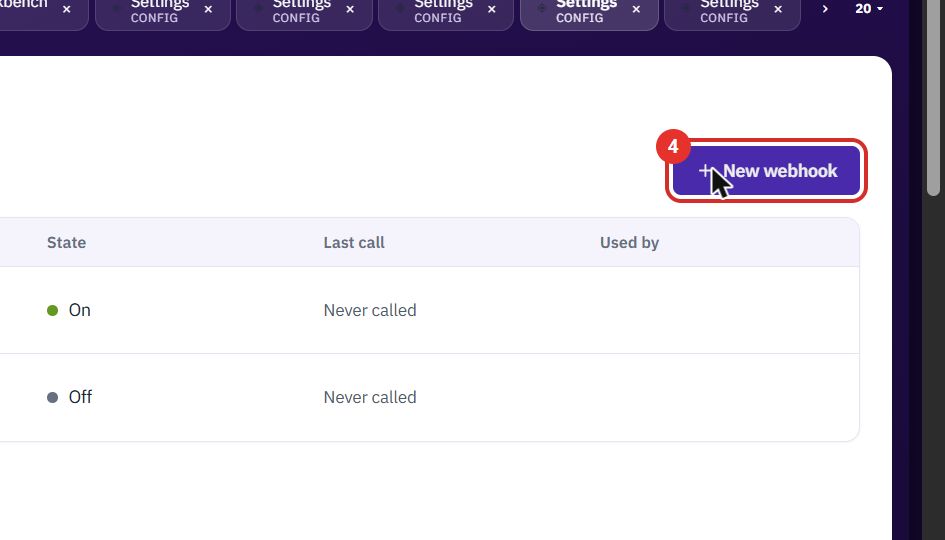
Give the webhook a name your team will recognise.
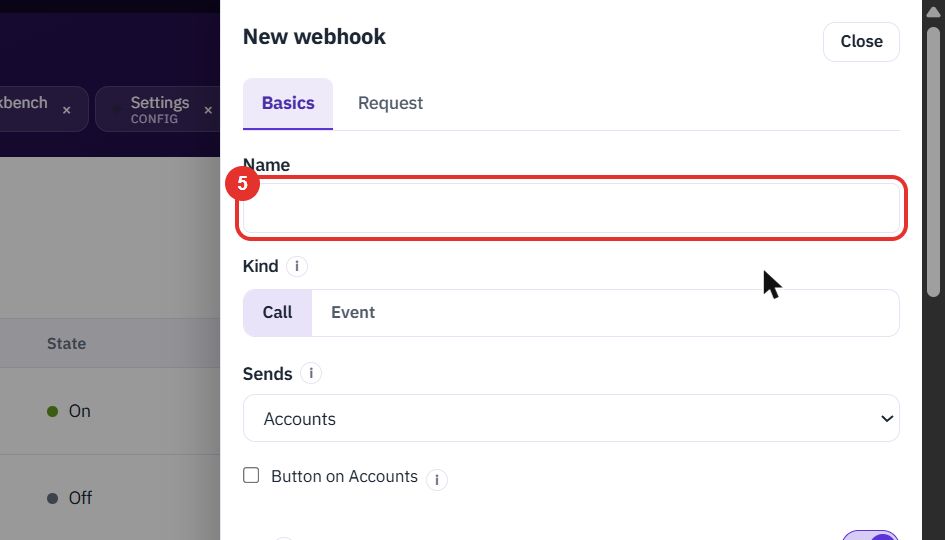
Call fires when something is awarded, a record button is pressed or a route runs. Event sends the change feed. The “i” icon explains each.
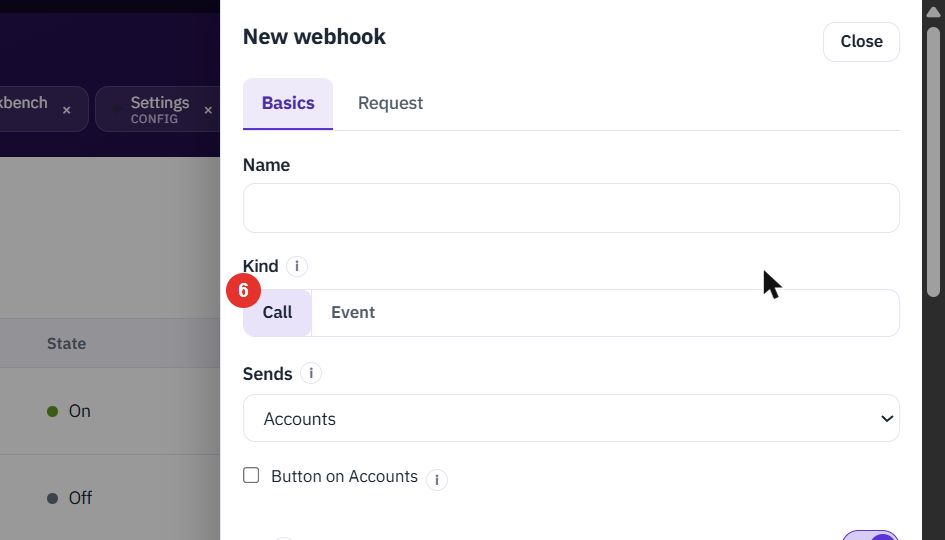
Choose the kind of record the webhook sends, for example Accounts. For a Call you can tick Button on Accounts to add a button to that record.
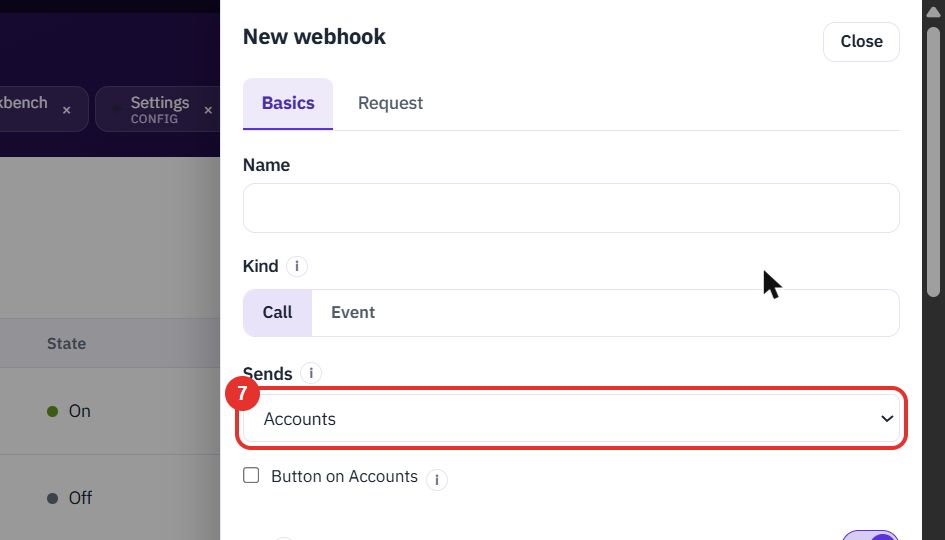
The Request tab holds the address to call and how the call is made.
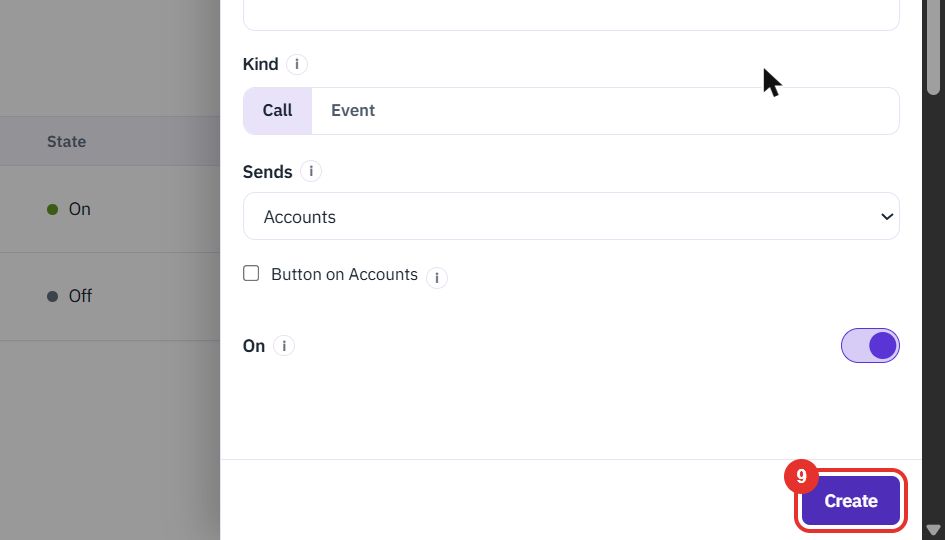
Create saves the webhook. The On switch above it decides whether it is live straight away.
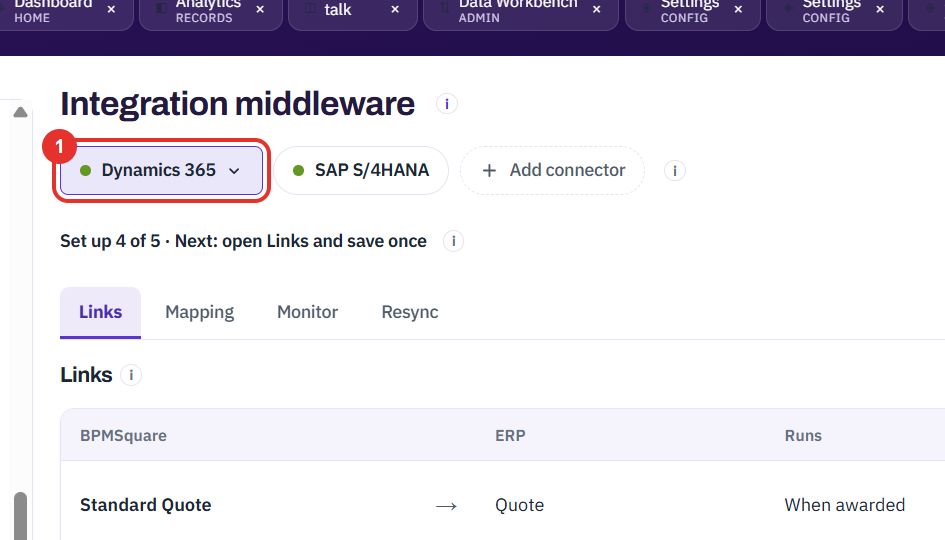
Do this to check which ERP is connected and which records flow between the two systems. This is the Integration middleware; the Connectors entry in the menu opens the same page.
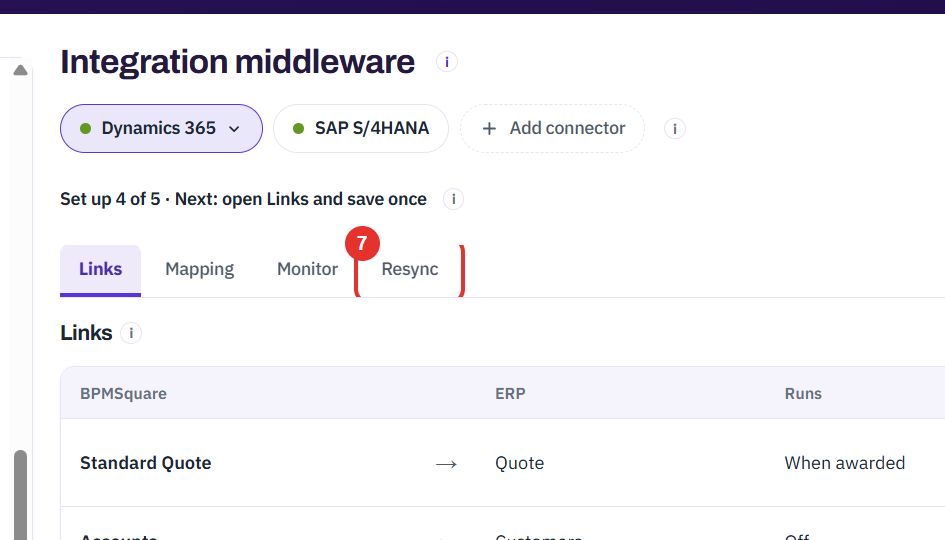
The chips at the top are your connectors, here Dynamics 365 and SAP S/4HANA. A green dot means connected. Click a chip to work on that connector.
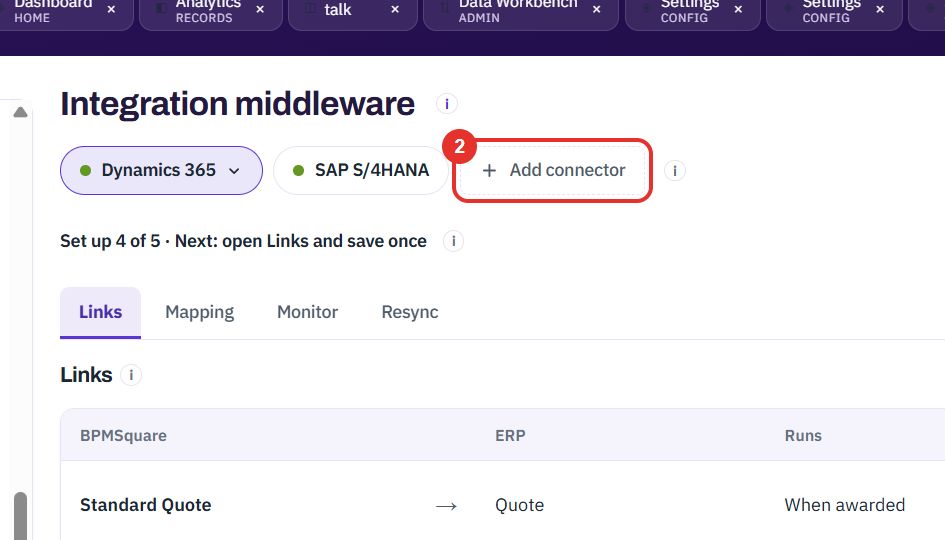
+ Add connector adds another system. The “i” icon next to it explains what you can connect.
A line such as Set up 4 of 5 · Next: open Links and save once shows how far the setup is and what to do next.
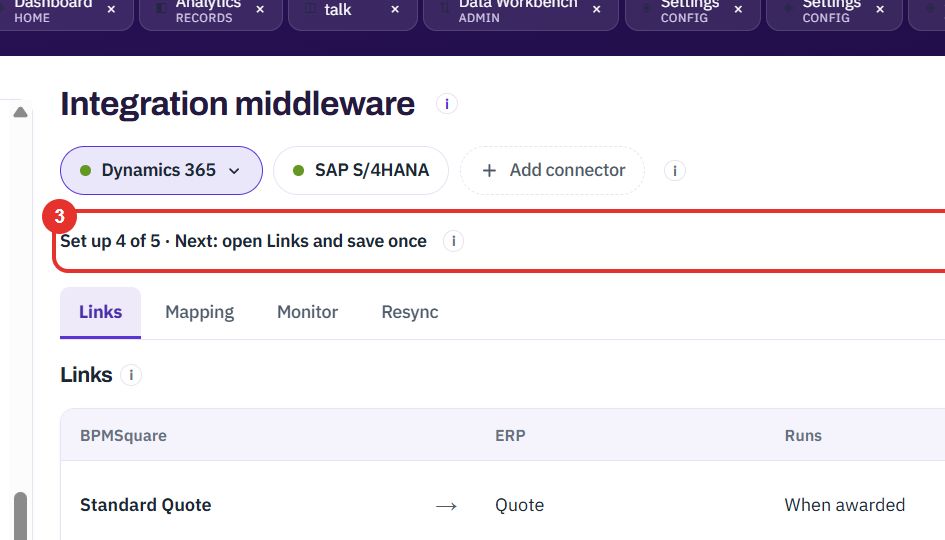
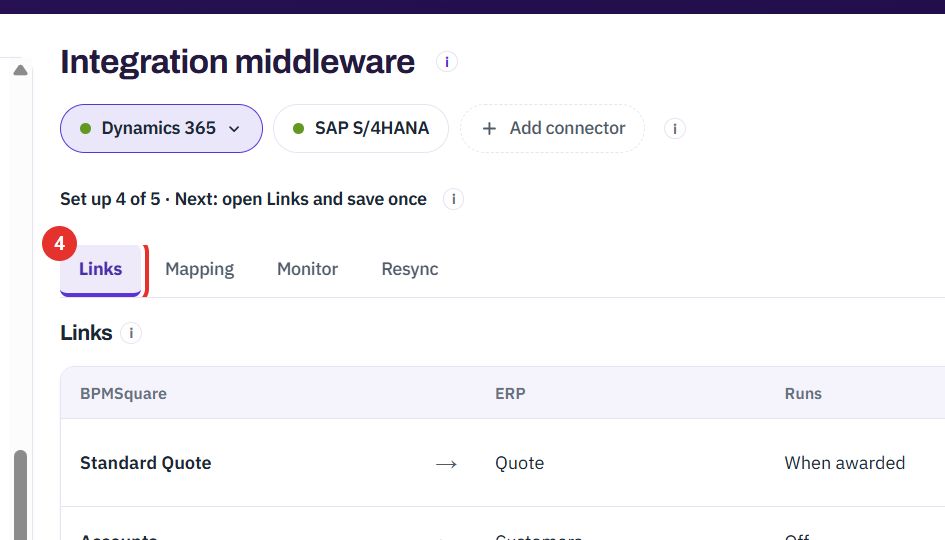
Links lists each record type with its direction (an arrow to the ERP or from it), when it runs and an On switch.
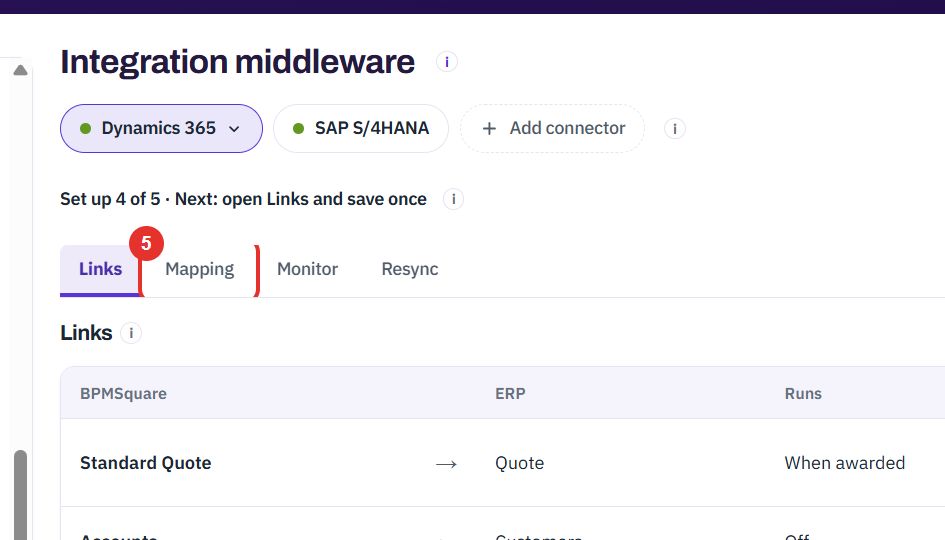
Mapping is where you match fields between BPMSquare and the ERP.
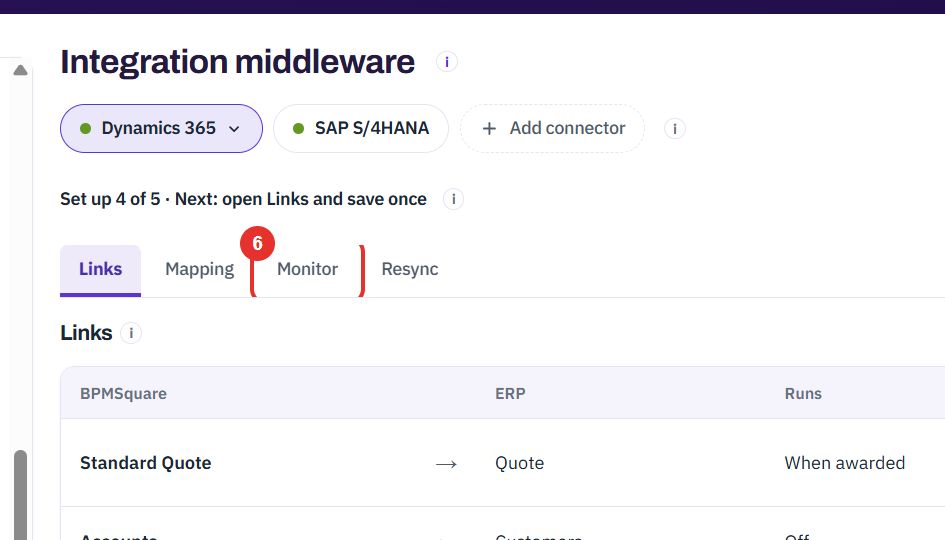
Monitor shows the messages that went between the systems and whether they succeeded.
Resync sends records again when something needs to be repeated.
Twenty minutes on a live workspace, with your files and your team.