1
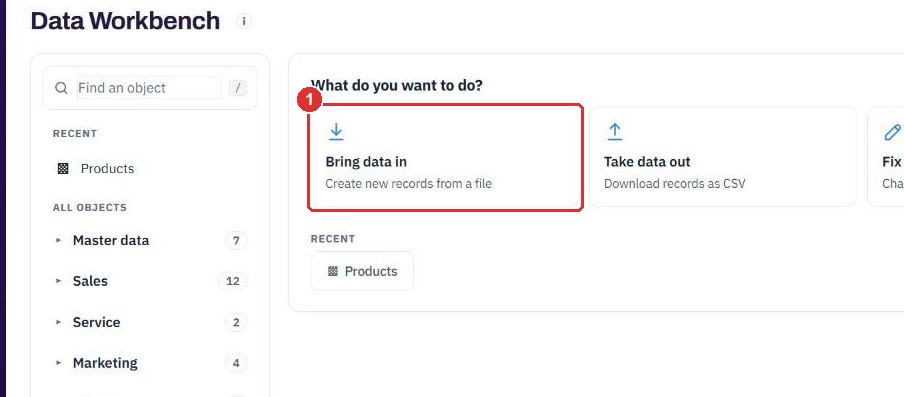
Click Bring data in
Open Data Workbench from the sidebar. The start screen asks What do you want to do? and offers three tiles: Bring data in, Take data out and Fix data in bulk. A tile sets the task and moves you to the object list.
Data Workbench moves records in and out in bulk. Import checks every row and shows what will and will not go in before anything is saved. Export gives you a CSV. Update changes records you exported earlier.
Want the full chapter? Solution Guide, chapter 6: Platform and master data (PDF) · Integration Guide: Data Workbench (PDF) · All documentation
Do this to load many records at once, for example a customer list. The screens below use Accounts.
Open Data Workbench from the sidebar. The start screen asks What do you want to do? and offers three tiles: Bring data in, Take data out and Fix data in bulk. A tile sets the task and moves you to the object list.
Type part of a name, for example accounts. The list narrows as you type. Press / anywhere on the page to jump to this box. Recent lists the objects you used last.
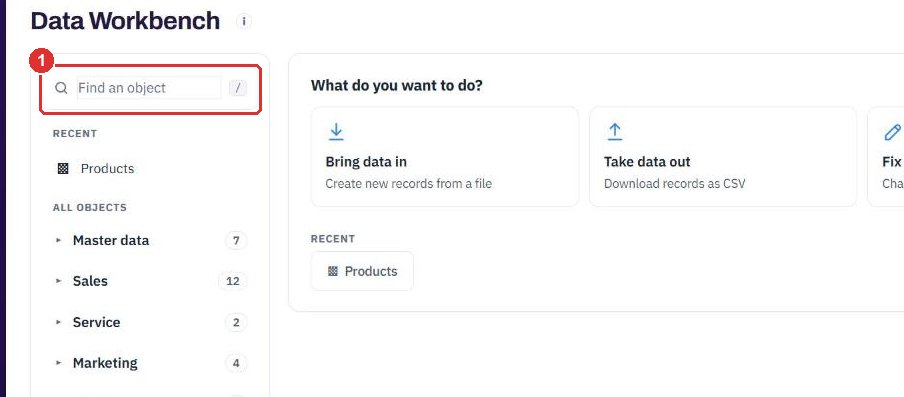
The list is in groups: Master data, Sales, Service, Marketing, Workforce and People. Click a group to open it. The number is how many objects it holds. Lines sit under their parent. Only the objects your workspace has switched on are listed. Click Accounts.
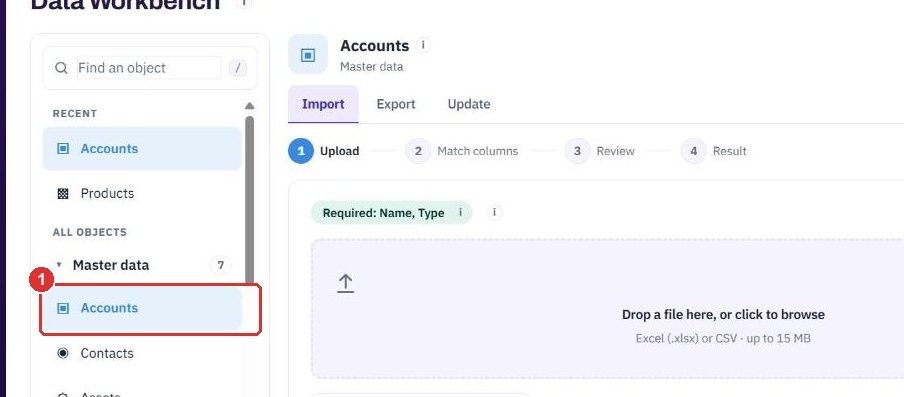
The object's name and group are at the top. Its three tabs are Import, Export and Update. A tab that does not apply to this object is grey and its "i" says why. The page address keeps the object and the tab, so you can share it.
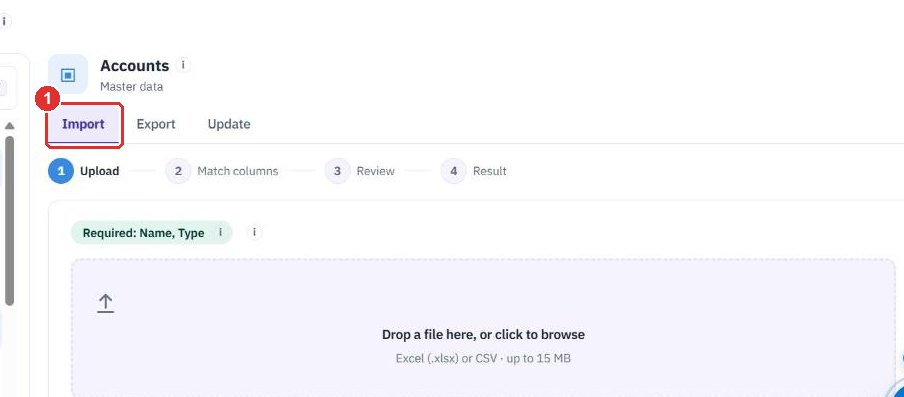
A chip lists the required columns, here Name and Type. Its "i" says everything else is optional.
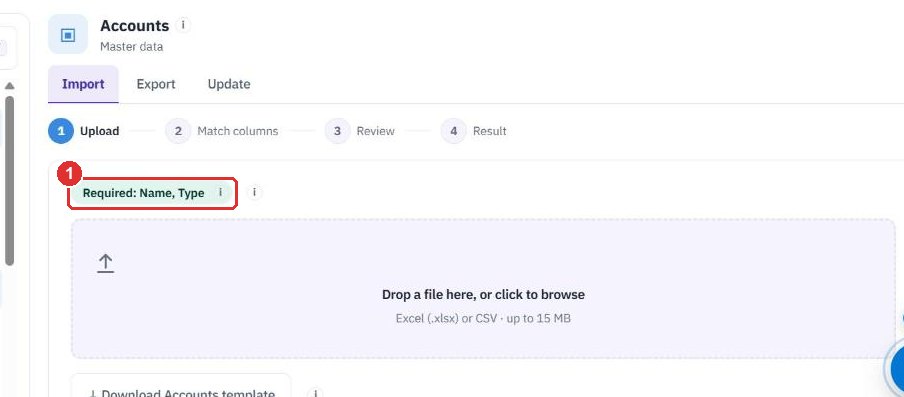
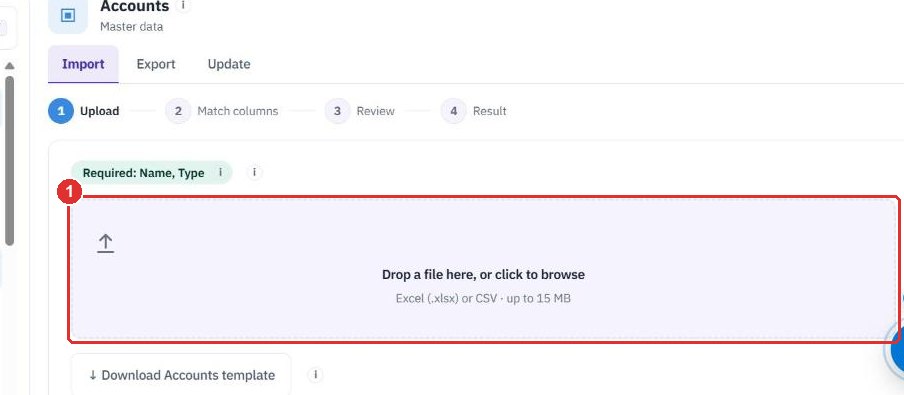
Drop an Excel (.xlsx) or CSV file on the dashed box, or click it to browse. The limit is 15 MB. Your own column names are fine.
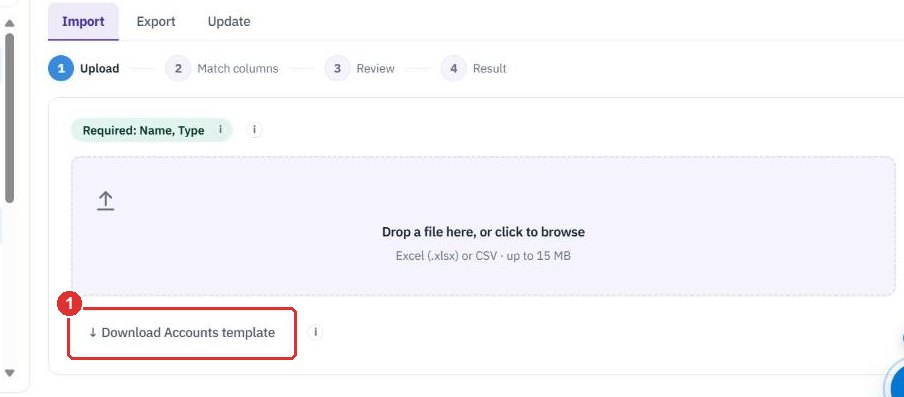
↓ Download Accounts template sits under the box. It gives you a spreadsheet with every column and example rows. Replace the examples with your data.
Step 2 shows each column of your file with its first value. A chip such as 3 columns matched says how many were matched on their own.
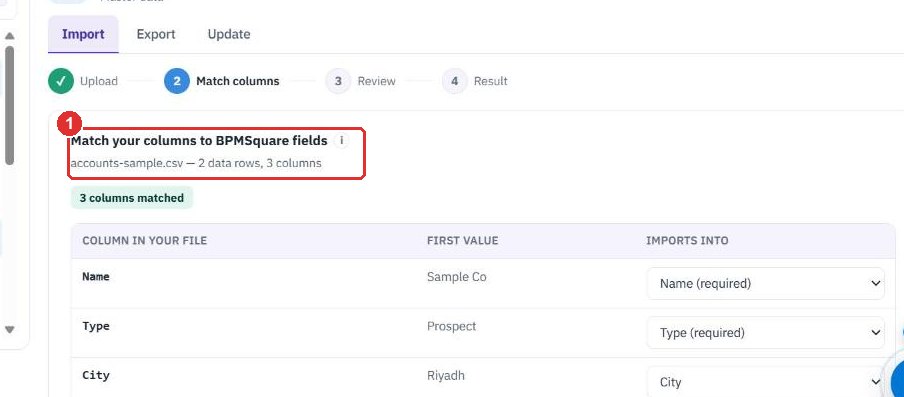
In IMPORTS INTO, choose which field each column goes to. A column set to don't import is left out.
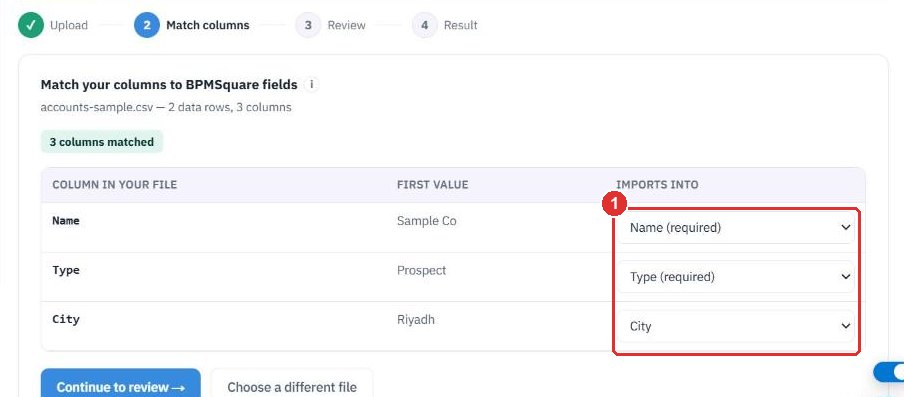
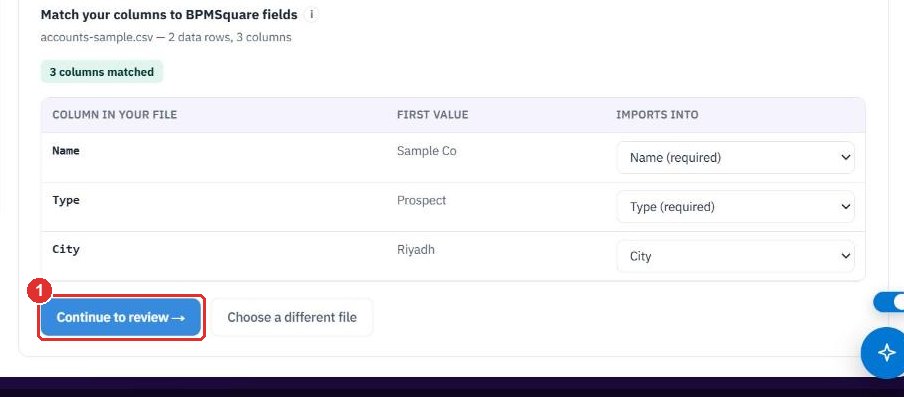
Nothing is saved yet. Choose a different file goes back to step 1.
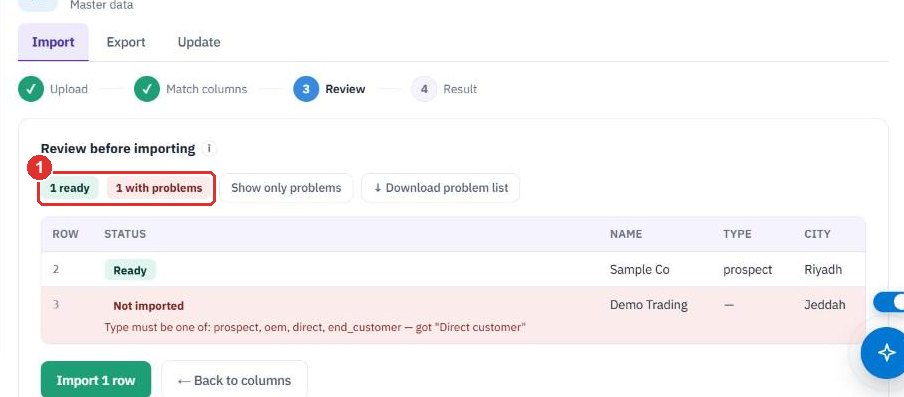
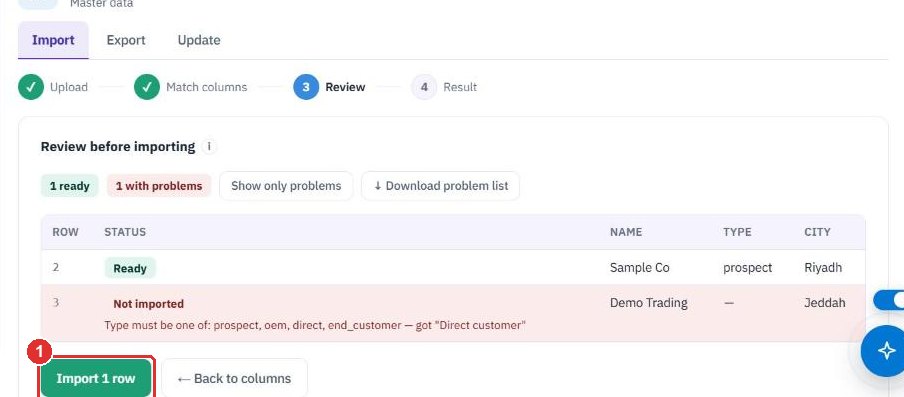
Step 3 is Review before importing. Its "i" says rows with problems are left out and everything else is imported. The chips show how many rows are ready and how many have problems. Show only problems hides the good rows.
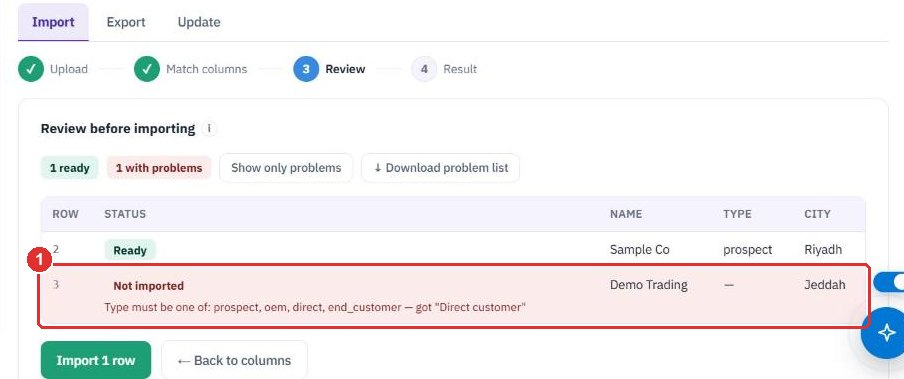
A row that cannot go in shows Not imported and the reason in red, for example which values a field accepts. ↓ Download problem list gives you those rows to fix.
Import 1 row saves only the rows marked Ready. ← Back to columns returns to step 2. Step 4, Result, then shows what was saved. This guide did not import.
Do this to take records out as a spreadsheet, or to get the file you need for an update.
From the start screen, click Take data out and choose the object. With an object already open, click Export next to Import. Here it is Accounts.
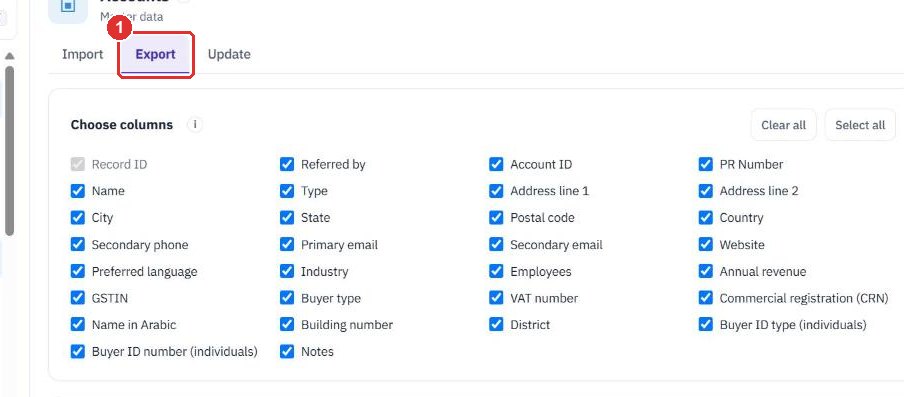
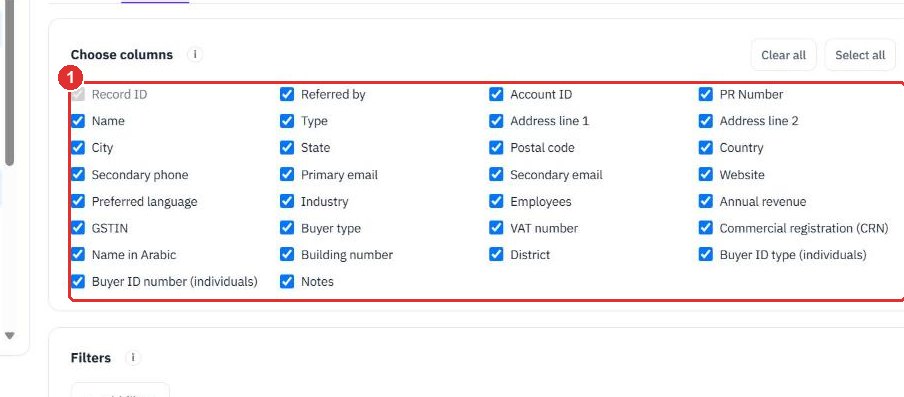
Under Choose columns, untick the columns you do not want. Record ID is always included. It is what lets you upload the file again under Update.
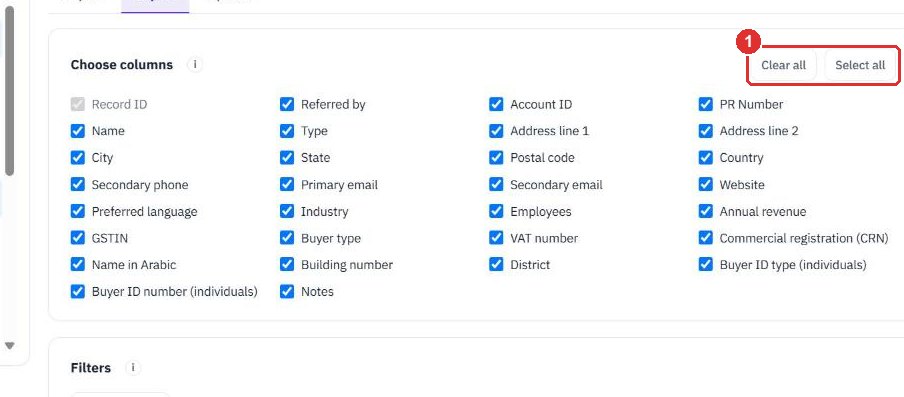
Two buttons sit at the right of the heading. Clear all unticks every column, so you can tick just the few you want. Select all ticks them all again. Each is grey when it would change nothing.
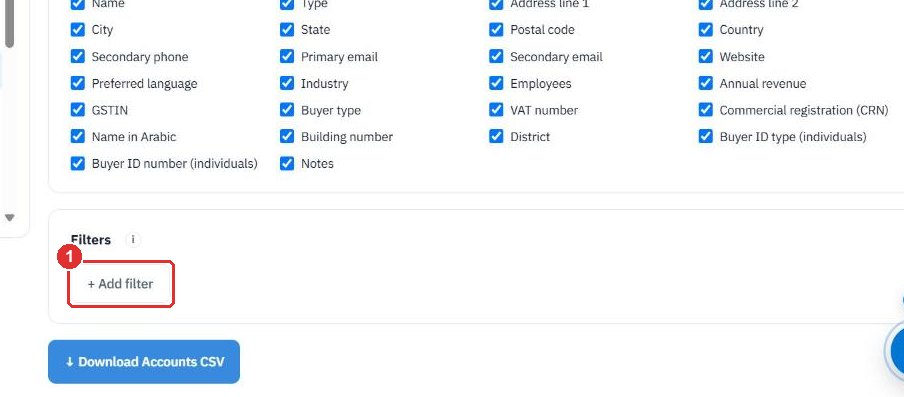
Under Filters, click + Add filter to export only matching rows. Leave it empty to export everything.
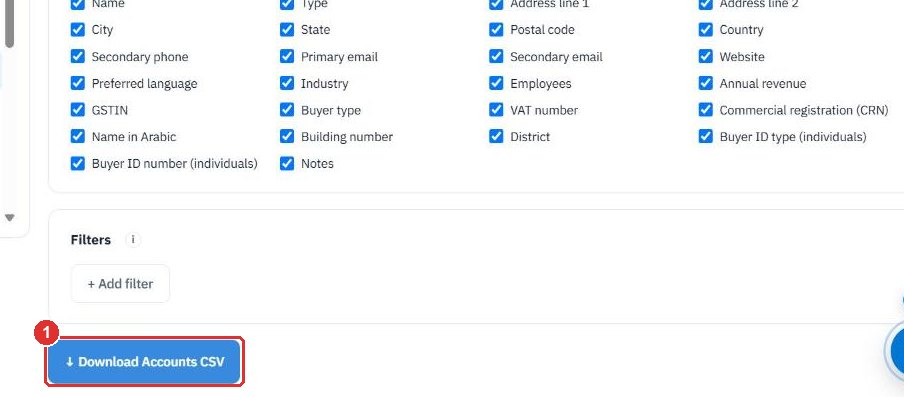
Click ↓ Download Accounts CSV to get the file. This guide did not download one.
Do this to change many records you already have, for example fix a column for every account.
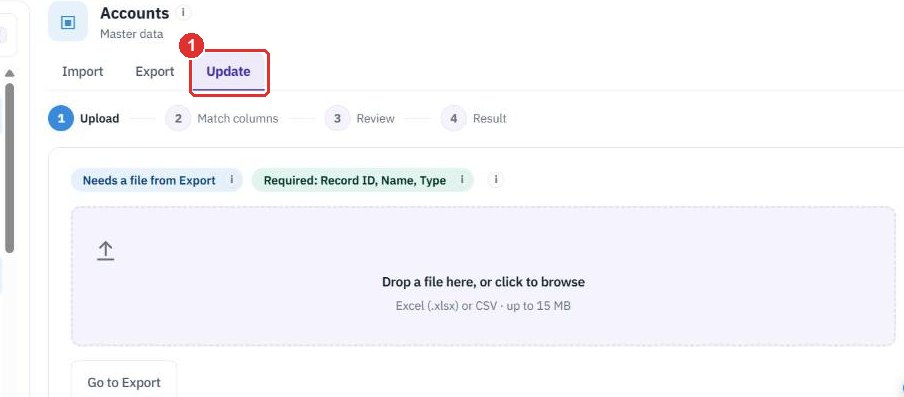
Open the object, here Accounts, then click Update. The same four steps follow: Upload, Match columns, Review and Result.
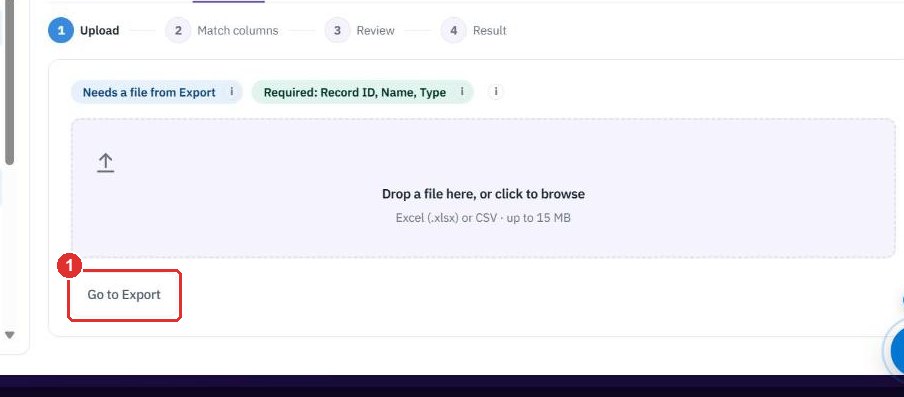
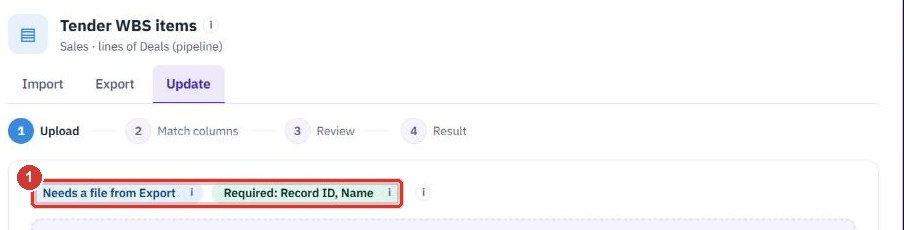
Needs a file from Export says Update matches rows by Record ID, so the file must come from an export. Required lists the columns the file needs, here Record ID, Name and Type. Everything you do not match is left as it is.
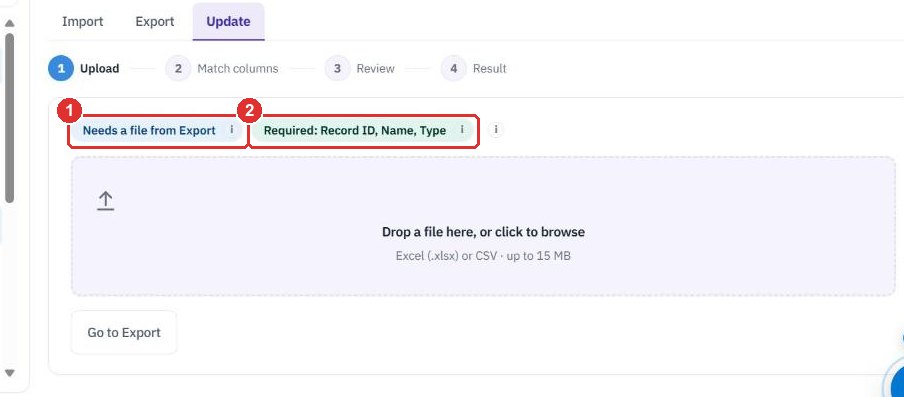
It takes you to Export. Download a CSV, change the values you want, then come back here.
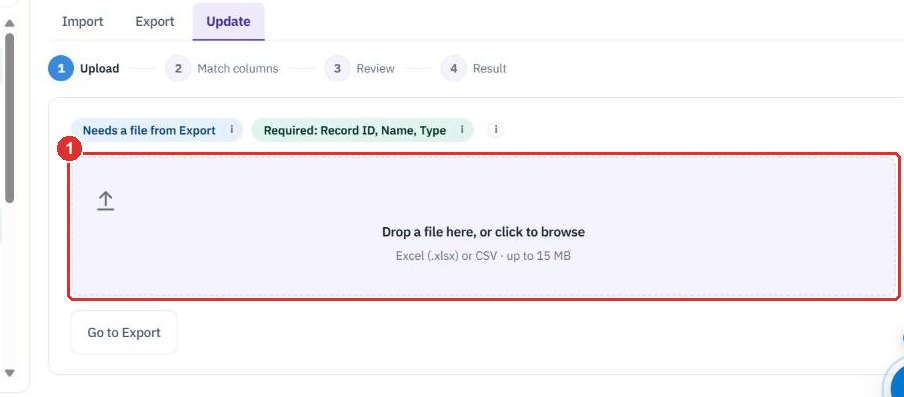
Drop the edited CSV on the dashed box. The match and review steps work as in Import.
Load a WBS from your ERP, check it in Excel, or regroup many BOQ lines at once. These objects need the tender module. They are listed under Sales.
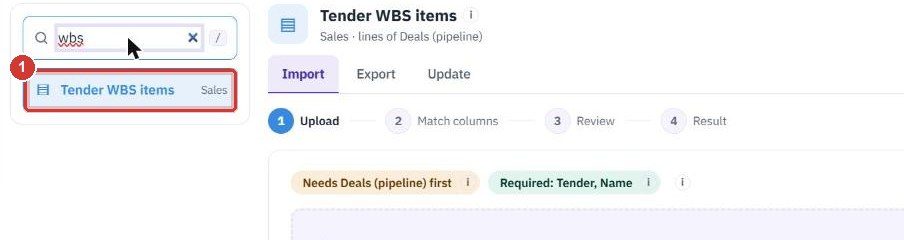
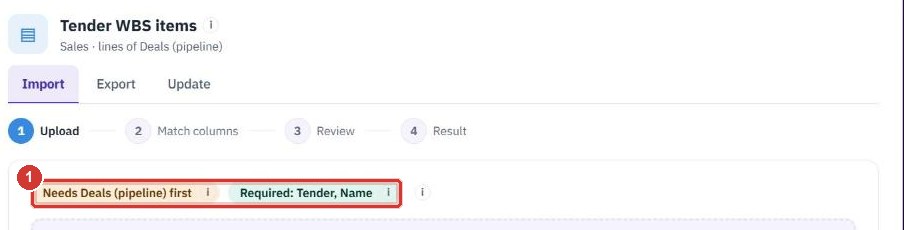
Type wbs in Find an object. The object holds the WBS items of your tenders. It sits under Deals (pipeline), so a chip says Needs Deals (pipeline) first.
Import adds items to a tender that exists. Tender is its Deal ID (for example OPP-0044) or its tender number. Name is the other required column. WBS code is optional: empty gets the next number, and a code already on the tender is skipped, so loading the same file twice adds nothing. Parent code says where an item sits, and its parent may be a row further down the file. Owner (email) must belong to an active employee. One file can hold several tenders. Items go up to three levels deep.
Export lists the items of every tender, with Record ID, the tender's Deal ID, WBS code, Name, Parent code, Owner (email) and Note. Three columns are only for reading: Lines, Shared lines and Client amount, all rolled up from the sub-items. A WBS item has no price of its own, and no cost is ever in the file.

Update matches each row by its Record ID from an export. Required reads Record ID, Name. It changes Name, WBS code, Parent code, Owner (email) and Note. A value that says what the item already has is No change. An empty Parent code moves the item to the top level, and an empty Owner (email) clears the owner. An empty WBS code is left alone.
Which lines sit in which item is set on the lines, not on the items. Open Tender BOQ lines, then Export. The WBS code column holds the item code for a whole line, a list such as 2.1:60;2.2:15;2.3:25 (code, a colon, the percent) for a split line, and nothing for a line in no item. The column is on Export and Update only. Import never reads it, so a revised BOQ file does not regroup lines.
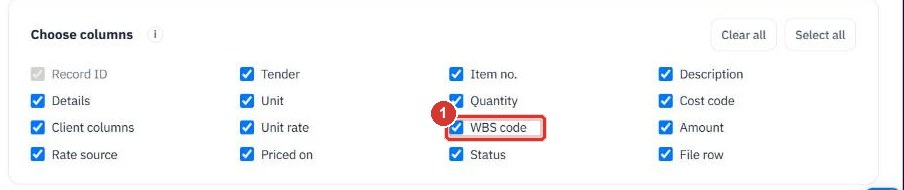
Open Update and upload the exported file. Rows are matched by Record ID, and the file must also carry Description and Quantity, as an export does. On Match columns point the column at WBS code. The screenshot uses a small example file, and nothing was saved.
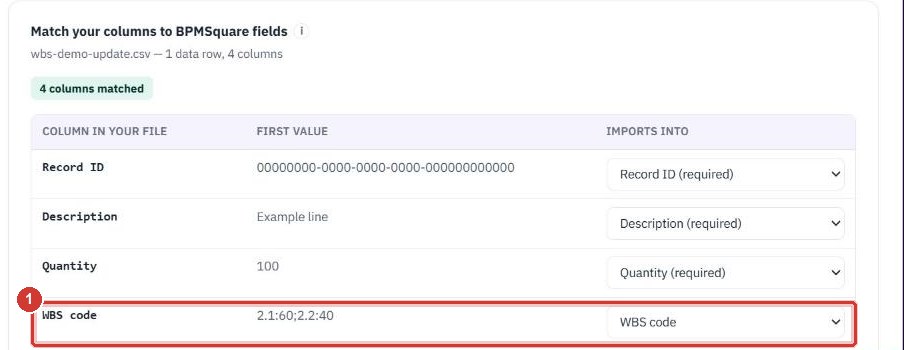
Type a code to put the whole line in that item, code:percent pairs joined by a semicolon to split it, or leave the cell empty to make the line Unassigned. The line is checked against the items of its own tender. A row fails with a plain reason when a code does not exist, when the shares do not add up to 100 %, or when the item has sub-items, because lines go in bottom-level items. A cell that already matches is No change. Nothing is saved until you click Update, and the change history records each move. This step has no screenshot.
Twenty minutes on a live workspace, with your files and your team.