Custom fields add your own columns to a record, such as a PR number on an account. They show on the record, and they are included in the API and the Data Workbench templates. Only an administrator sees this screen.
Do this when you need to keep a fact on a record that the standard fields do not hold.
1
Choose the record type
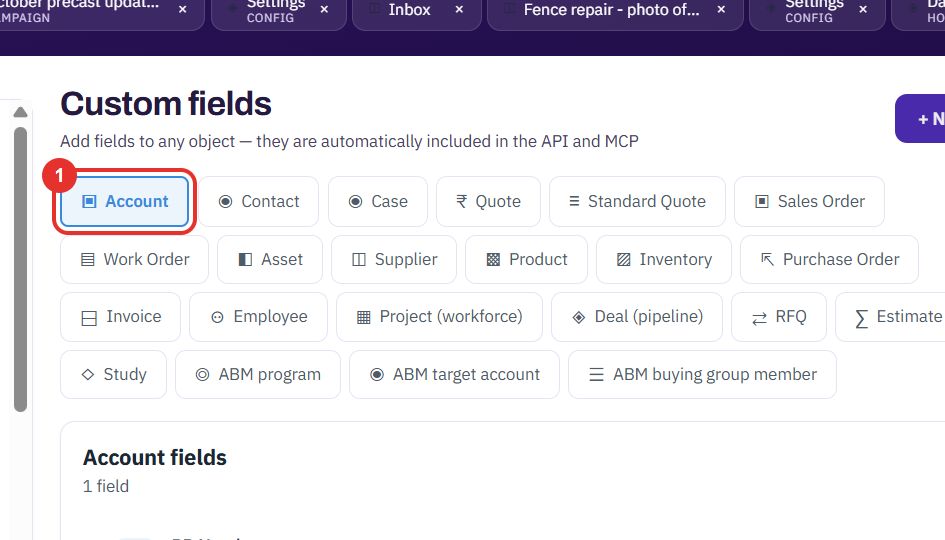
Open Settings, then Custom fields under DATA. The buttons at the top are the record types, such as Account, Contact, Case, Quote, Product and Employee. Click the one that should get the field. The list below shows the fields it already has.
Pick the record type.
2
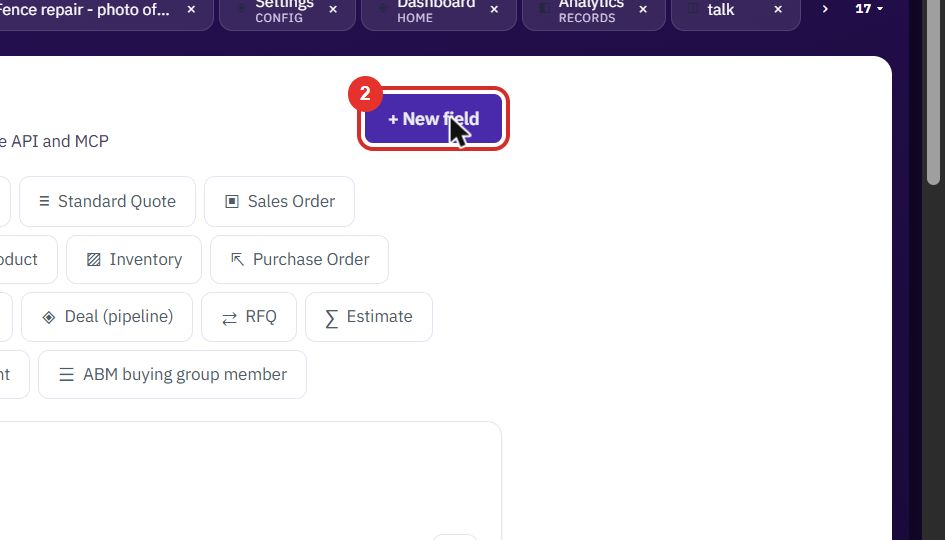
Click + New field
Click + New field at the top right. A form opens in the card below. The same button then reads Cancel.
Open the form.
3
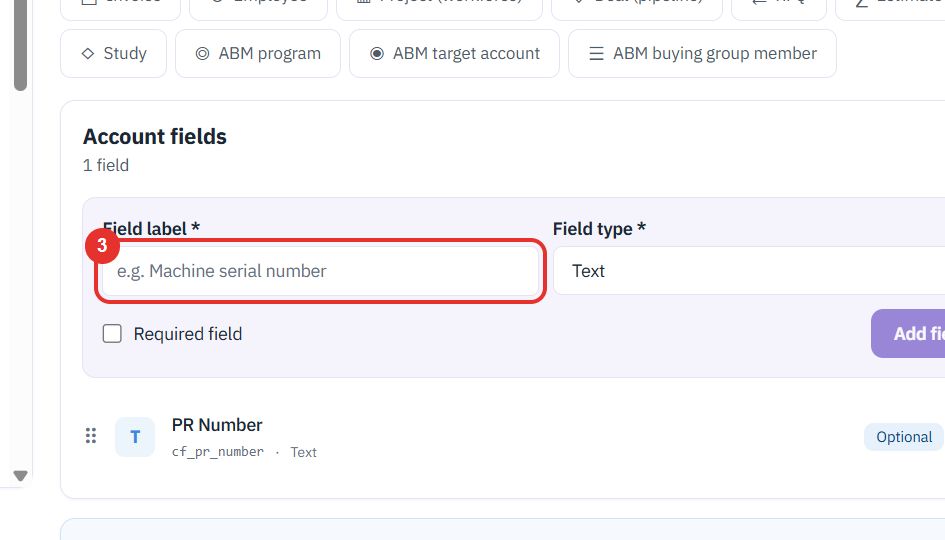
Type the Field label
Type the name people will see, for example Machine serial number. The field also gets a code name that starts with cf_.
Name the field.
4
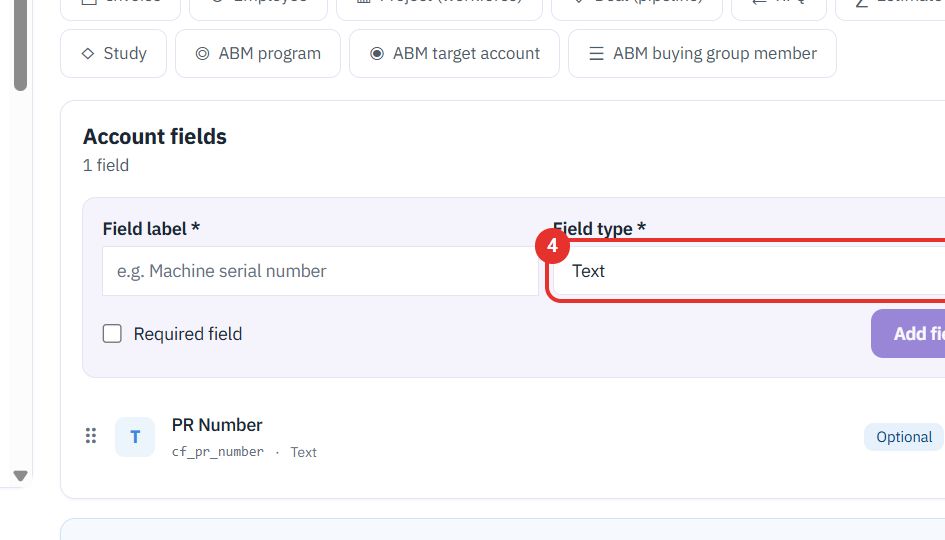
Choose the Field type
Choose Text, Number, Date, Dropdown (select), Checkbox (yes/no) or Long text.
Pick the type.
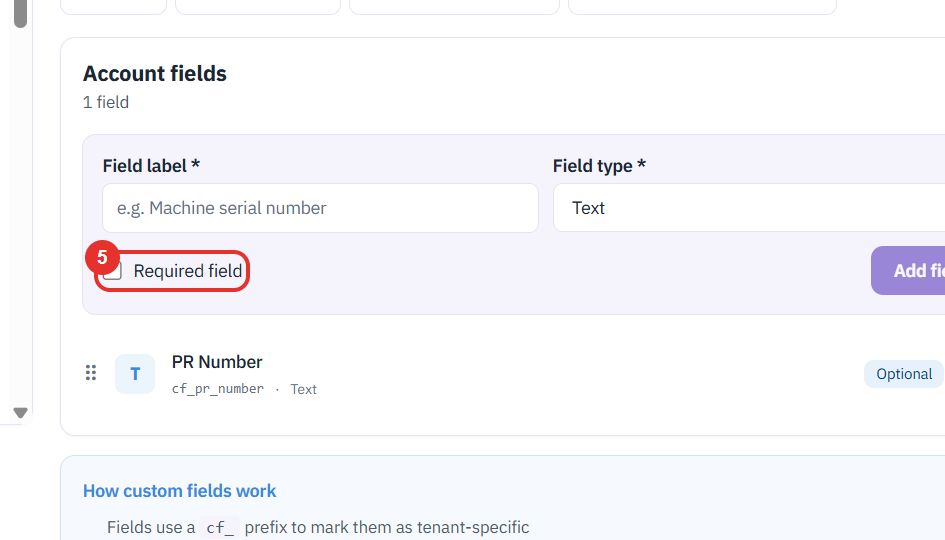
5
Tick Required field if needed
Tick Required field if the record cannot be saved without a value.
Optional or required.
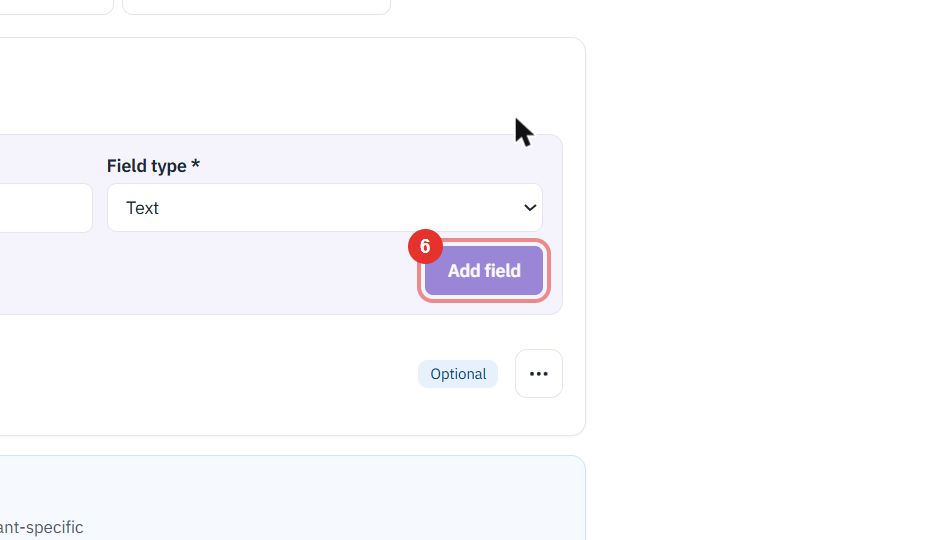
6
Click Add field
Add field becomes active once the label is filled in. It adds the field to the record type, and it appears in the list with the Optional or Required tag.
Save the field.
Rename, require or remove a field
Do this to tidy up fields that are already in the list.
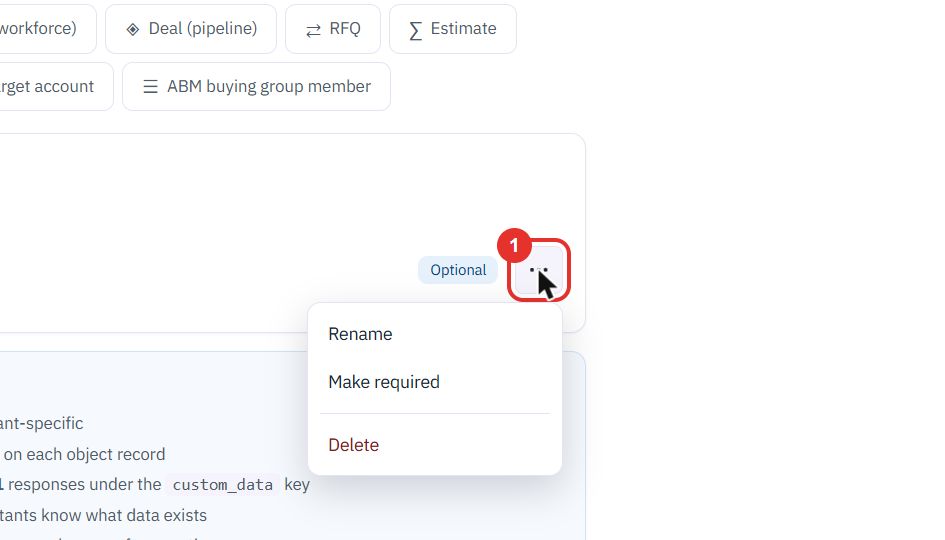
1
Click the ⋯ button
Each field row has a ⋯ button at its right. Click it to open the menu. Drag the dotted handle at the left of a row to change the order of the fields.
The field menu.
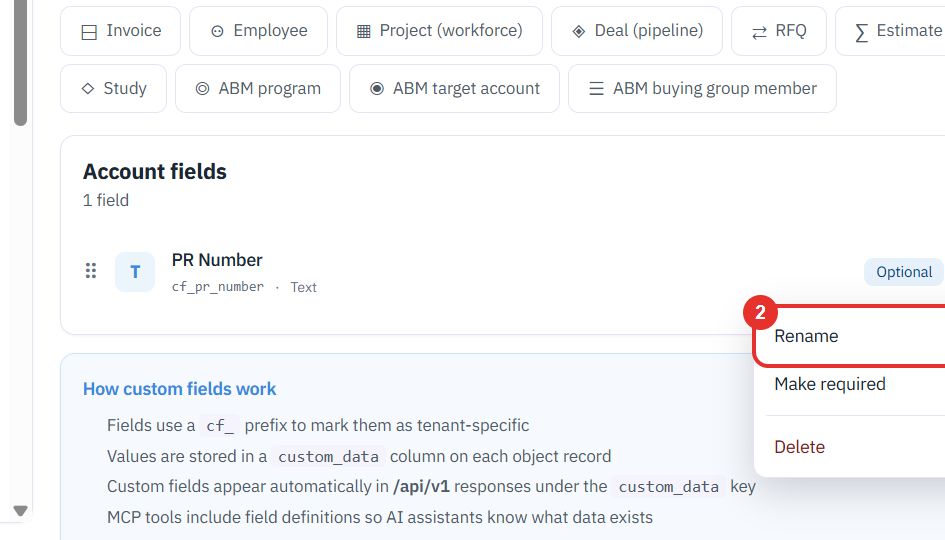
2
Rename
Rename changes the label people see. The code name stays the same, so the API does not change.
Change the label.
3
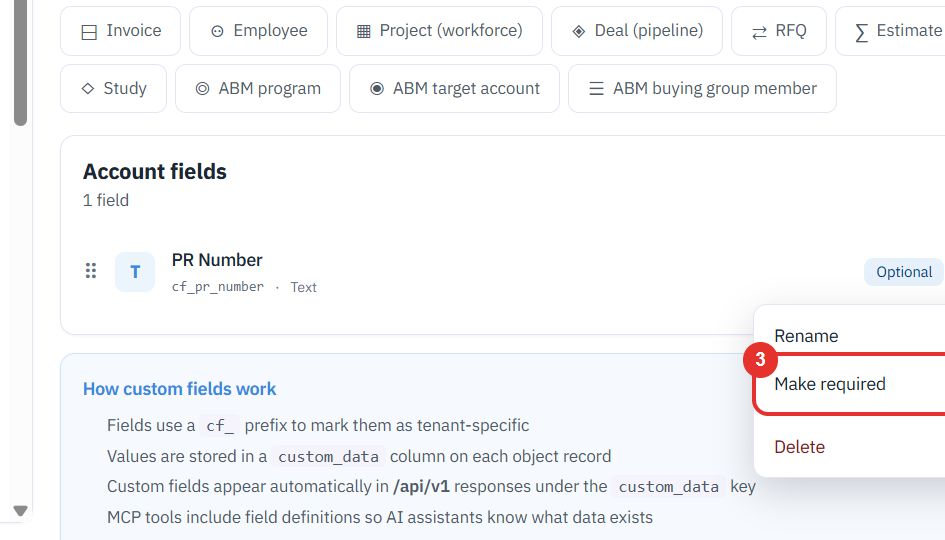
Make required
Make required turns the Optional tag into Required. The entry reads Make optional when the field is already required.
Make it required.
4
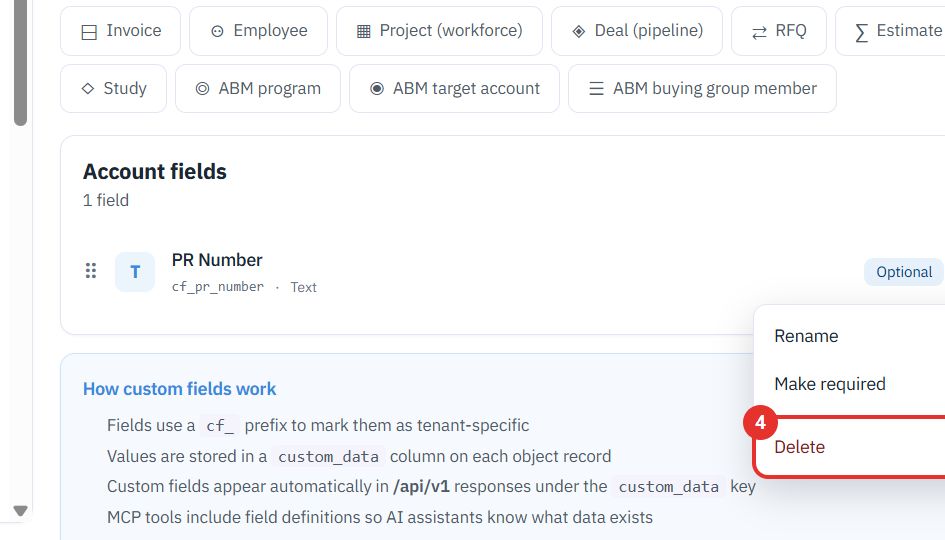
Delete
Delete removes the field from the record type. Use it with care.
Remove the field.
See it on your own data.
Twenty minutes on a live workspace, with your files and your team.