1
Click + New Contact
Open the Contacts list first. An account's Contacts tab has its own + New Contact too.
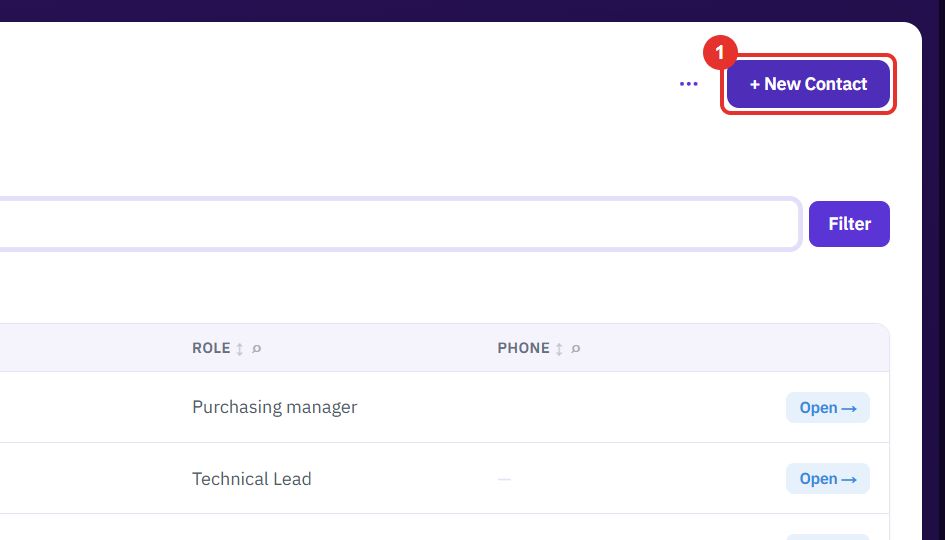
Add a person, link them to an account, and find them again. Each step shows the exact button to click.
Want the full chapter? Solution Guide, chapter 6: Platform and master data (PDF) · All documentation
Do this when you meet a new person at a customer. Every contact belongs to one account.
Open the Contacts list first. An account's Contacts tab has its own + New Contact too.
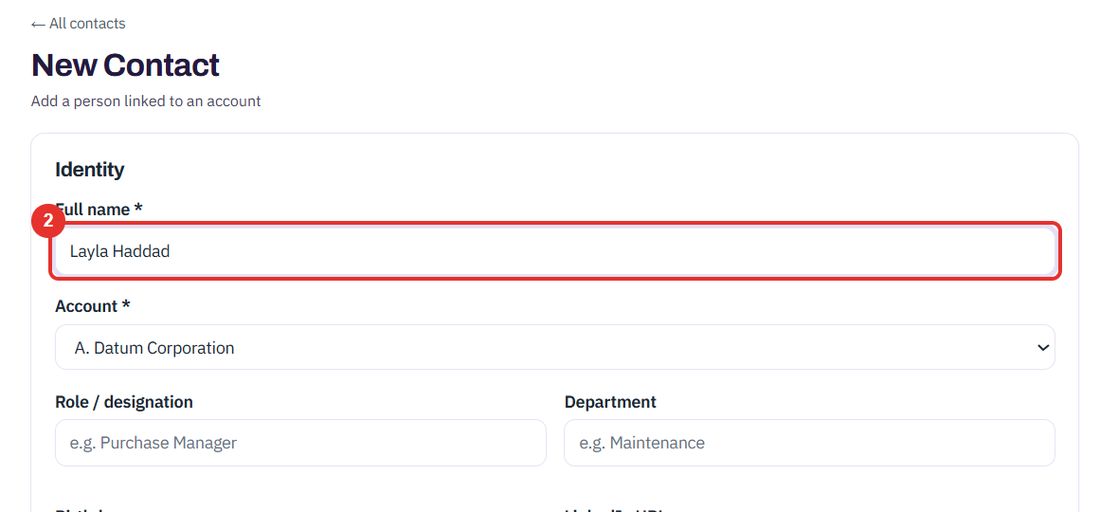
Full name and Account are required.
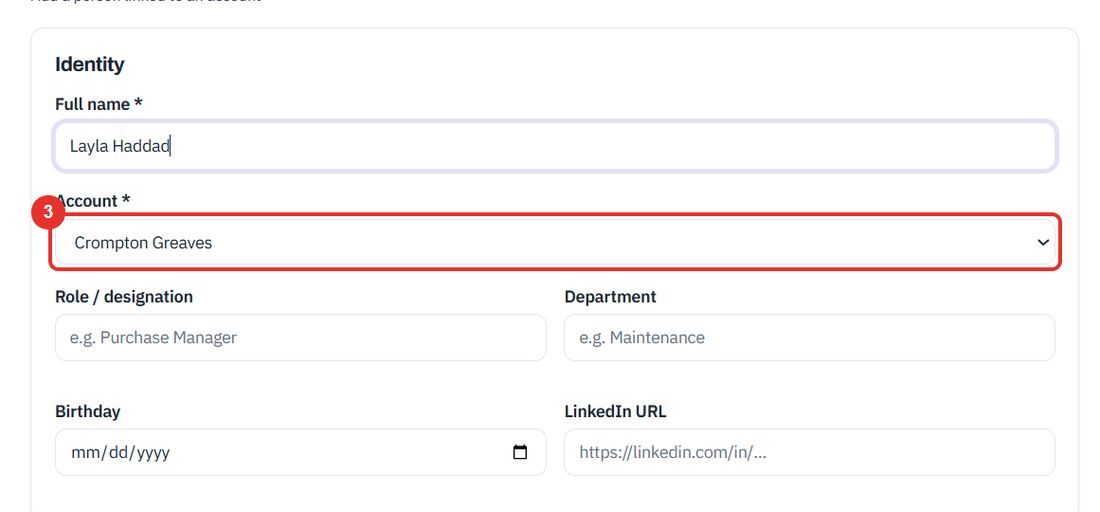
This links the person to a company. The list holds all your accounts.
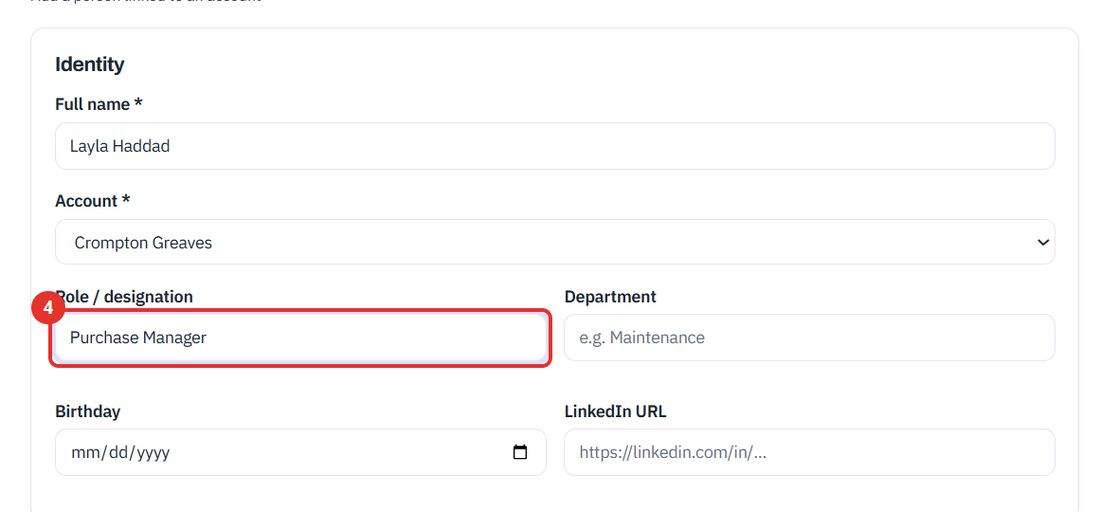
Optional. Department, Birthday and LinkedIn URL are optional too.
The Phone numbers section has Primary phone, Secondary phone and Third phone.
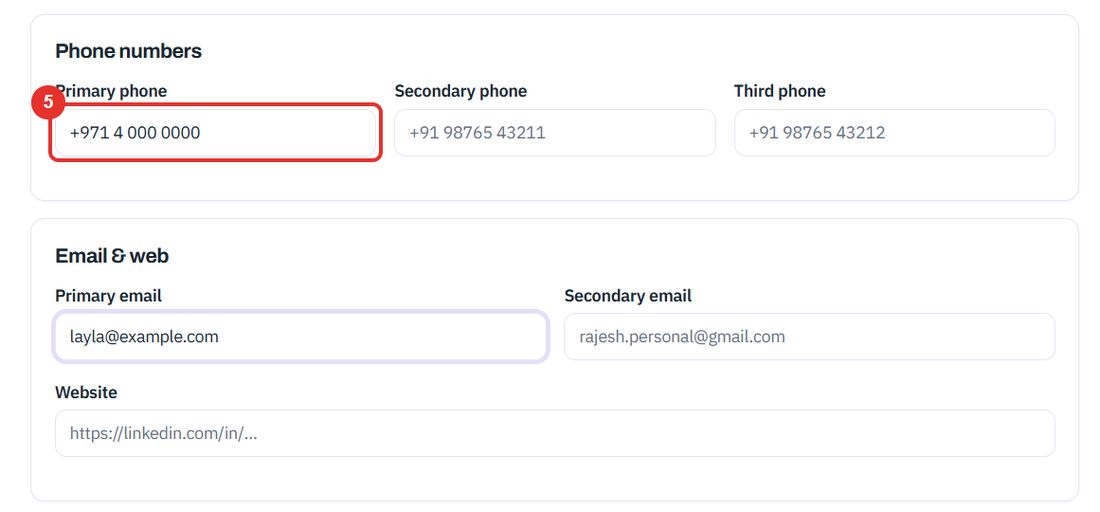
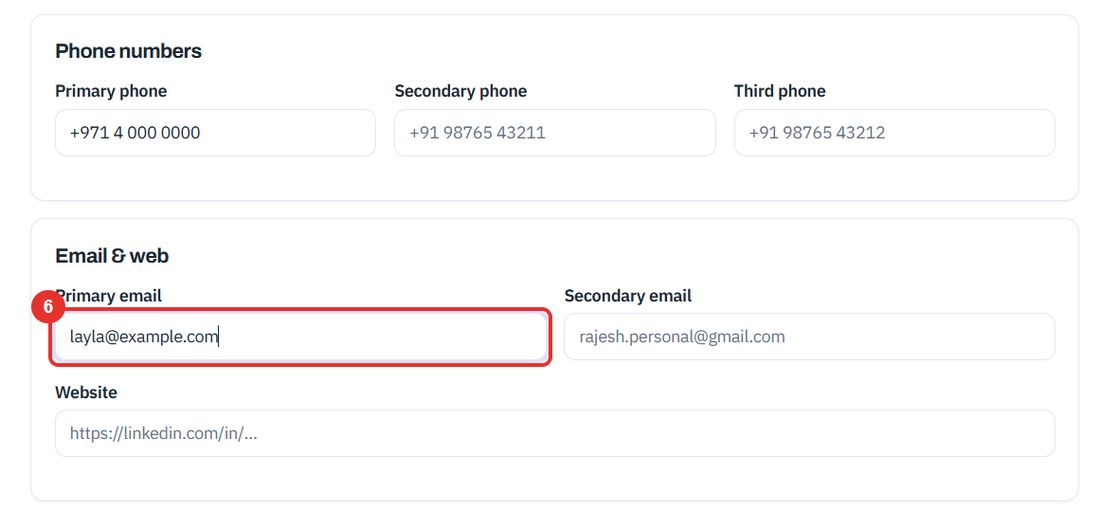
Email & web also has Secondary email and Website.
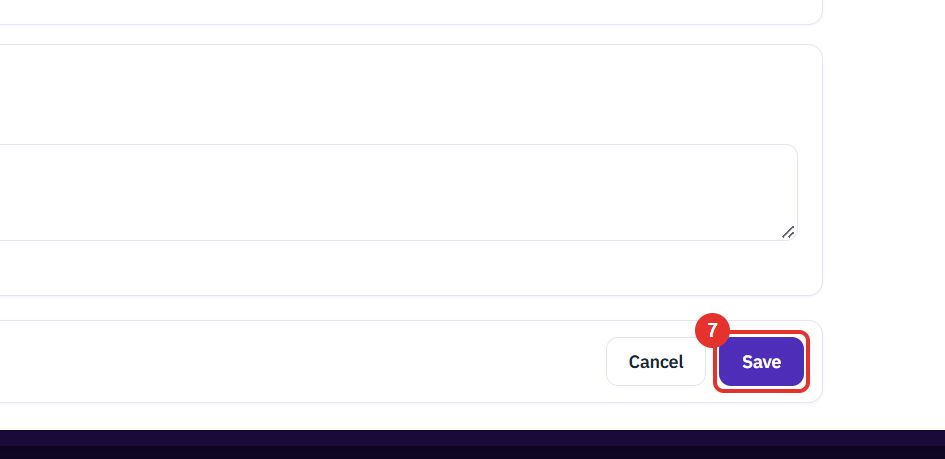
Save is at the bottom. Cancel leaves without saving.
Do this when you need a phone number, an email or the cases of one person.
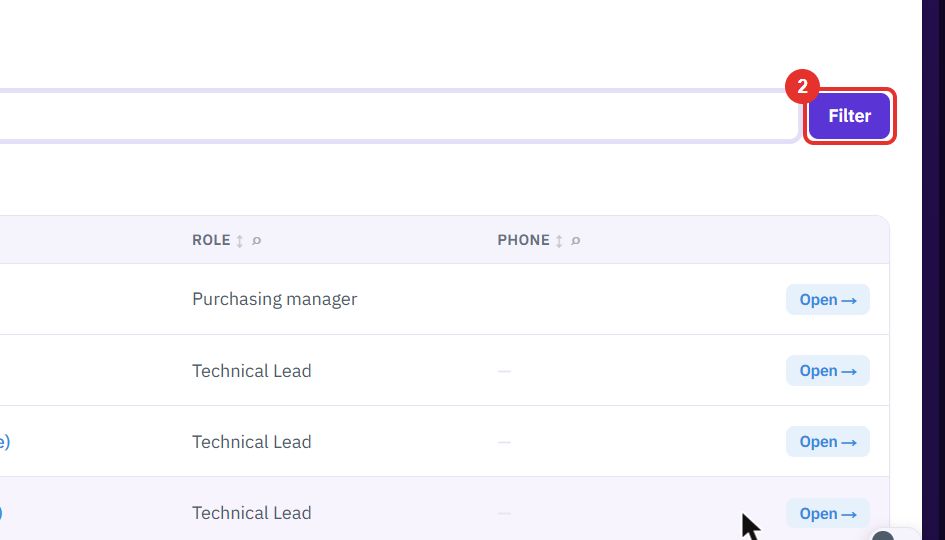
Type part of a name. The list stays as it is until you click Filter.
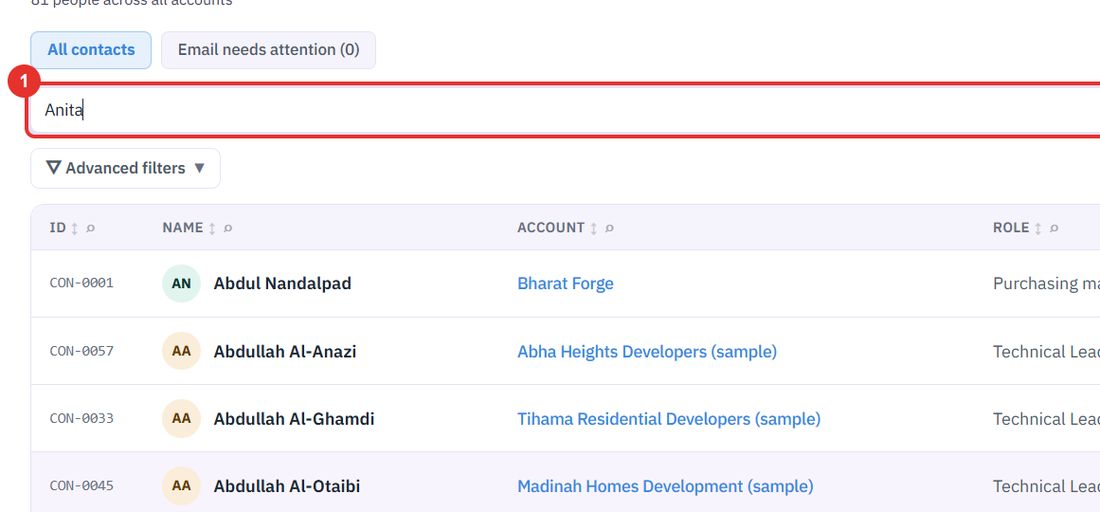
The list shows only the matches. Clear removes the search.
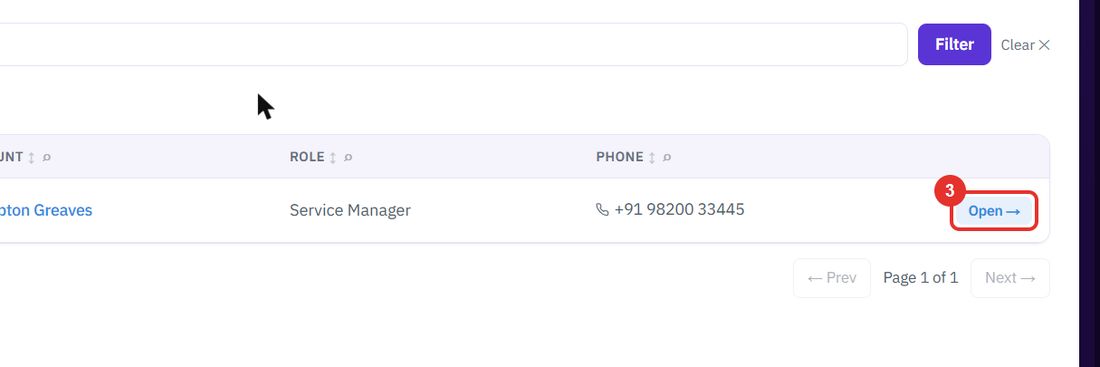
Open → is at the end of the row. The contact page opens.
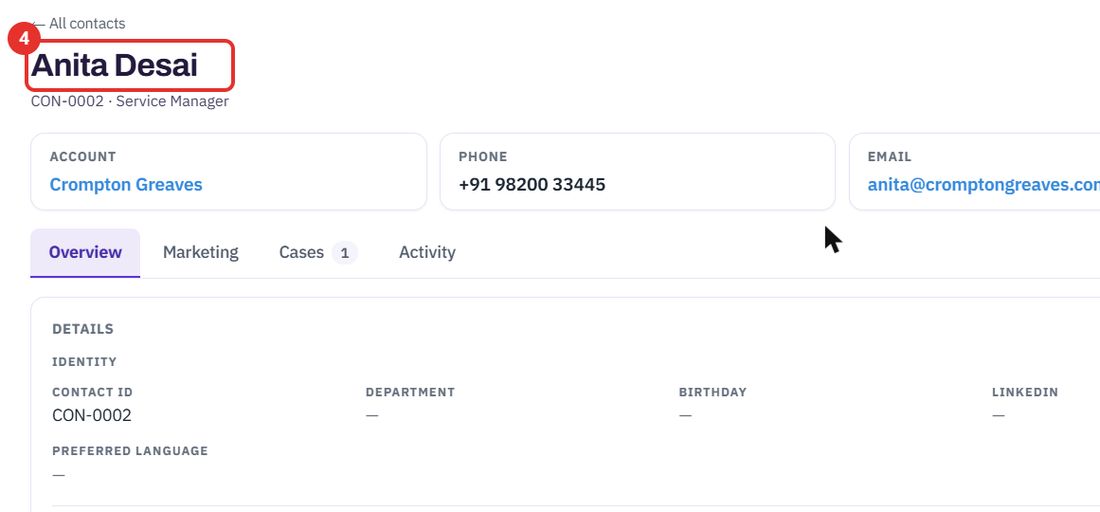
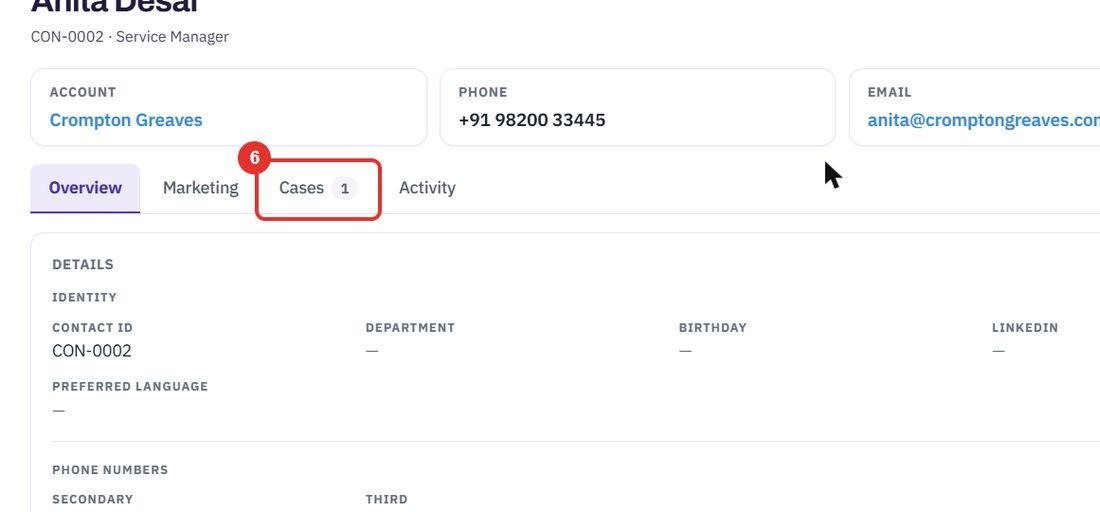
The name, the contact ID and the role are at the top. Cards show Account, Phone, Email and City.
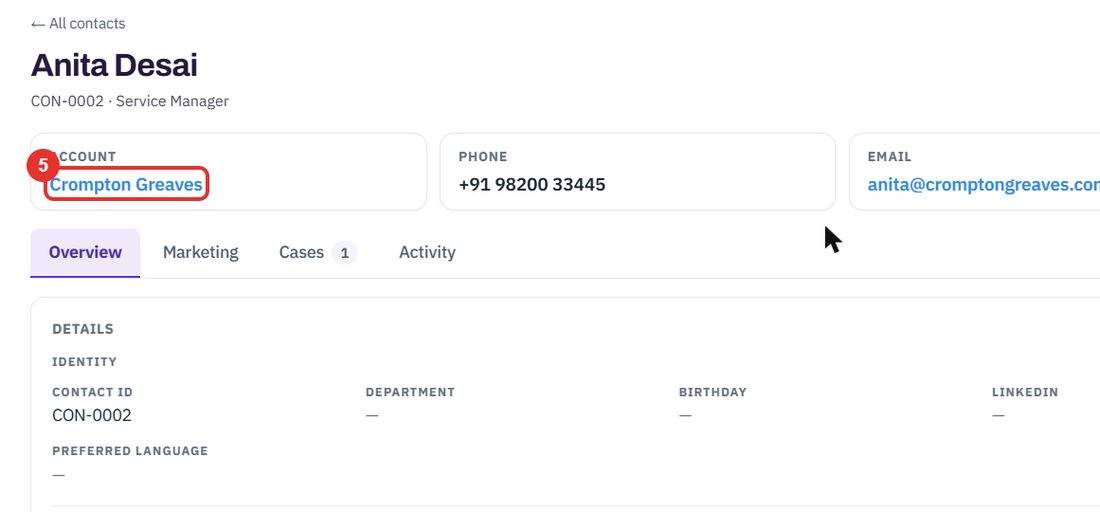
The blue account name opens the account the person belongs to.
The tabs are Overview, Marketing, Cases and Activity. The number on Cases counts this person's cases.
Twenty minutes on a live workspace, with your files and your team.