1
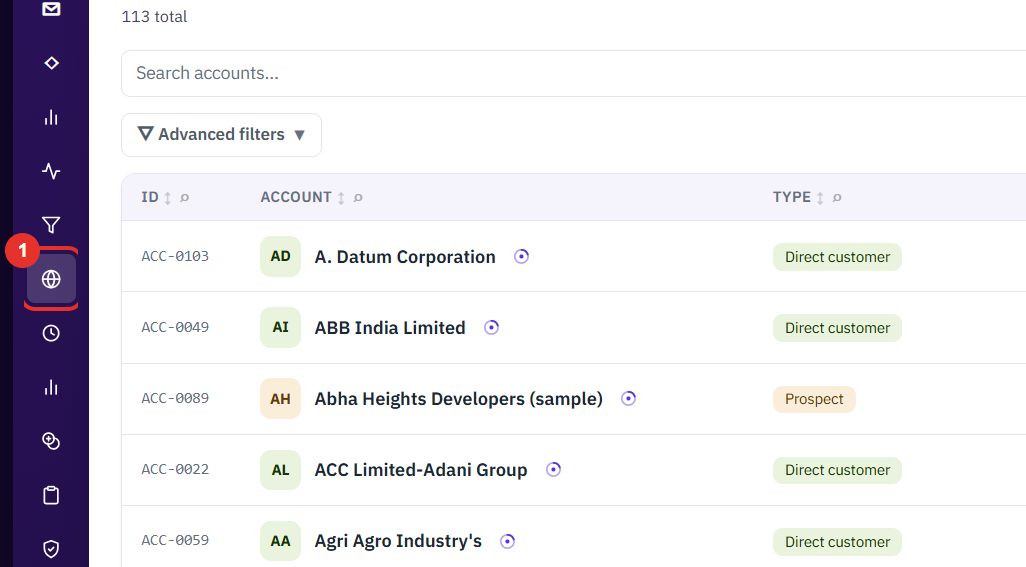
Click Master data in the left menu
The globe icon opens the Accounts list. It shows how many accounts you have.
Add a company, find it again, read everything about it, and bring many in from a spreadsheet. Each step shows the exact button to click.
Want the full chapter? Solution Guide, chapter 6: Platform and master data (PDF) · All documentation
Do this when a new company becomes a customer, a prospect or a partner.
The globe icon opens the Accounts list. It shows how many accounts you have.
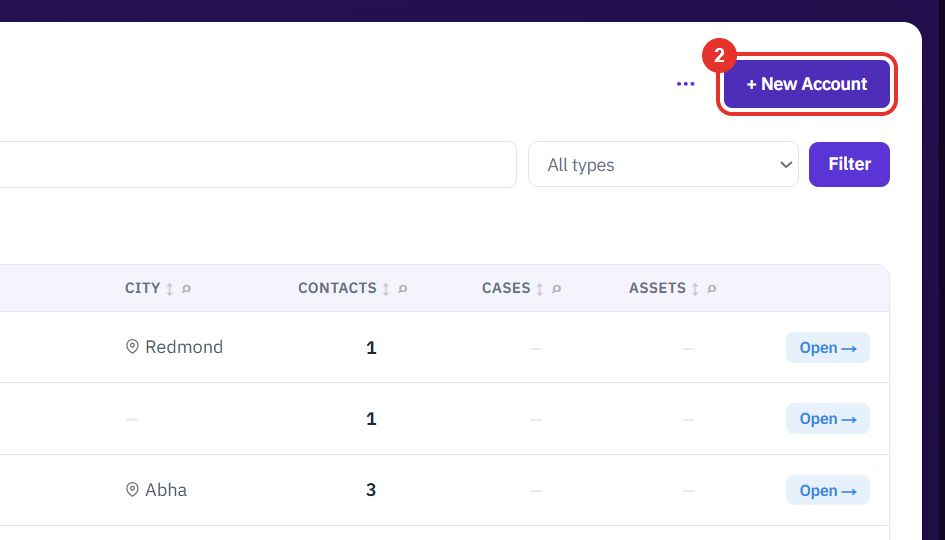
The button is at the top right of the list. The form opens on its own page.
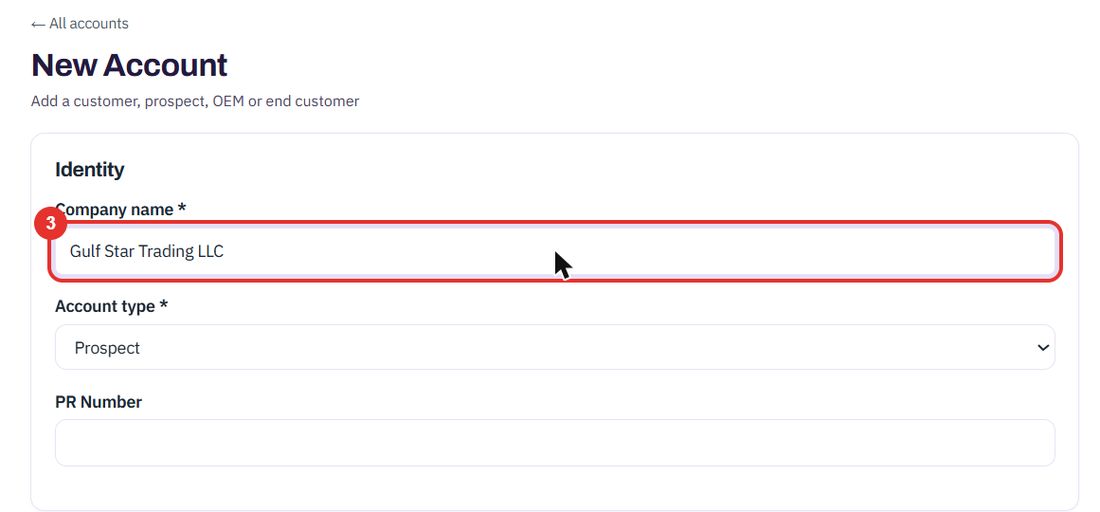
Only Company name and Account type are required. Required fields carry a star.
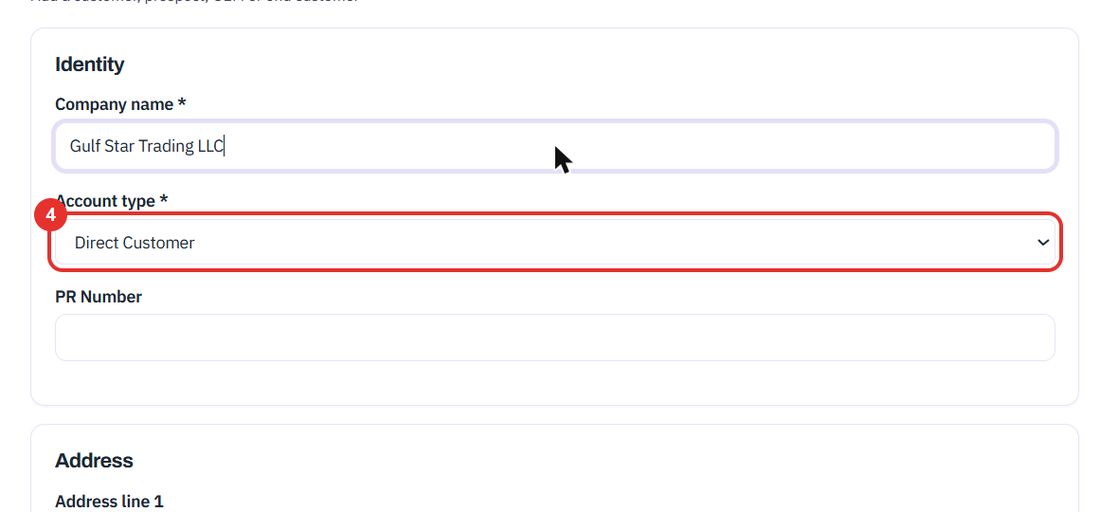
The list has Prospect, Direct Customer, OEM / Dealer and End Customer.
These are optional. Type the City, then use the Communication, Business and Notes & Referral sections if you have the details.
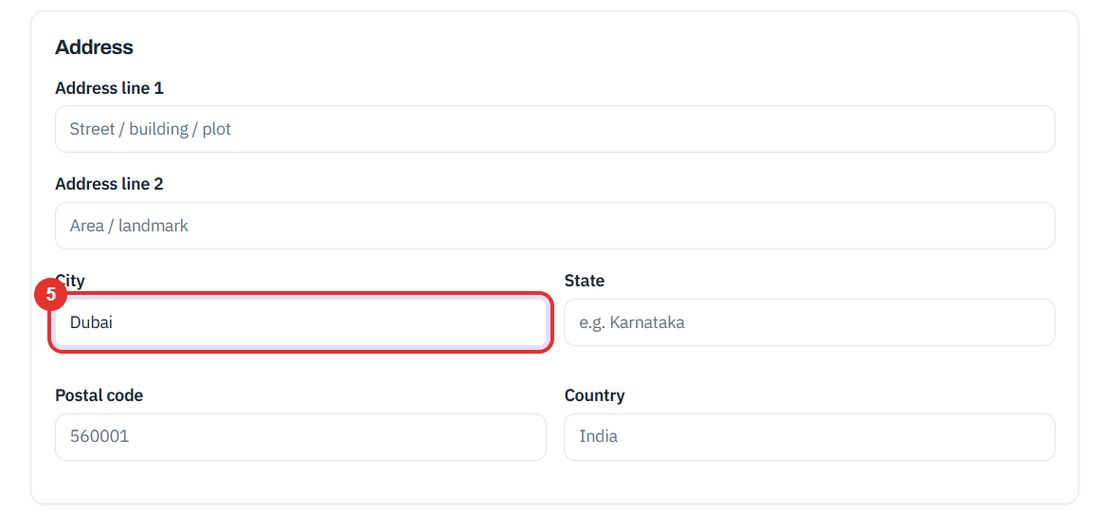
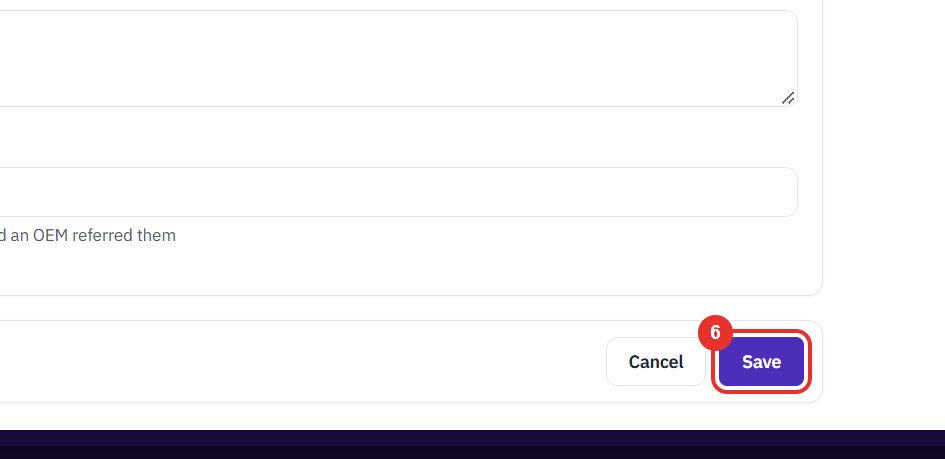
Save is at the bottom of the form. Cancel leaves without saving.
Do this when you need the history of one customer: contacts, cases, quotations, and how the relationship is going.
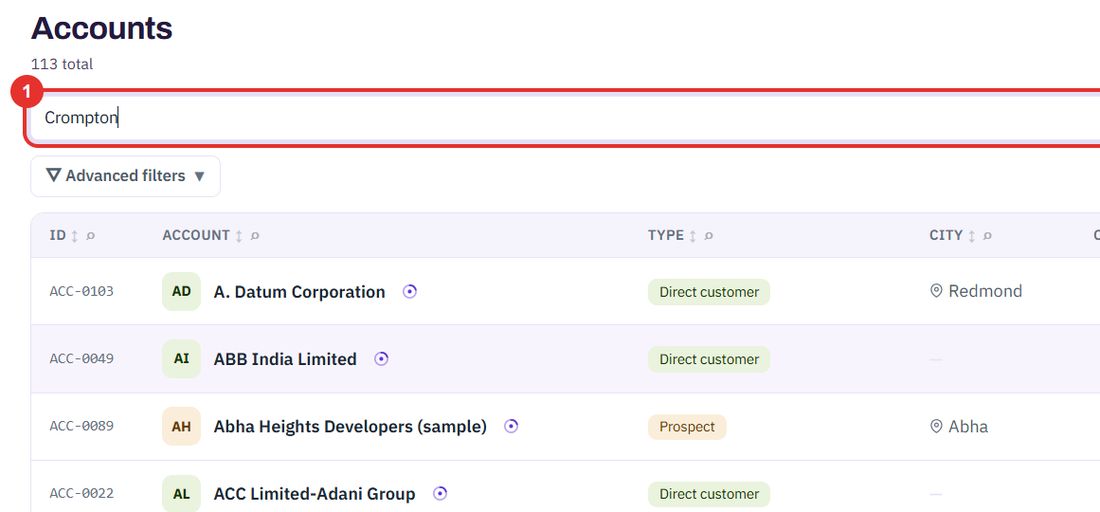
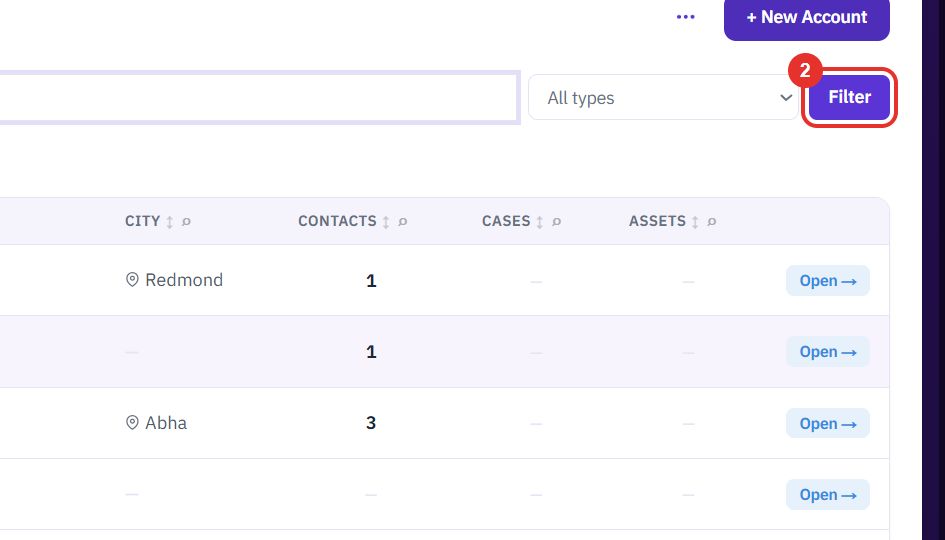
Type part of the name. The list stays as it is until you click Filter. The All types list next to it narrows by account type.
The list now shows only the matches. Clear appears next to the button and removes the search.
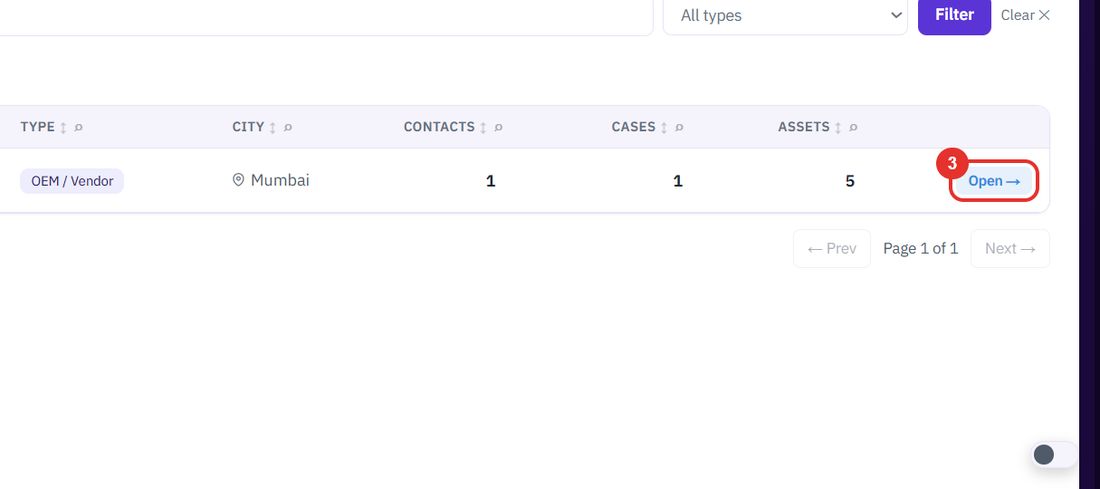
Open → is at the end of the row. The account page opens.
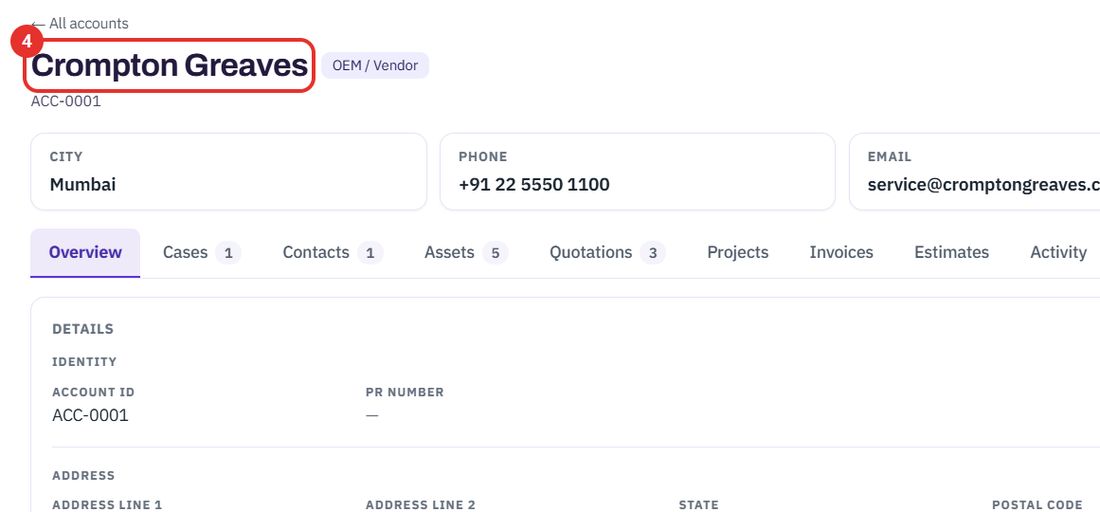
The name, the type and the account ID are at the top. Cards show City, Phone, Email and Customer since.
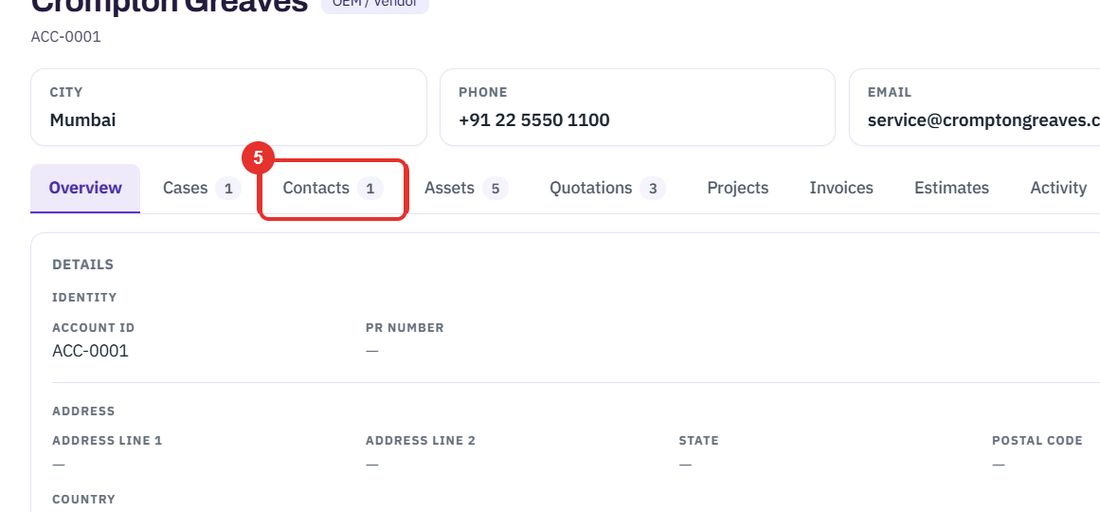
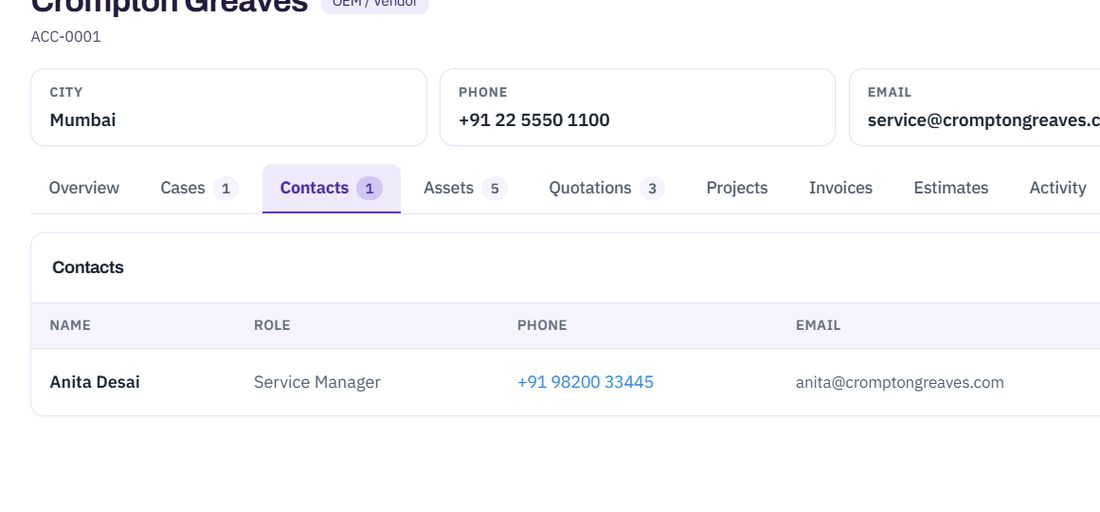
The tabs are Overview, Cases, Contacts, Assets, Quotations, Projects, Invoices, Estimates and Activity. A number on a tab counts its records.
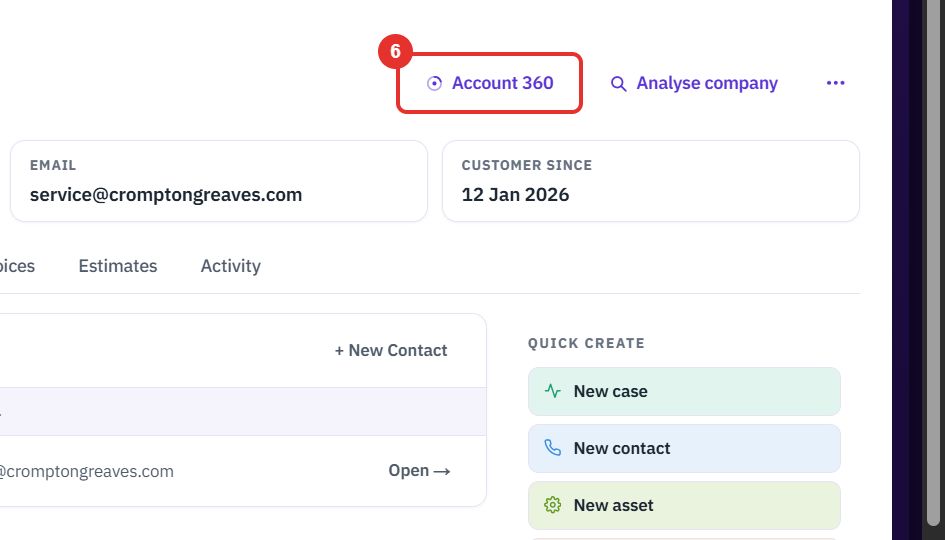
It is at the top right of the page. A side panel opens with a summary of the whole relationship.
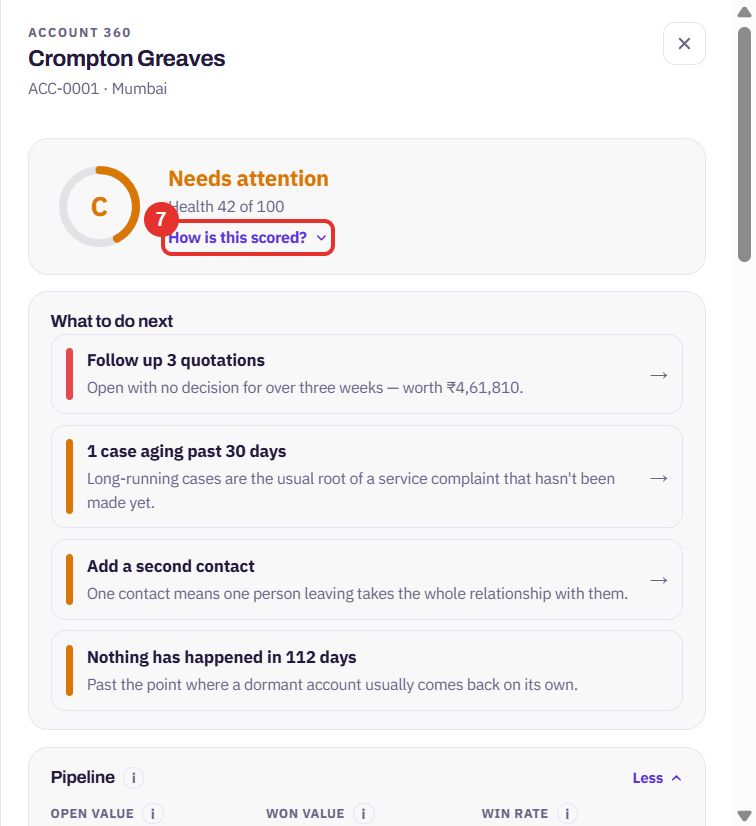
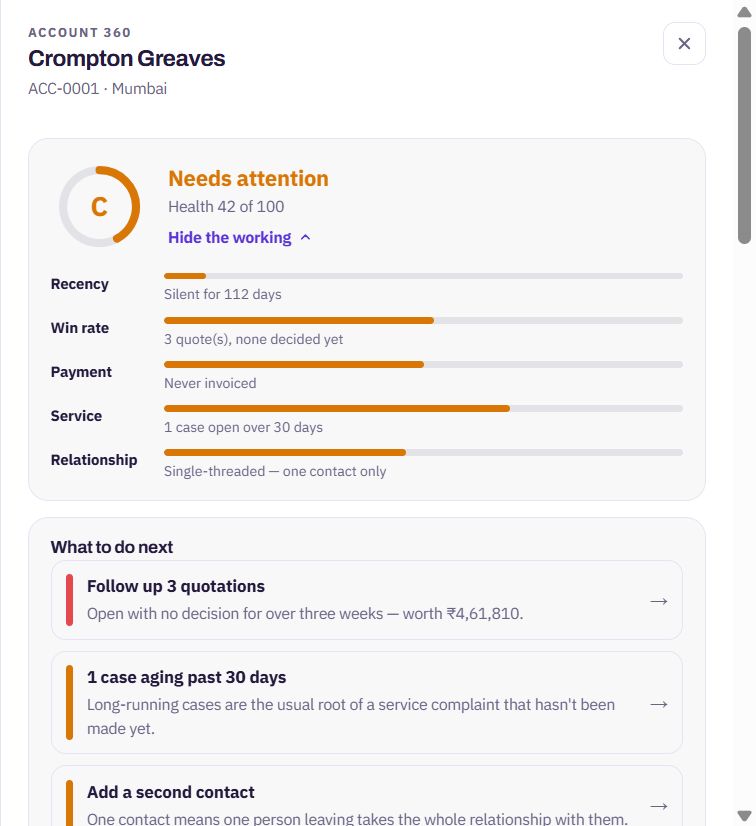
A letter and a score out of 100 sit at the top, then What to do next. Click How is this scored? to see the working behind the score.
There is one card for each area: Pipeline, Revenue, Service, People, Installed base, Contracts and Sales coverage. The small i next to a card title explains it. 1 item on a card opens its list.
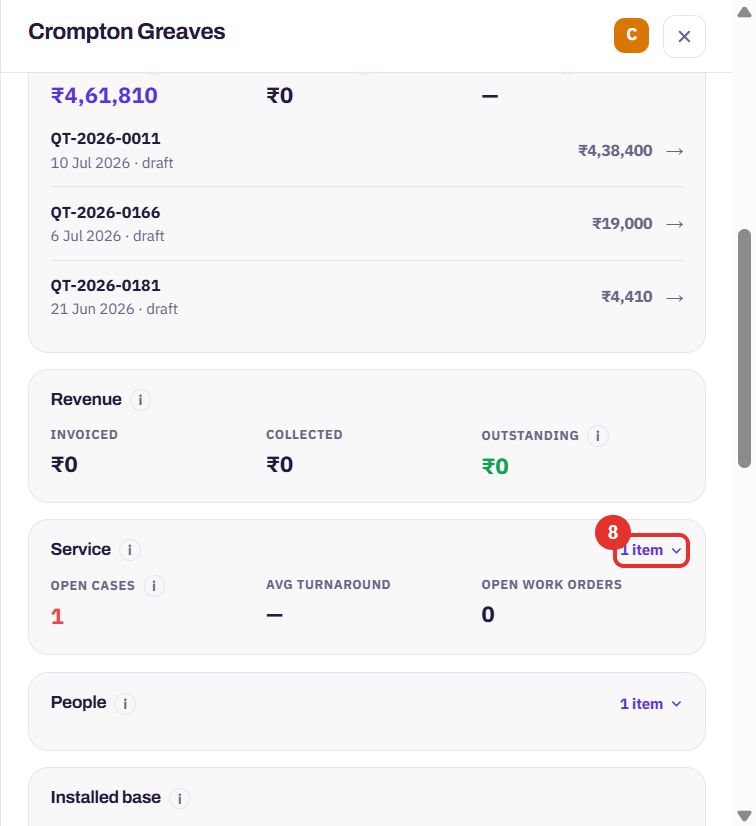
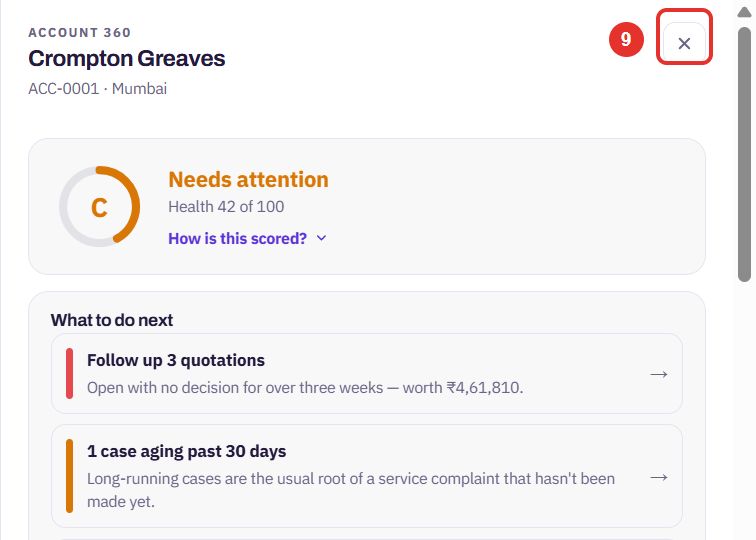
The X at the top right of the panel closes it. You are back on the account page.
Do this when you have a list of companies in Excel or CSV. This guide stops before anything is saved.
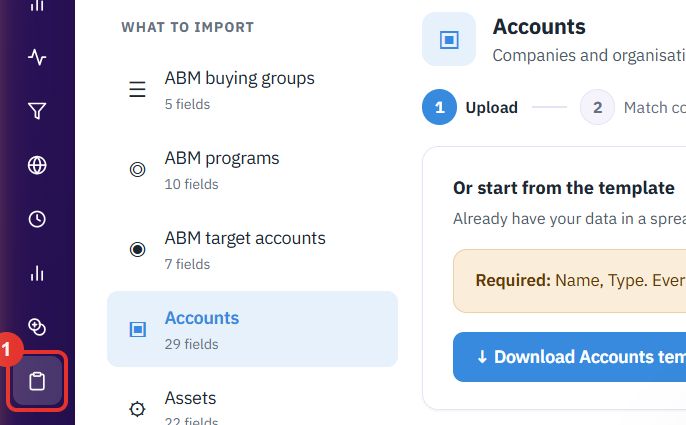
The clipboard icon opens Data Workbench. It has three tabs: Import, Export and Update. Stay on Import.
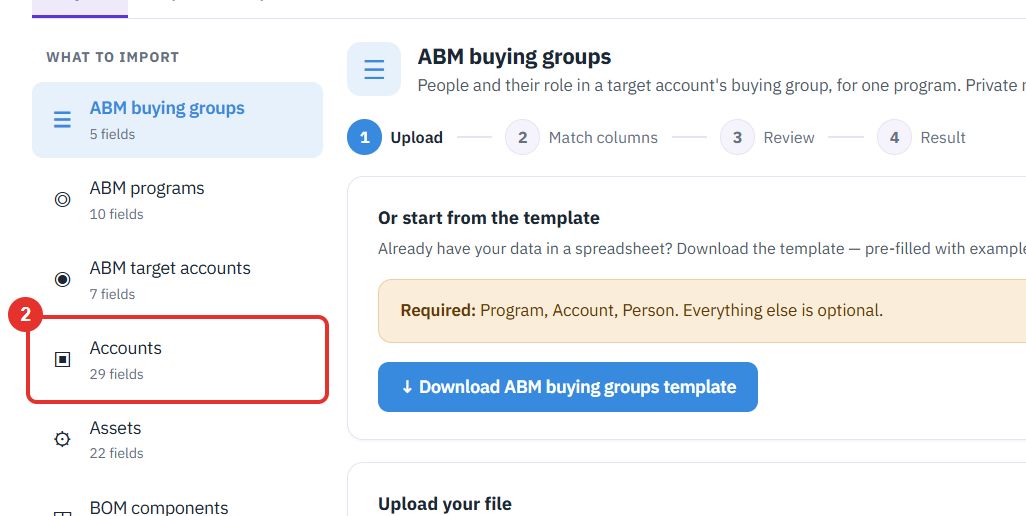
The screen shows the steps Upload, Match columns, Review and Result. A line says Required: Name, Type. Everything else is optional.
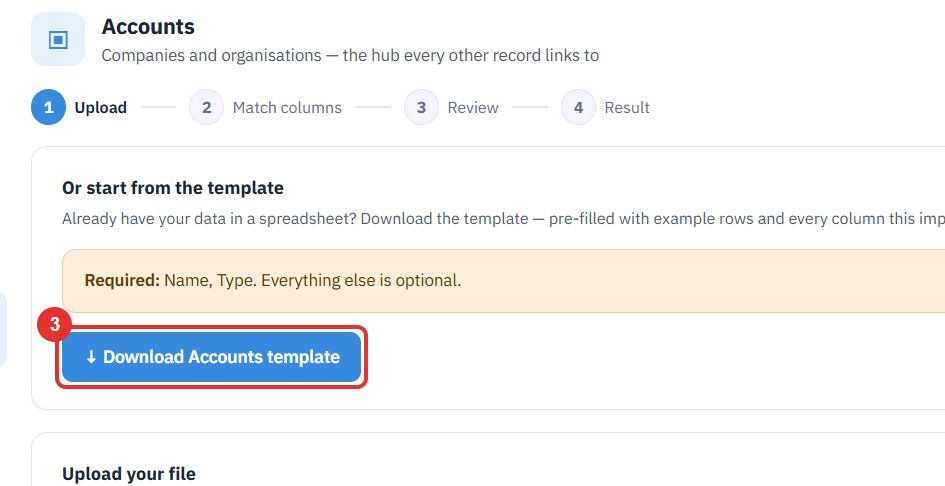
↓ Download Accounts template gives you a file with the right columns and example rows. Replace the examples with your data. This guide does not download it.
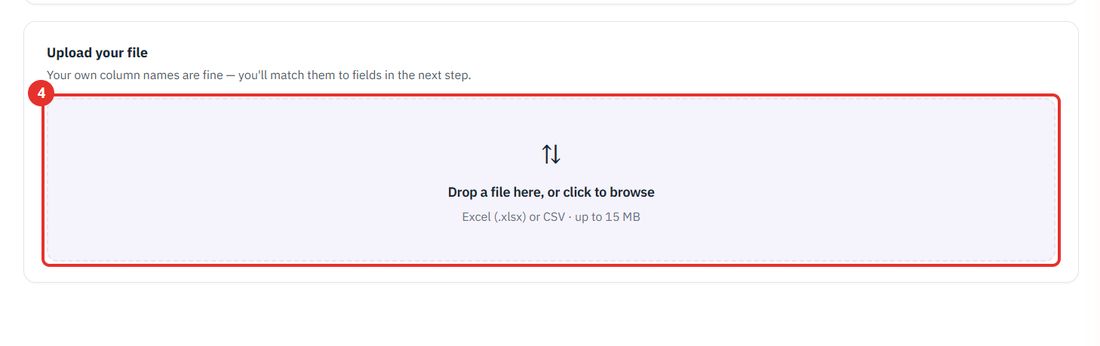
Drag a file onto the box or click it to browse. It takes Excel (.xlsx) or CSV up to 15 MB. Your own column names are fine.
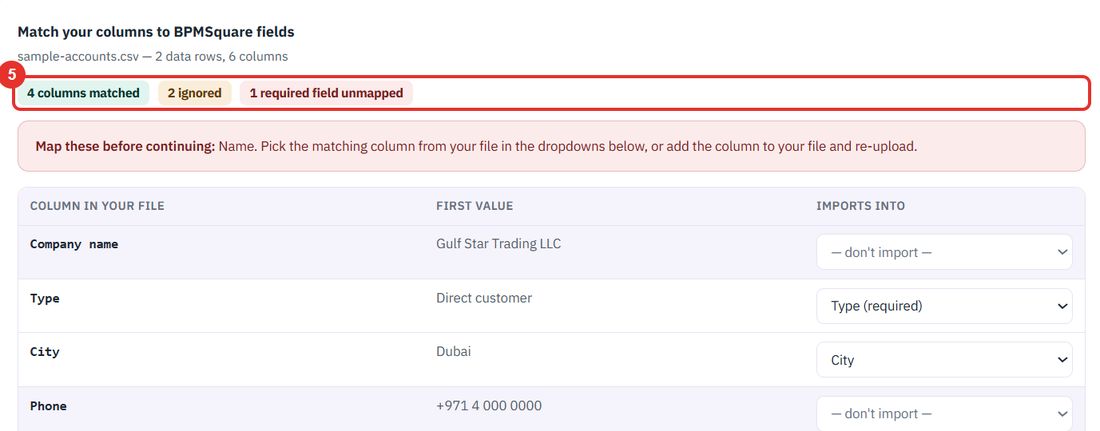
Match columns opens with three counts: columns matched, columns ignored, and required fields not yet matched. Here it says 4 columns matched, 2 ignored and 1 required field unmapped.
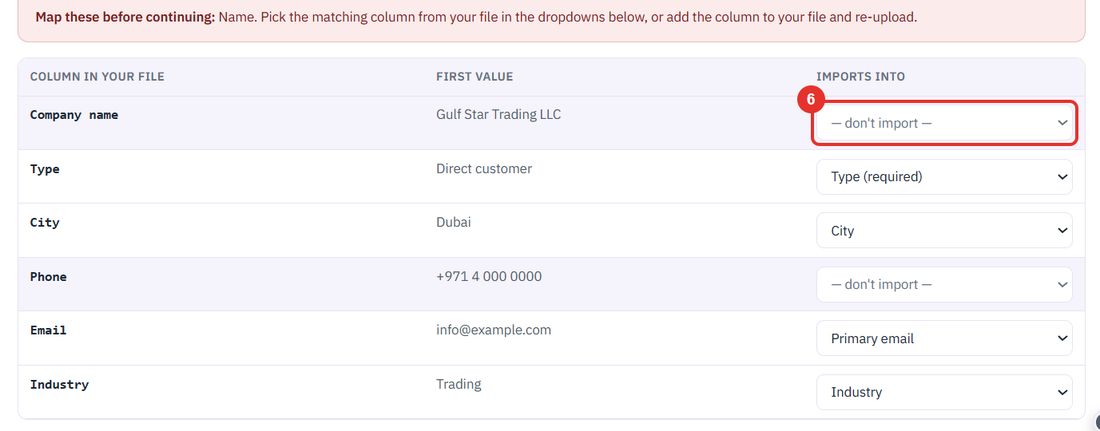
In the IMPORTS INTO column, pick the account field for each column of your file. Here Company name is set to Name (required). A column set to — don't import — is left out.
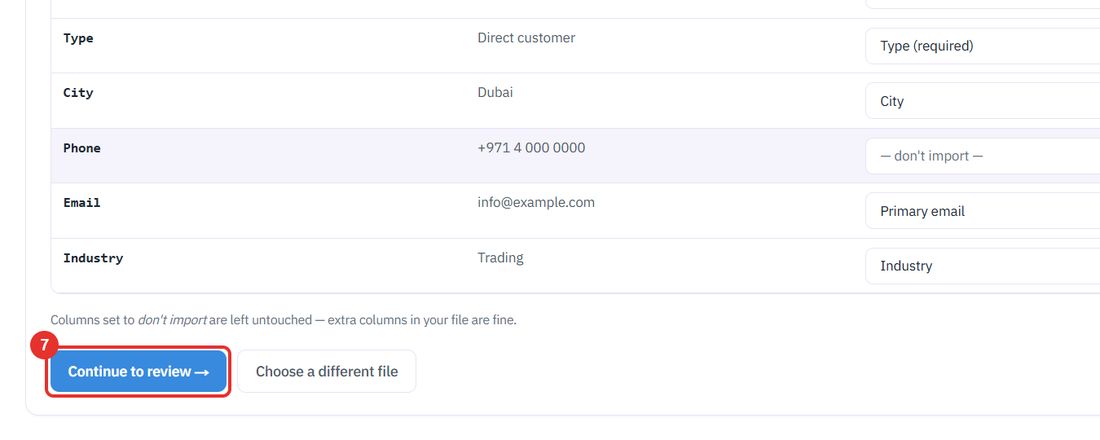
The button works once every required field is matched. The next step, Review, shows what will happen before anything is saved. This guide stops here.
Twenty minutes on a live workspace, with your files and your team.